How to Manage MySQL Databases using phpMyAdmin on Paas.id

Introduction
Your web application might need databases that can be used to store & retrieve data. For managing the databases, you need administrator tools such as phpMyAdmin. phpMyAdmin is a popular MySQL administrator tool that is also a web application. Therefore, Paas.id provides a built-in MySQL database server and phpMyAdmin. They are installed upon connecting your server to Paas.id.
In this guide, we will learn about managing MySQL databases using phpMyAdmin on Paas.id.
Prerequisites
- Have installed a web server on Paas.id
Step 1 - Login to your Paas.id Account
Login to your Paas.id account via https://dash.paas.id/auth/login.
Step 2 - Navigate to Server Database Page
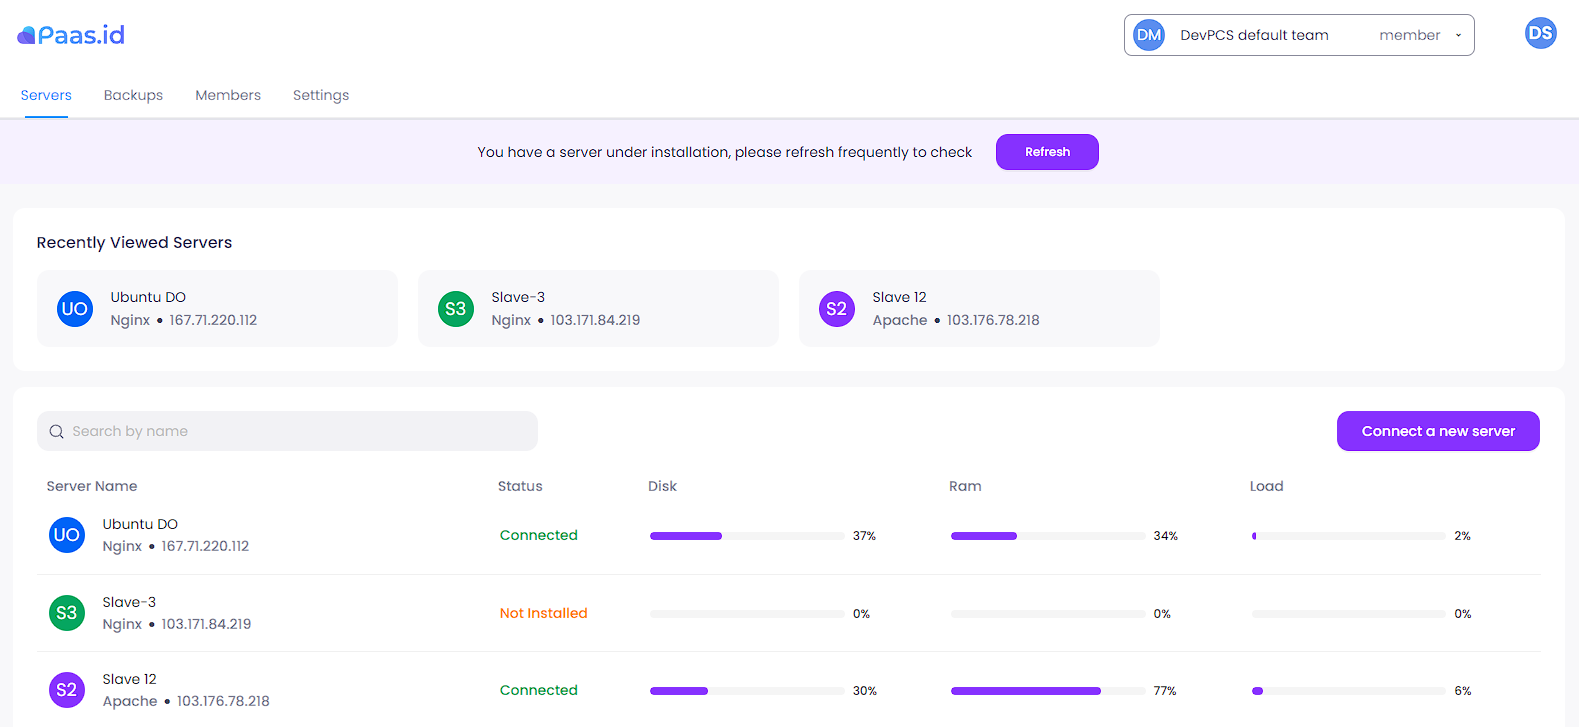
From these servers page, you need to open the server details page by clicking on the server name.
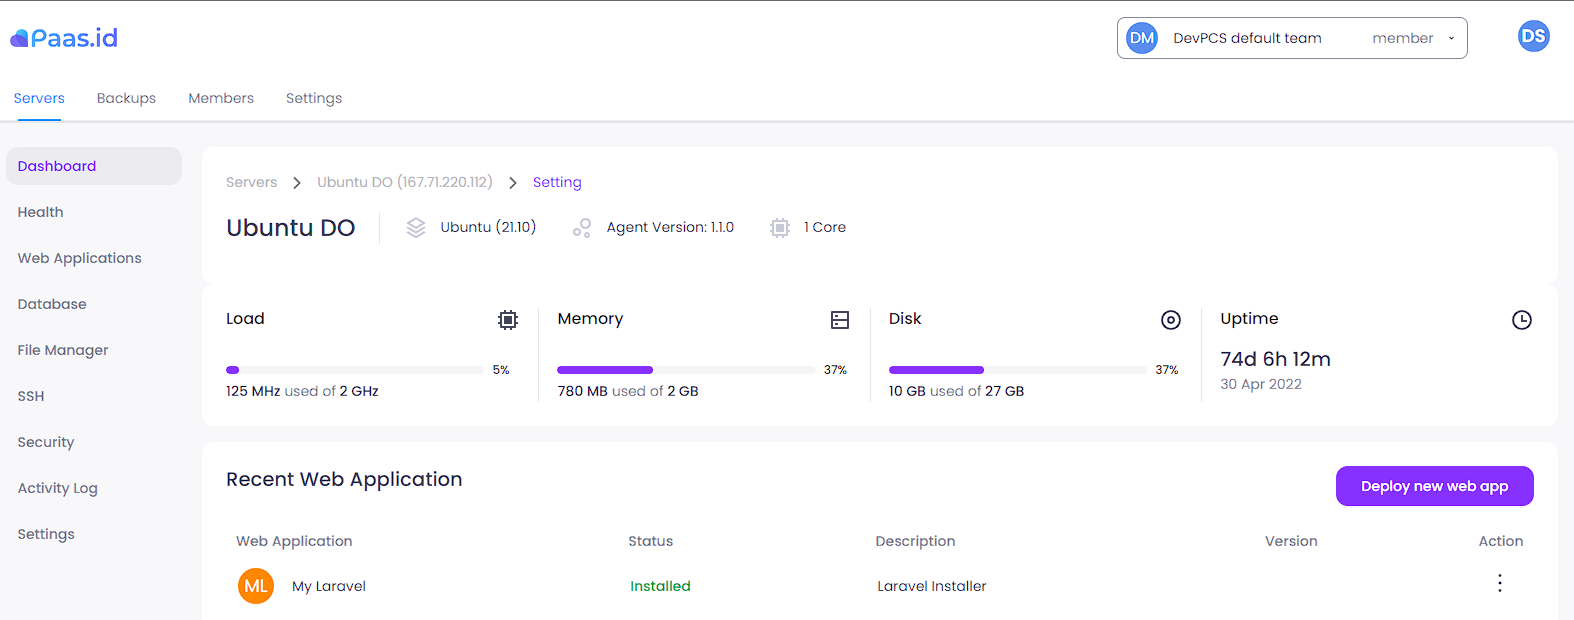
On the server detail page, you need to open the server database page by clicking "Database" menu on the left sidebar.
How to Access & Login To phpMyAdmin
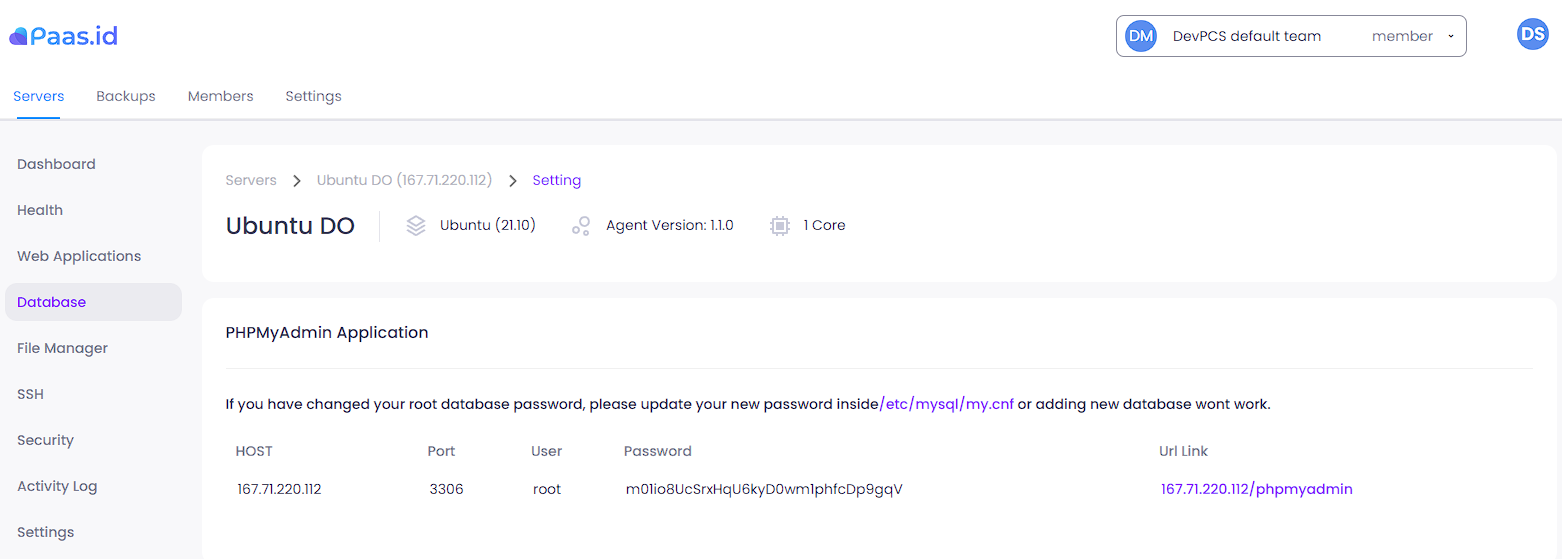
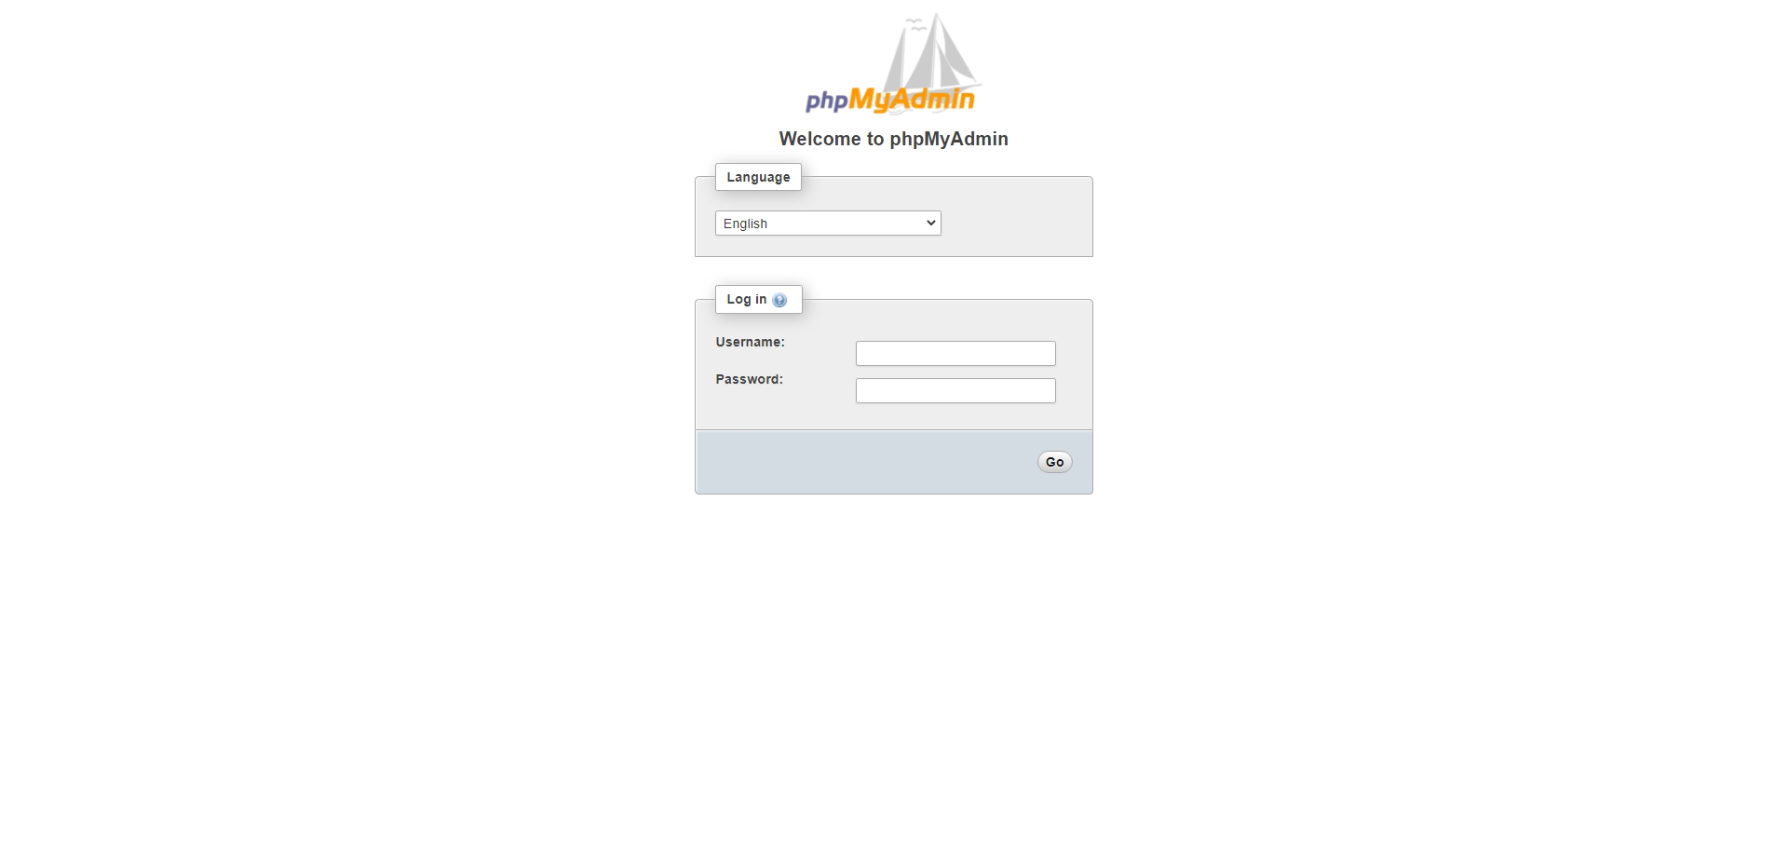
On the server database page, there is a URL link to access the phpMyAdmin. Here also provided MySQL credentials for connect or login purposes. Now open the URL link, the phpMyAdmin screen should look like the image below.
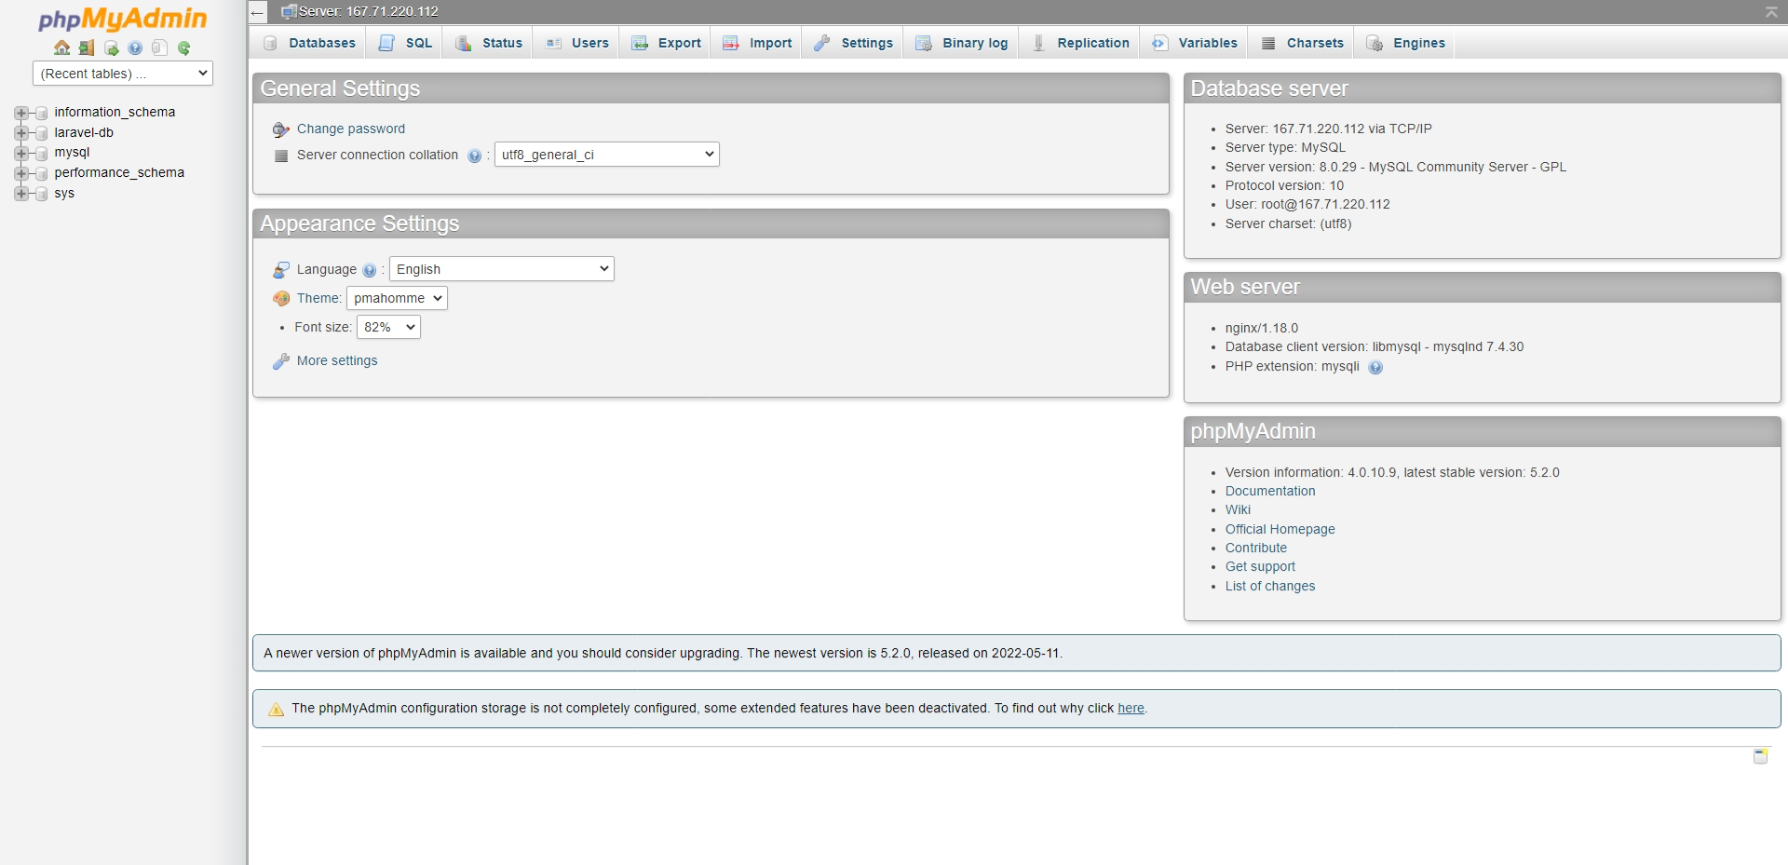
Now login to the phpMyAdmin and the screen should look like the image below.
Create Database
To create a database, click the "Databases" menu from the menu bar. You will be navigated to databases page.
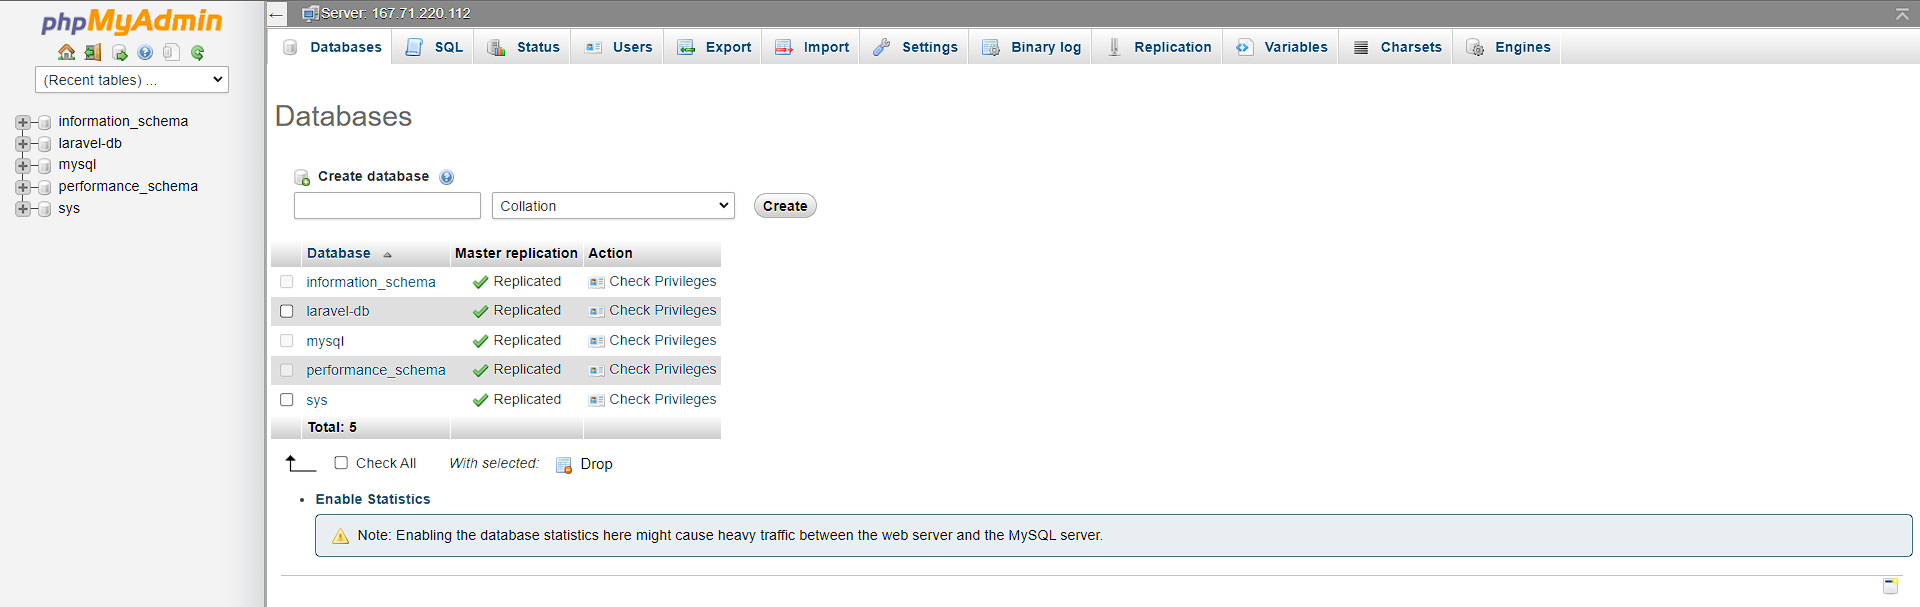
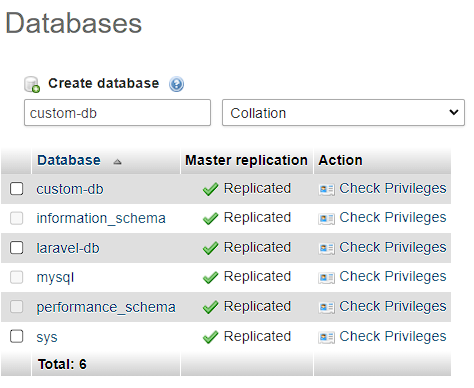
Fill the database name in the field under "Create Database". Select the collation or leave it alone, then click the "Create" button. A success notification should appear.
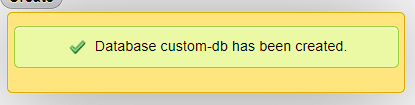
The new database should be listed in the database list.
Create Table
To create a table for a database, you need to navigate to the database's main page. So from the databases page, click the database name.

Fill the table name and number of columns in the field under "Create Table". Don't be confused about deciding the number of columns because you can add or remove columns after the table is created. After that, click the "Create" button. You will be navigated to table creation page.
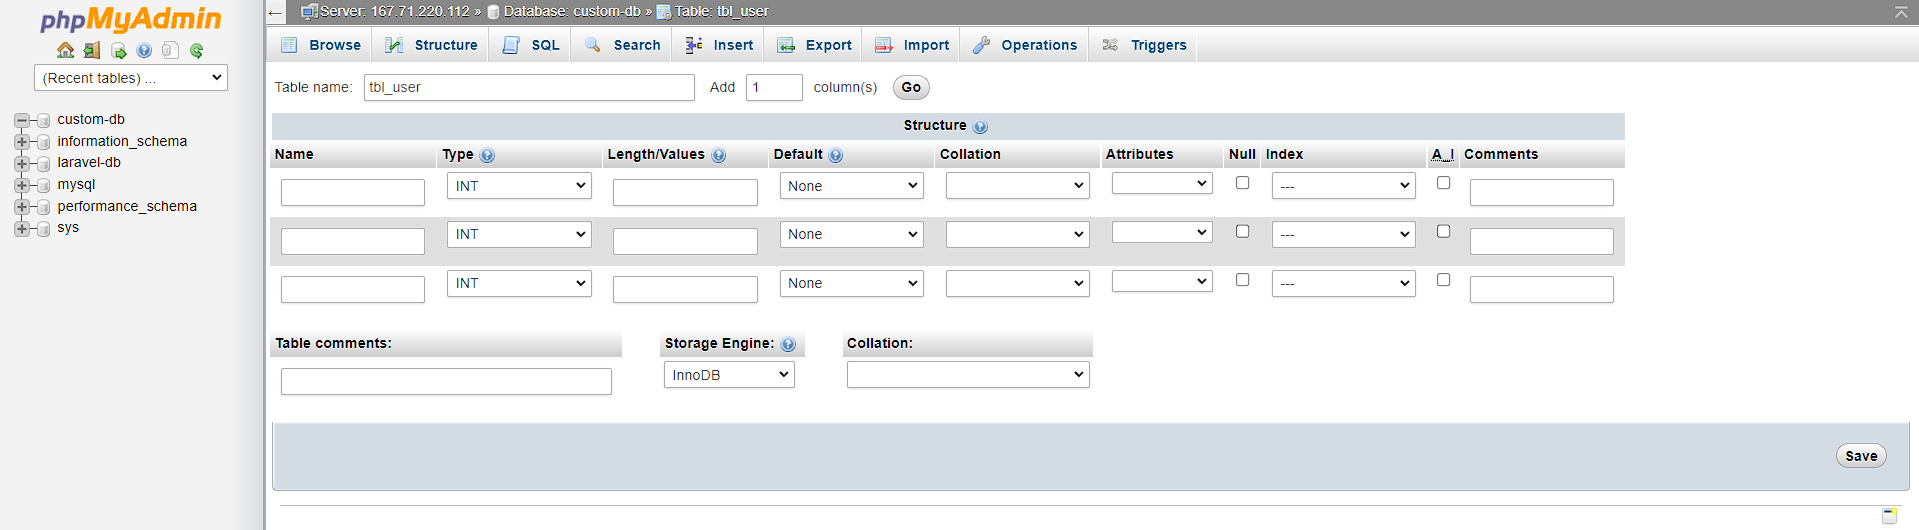
Now, fill the required field such as Name, Type, and Length/Values. You can also fill the optional field such as Collation, Null, Index, A_I, etc.
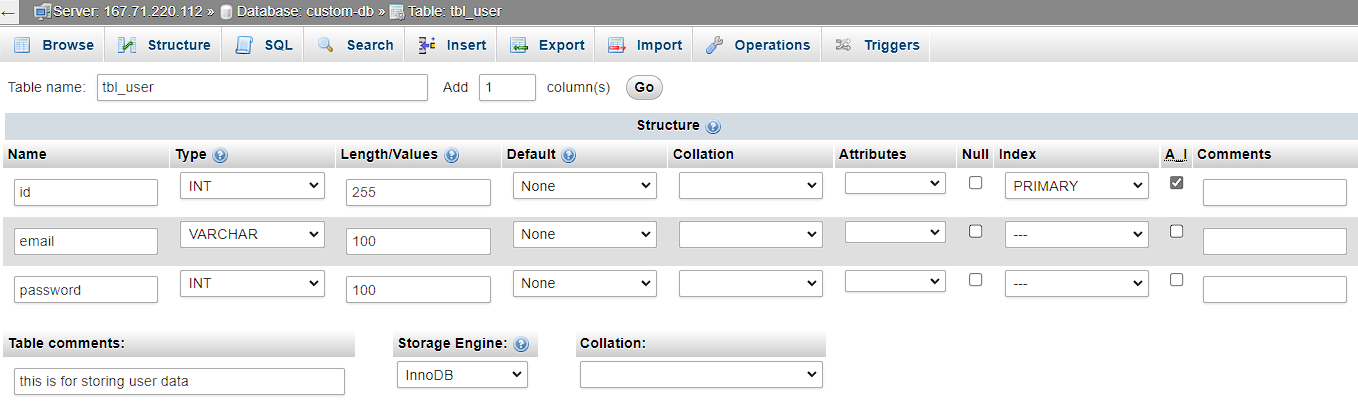
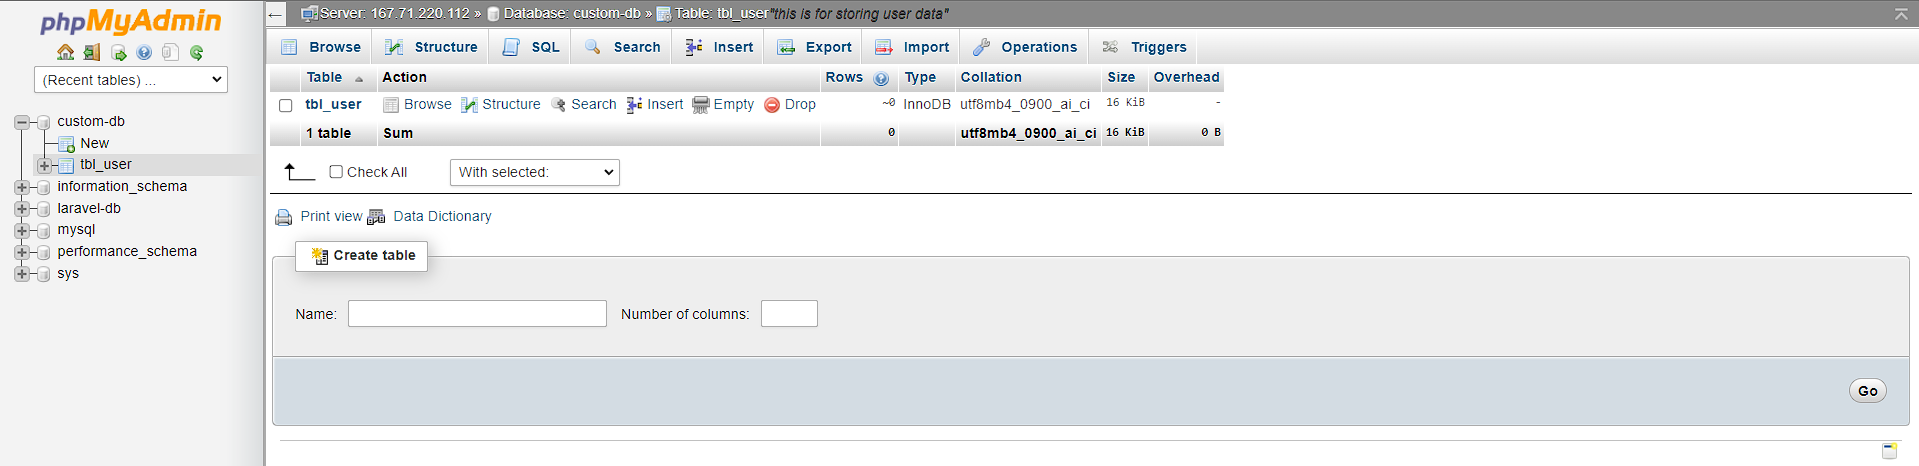
Now click the "Save" button. You will be navigated to database's main page again and make sure the table is listed in the table list.
Delete Database
To delete a database, you need to navigate to the database's operations page. So from the database's main page, click the "Operations" menu from the menu bar.
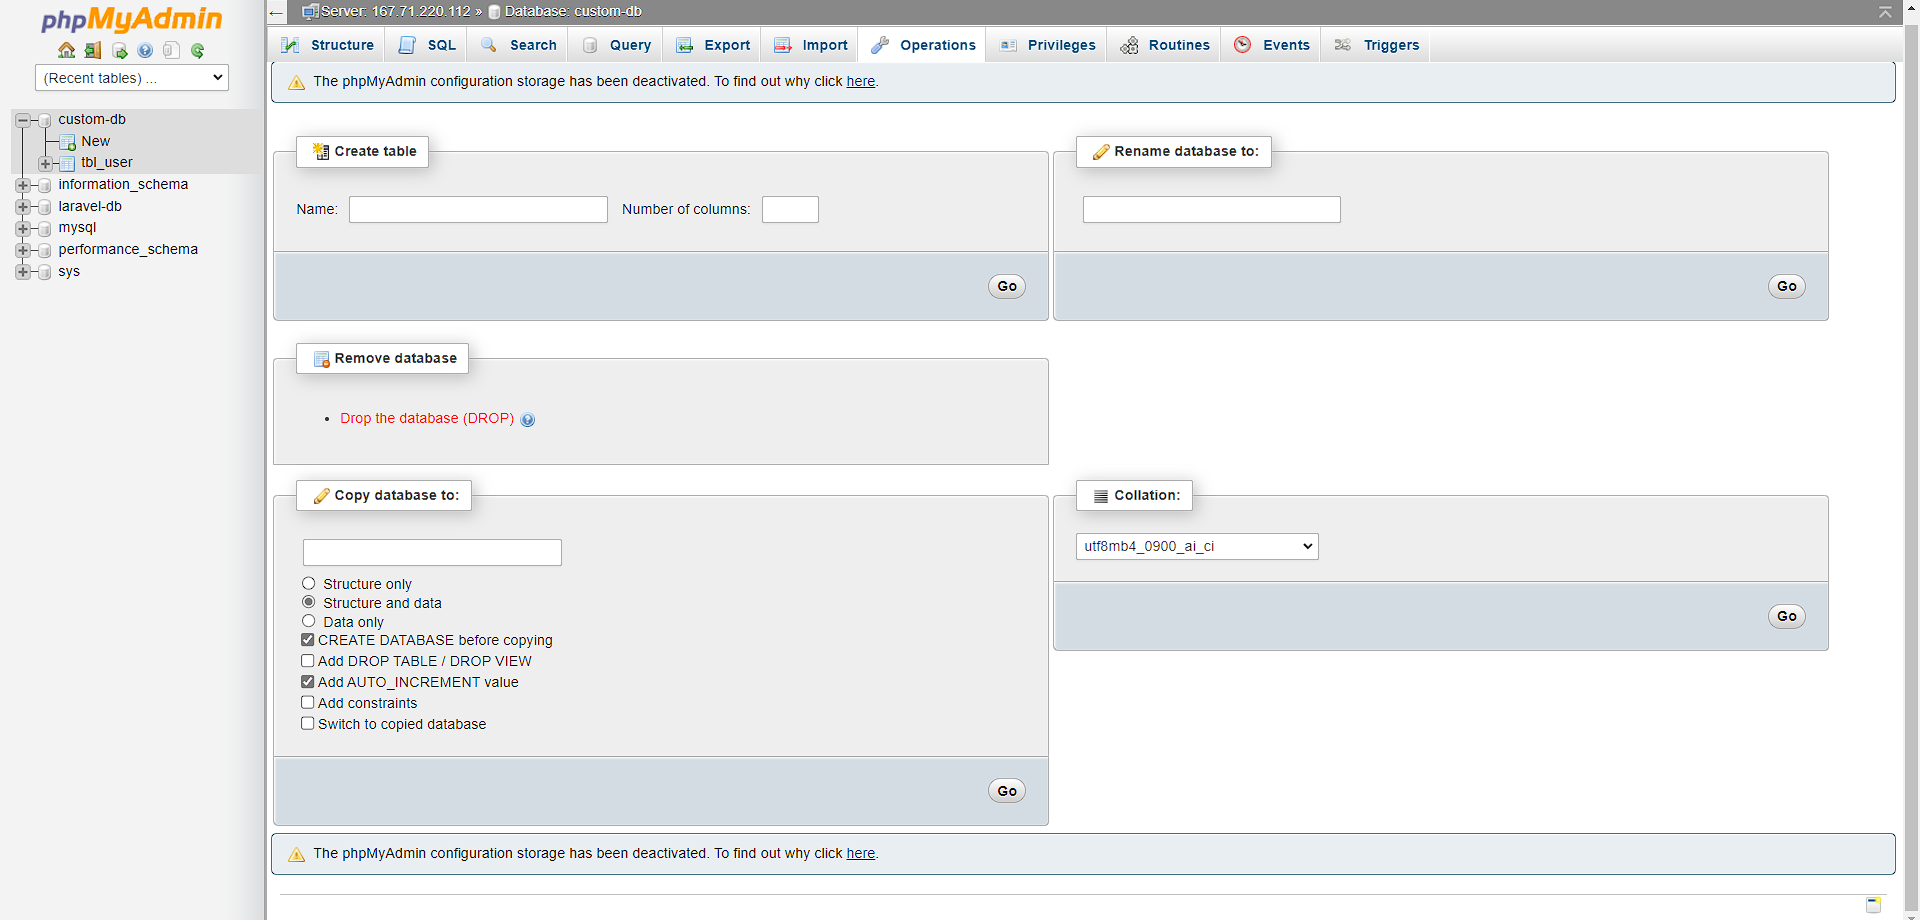
Click the "Drop the database (DROP)" from the "Remove database" section. A confirmation message will appear.
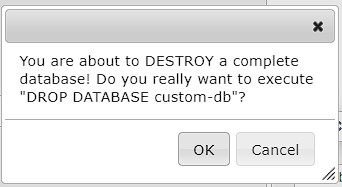
If you are sure, click the "OK" button. You will be navigated to the database list page and the database should not be in the database list.
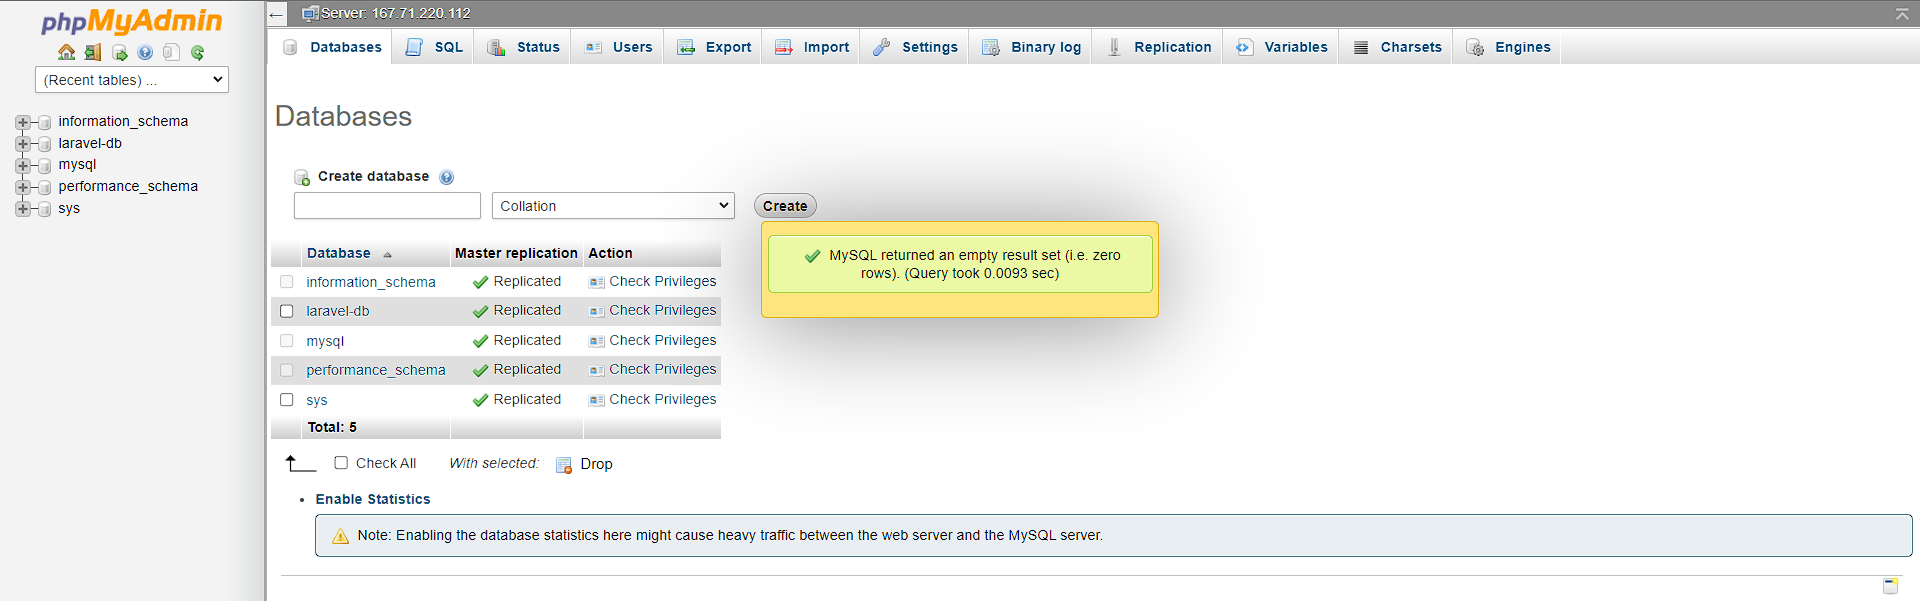
Now the database is deleted!