How to Deploy Laravel Project on Paas.id

Introduction
Laravel is a free and open-source web application framework written in PHP.
In this guide, we will learn about how to deploy laravel project on Paas.id.
Prerequisites
Prerequisites for following this guide, you must have the basic Laravel web application installed on the server via Paas.id. If you don't have the Laravel web application installed yet, you can follow our guide on How to Install Laravel Web Application on Paas.id.
If you want to try using the sample projects used in this guide, you can download them at https://github.com/koel/koel/
Deploy Laravel Project
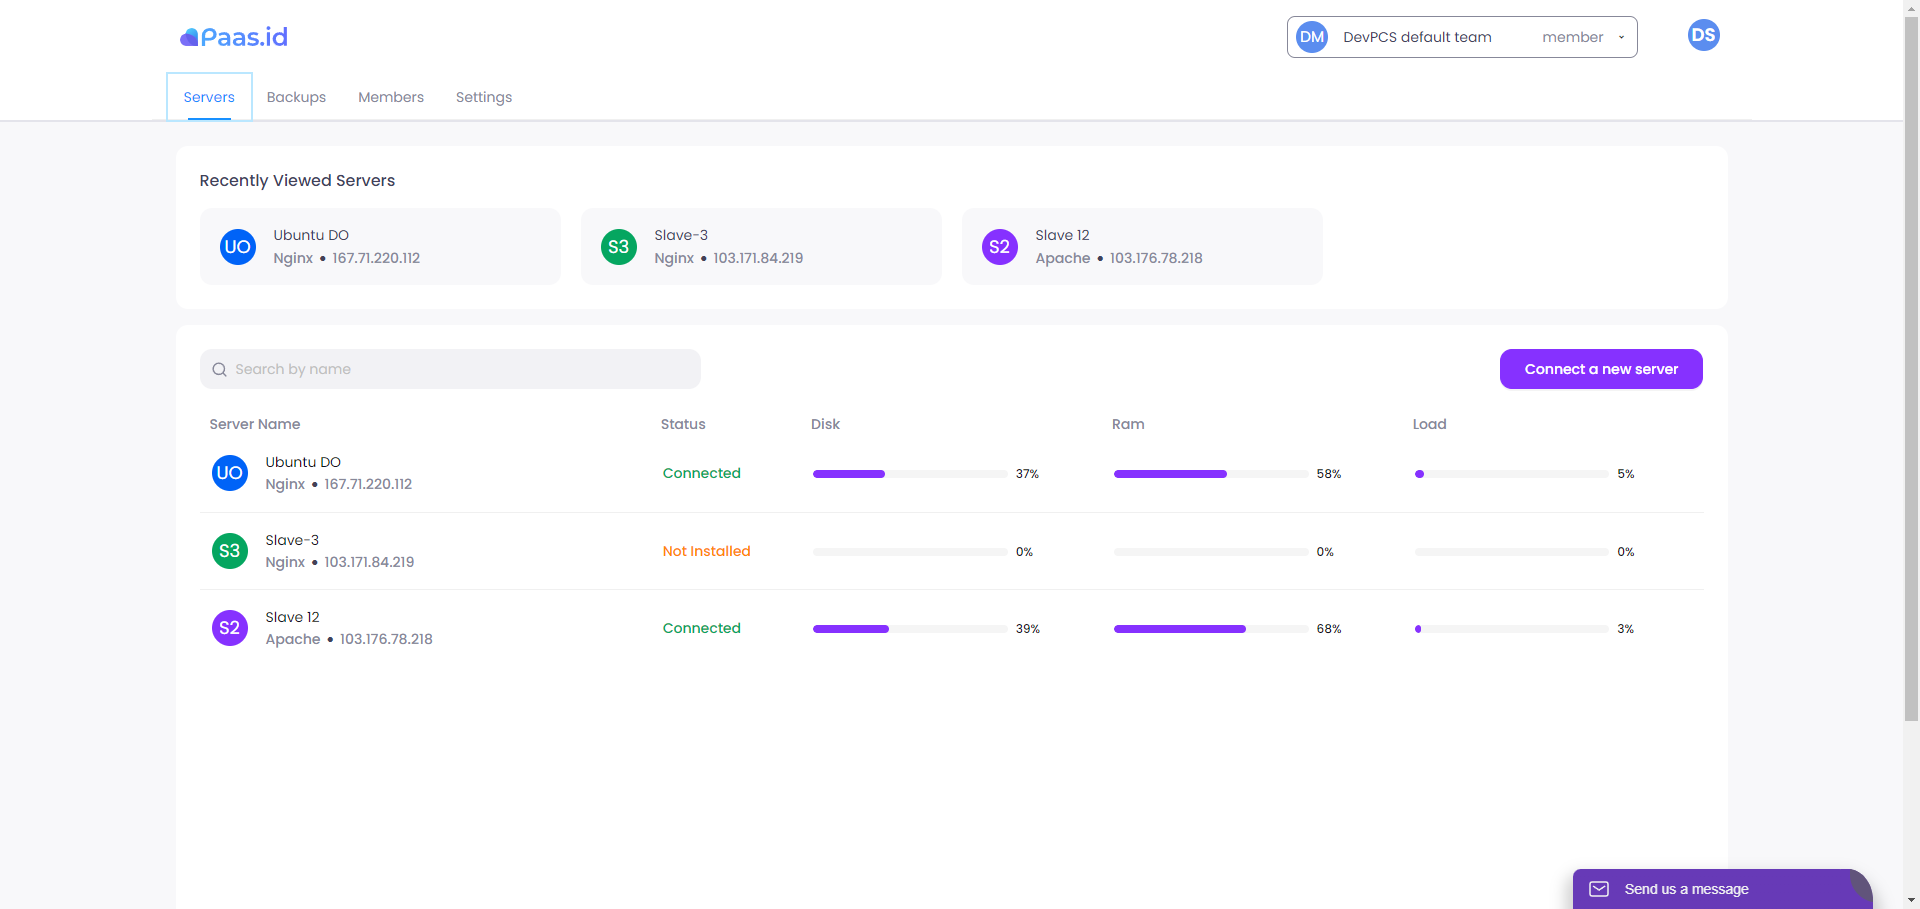
From servers page, you need to open the server details page by clicking on the server where your application is located (For example, here using the Ubuntu DO server).
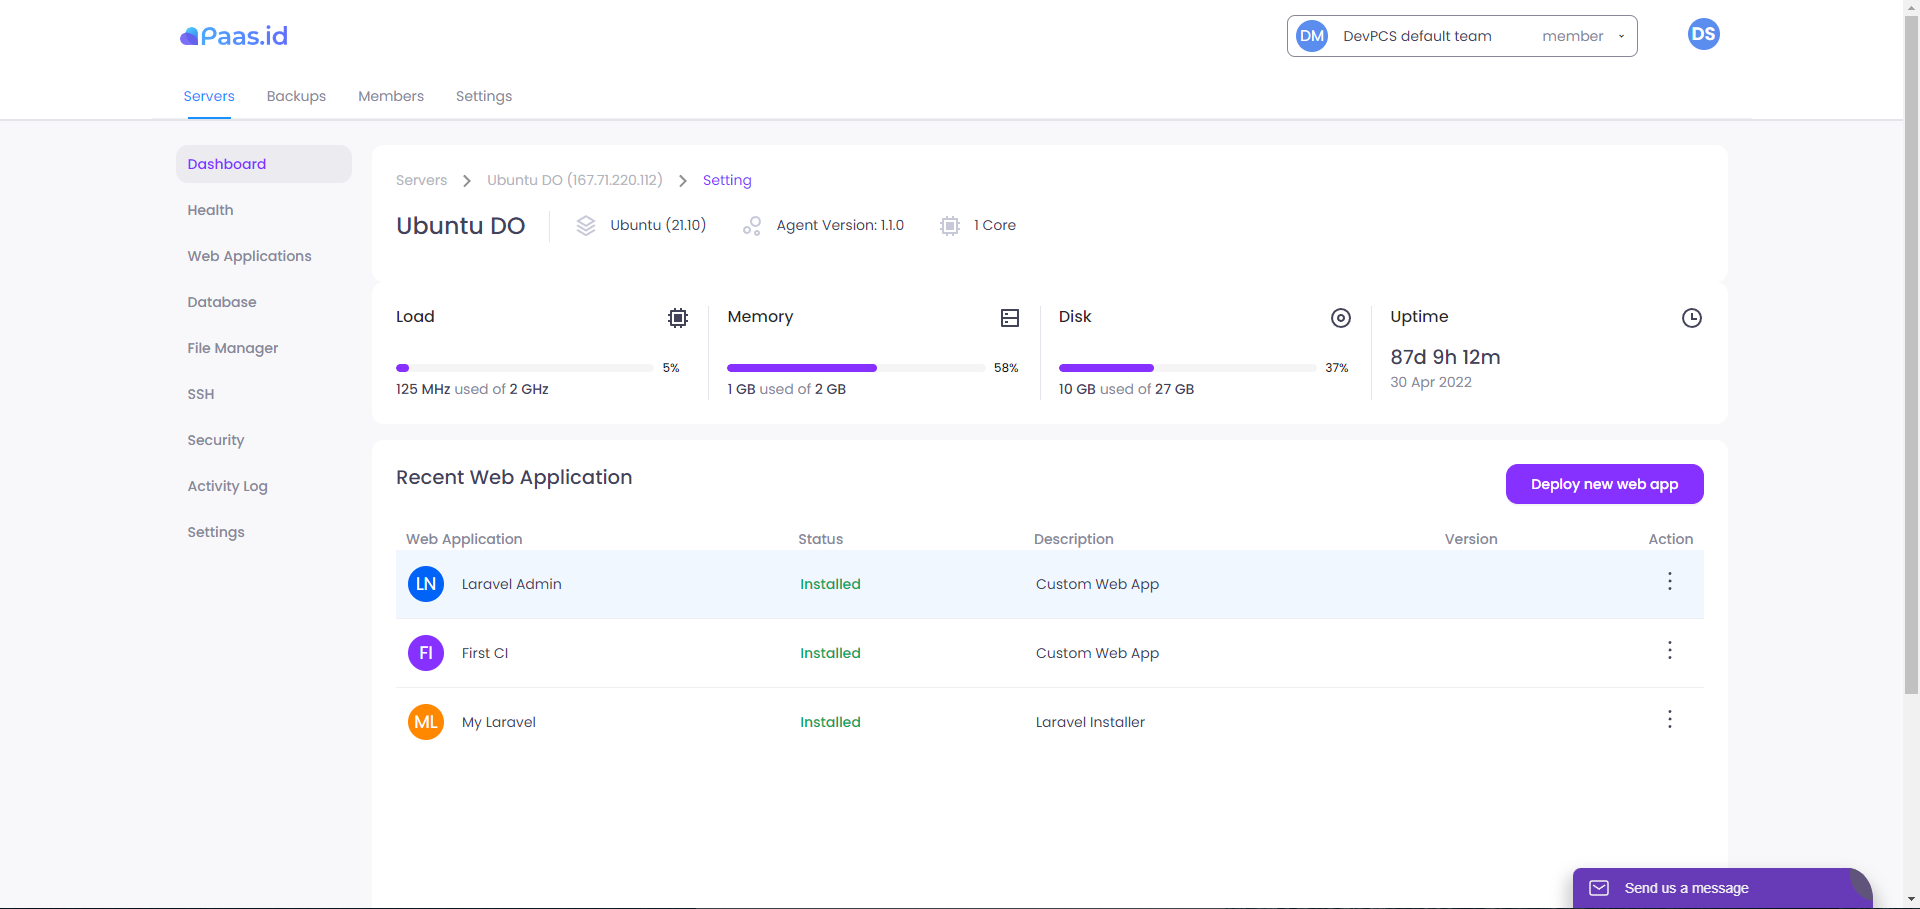
For example, we will deploy a laravel web application project inside a My Laravel web application. The next step is to click on File Manager in the sidebar.
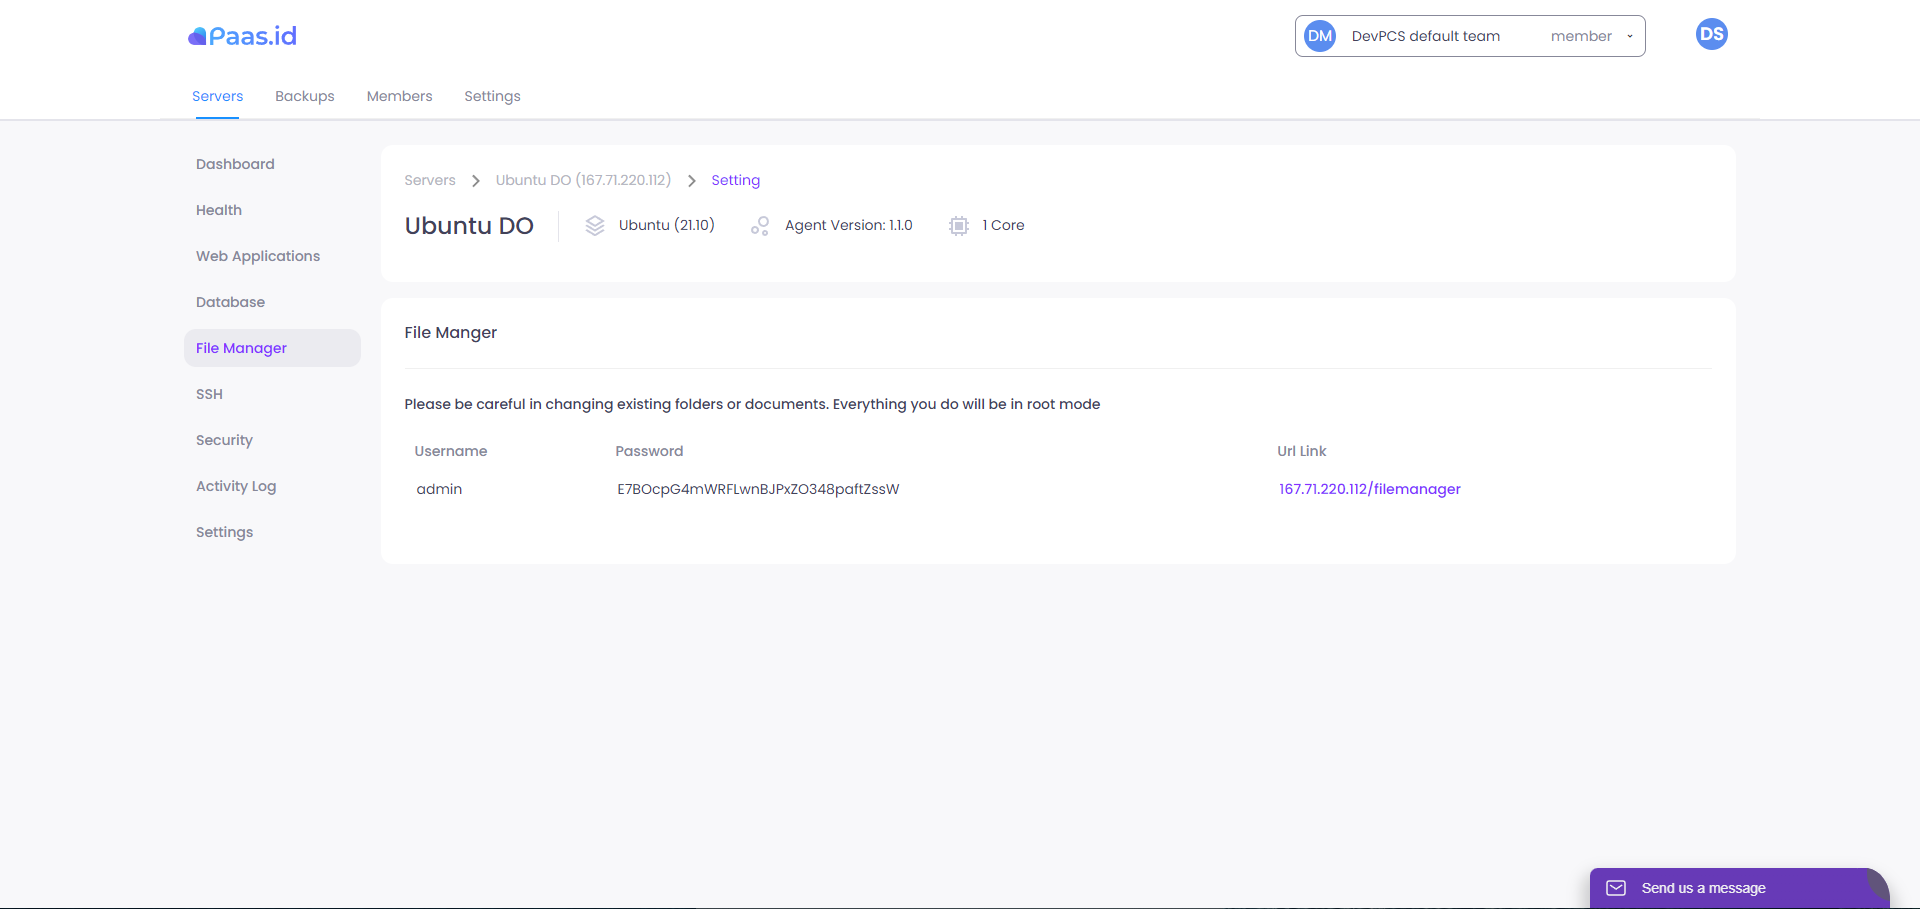
Click the URL link to go to the File Manager page, then you login using the provided Username and Password.
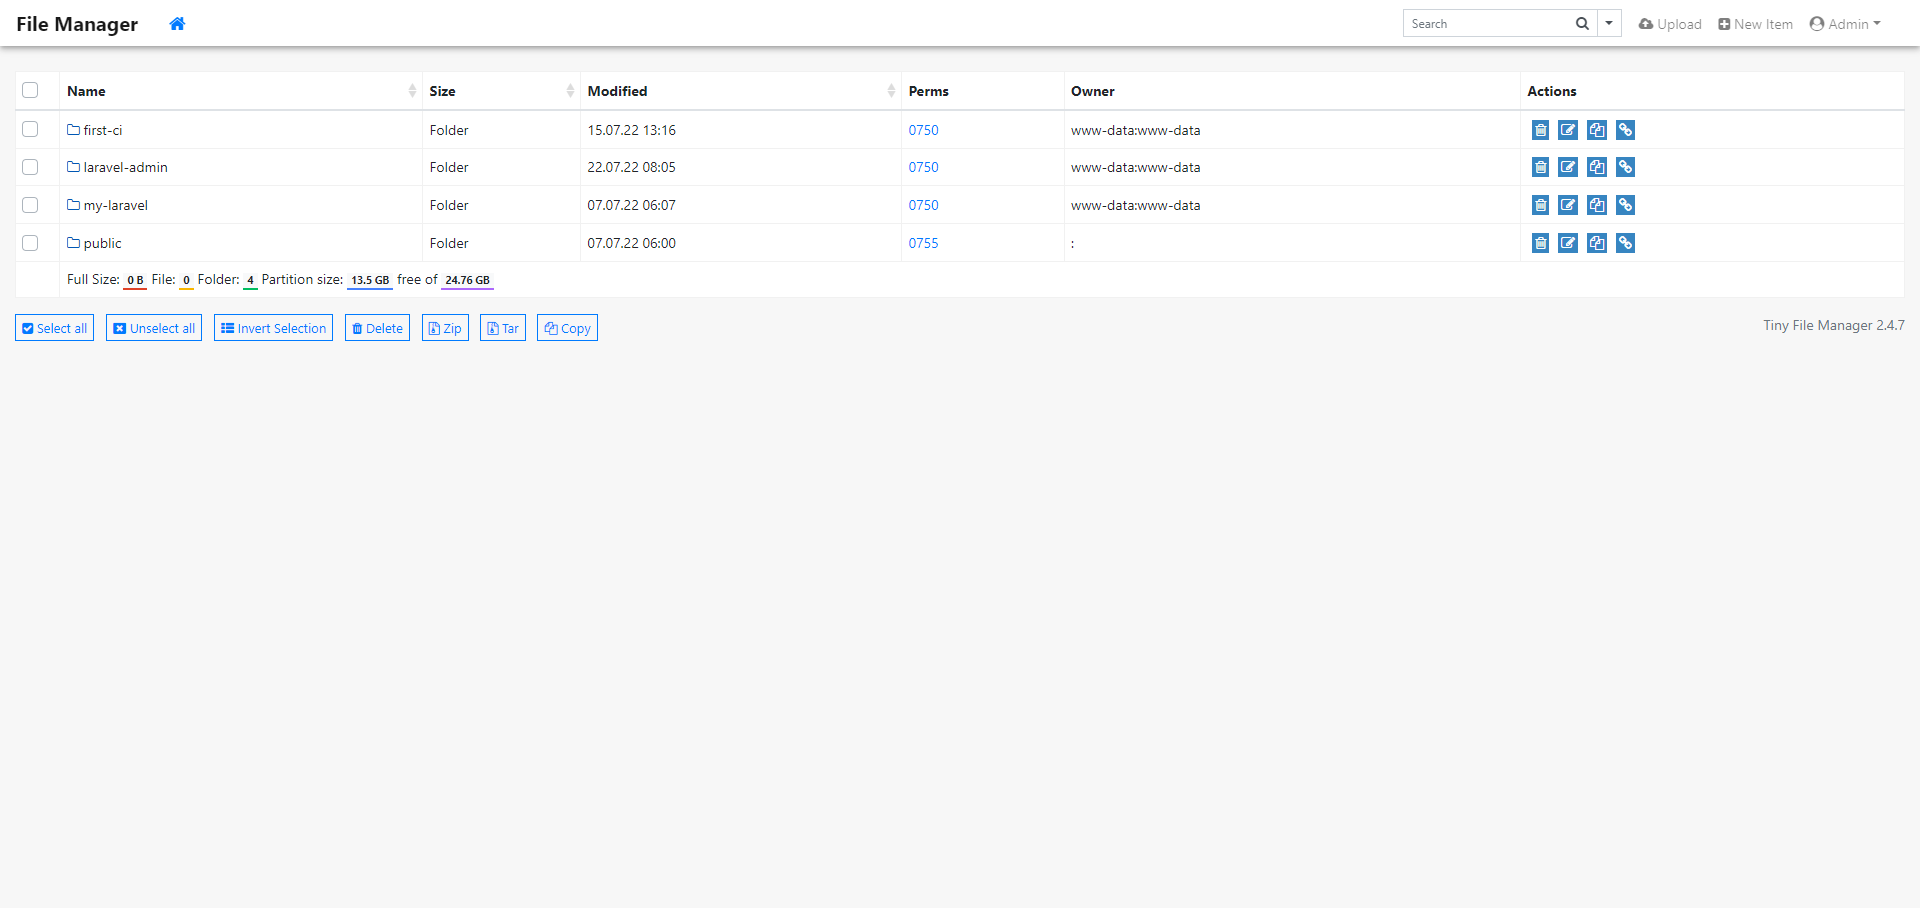
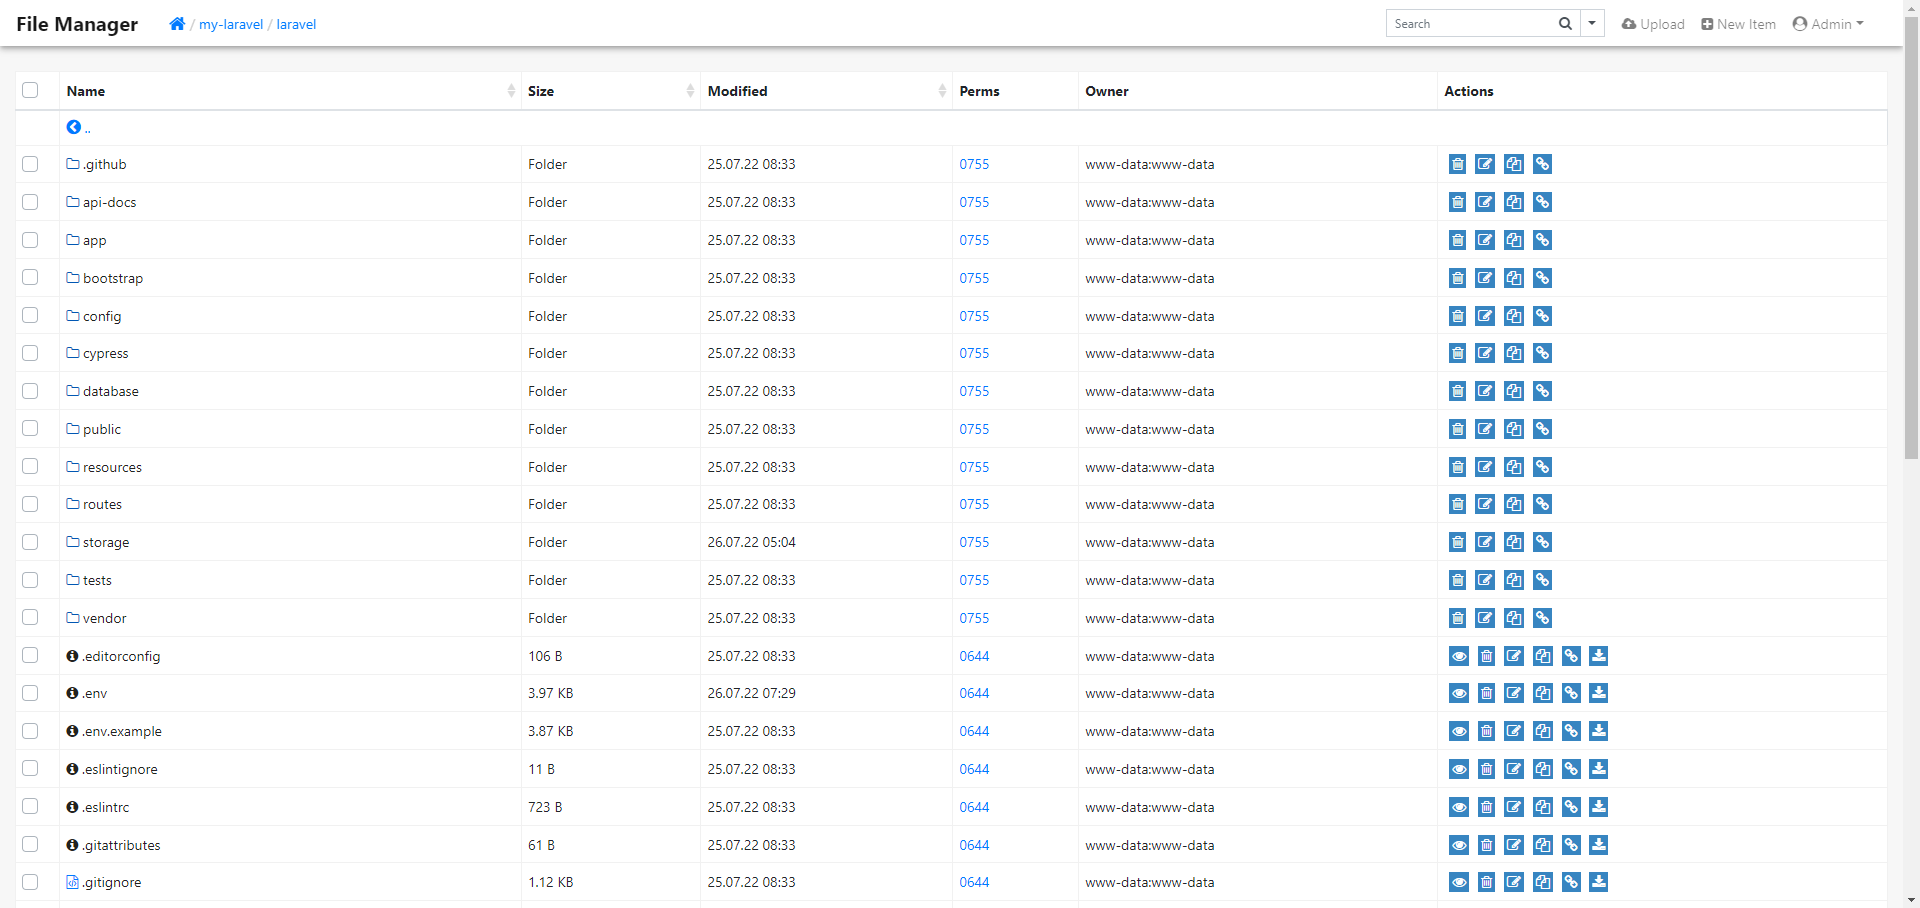
After you have successfully logged in, you will see a list of installed web application directories. Next you enter the destination directory (the example here is my-laravel).
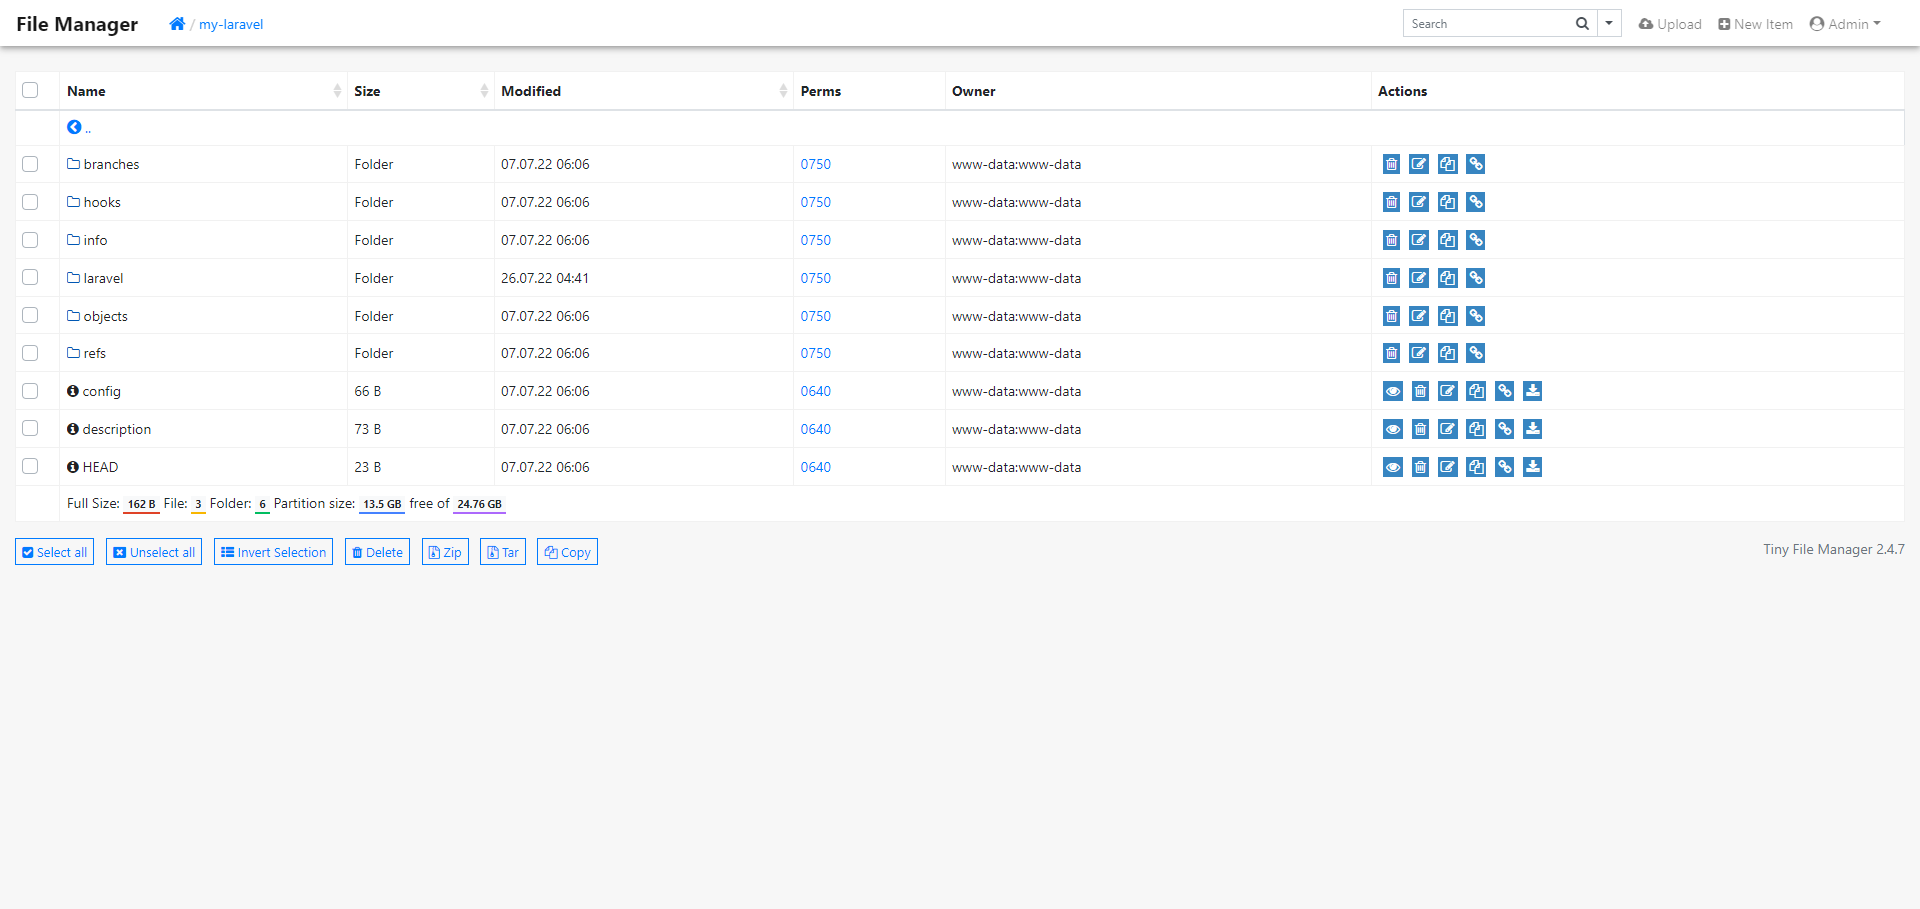
Then you open the laravel directory on this page.


On this page, you have to delete everything on this page.
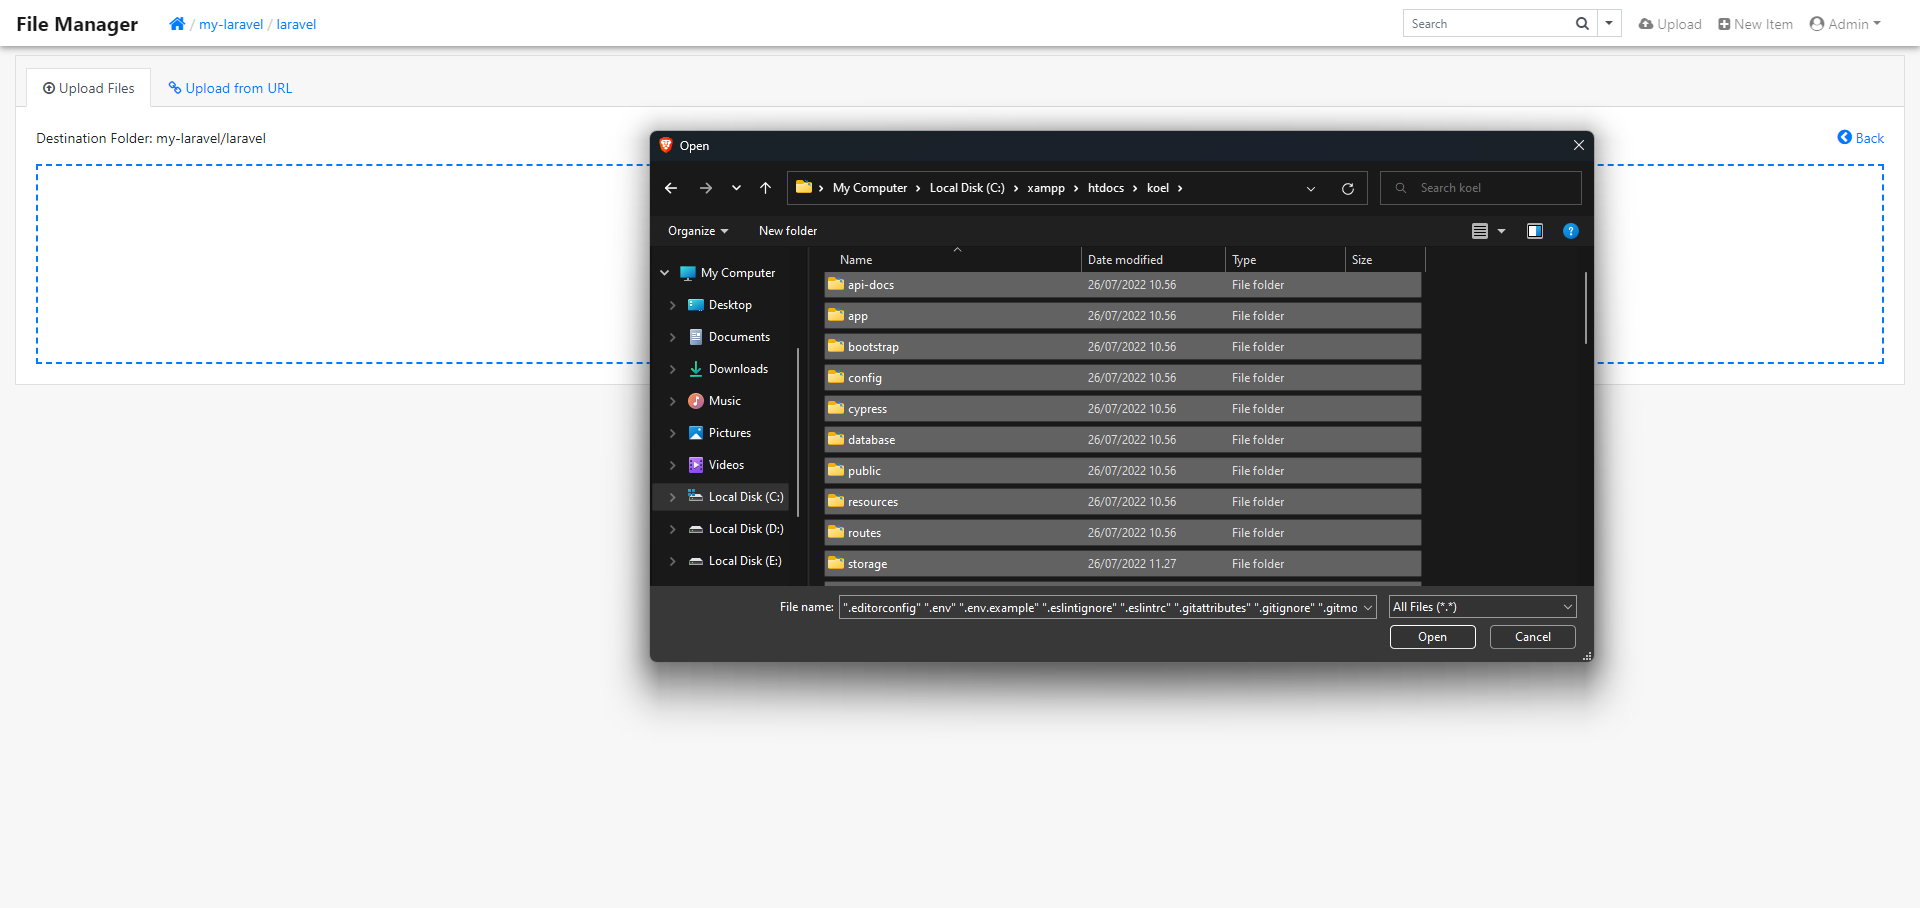
Then you click the upload button in the header, after that you can choose to upload the file directly or upload it via URL. For example, here will be a direct upload of the file.
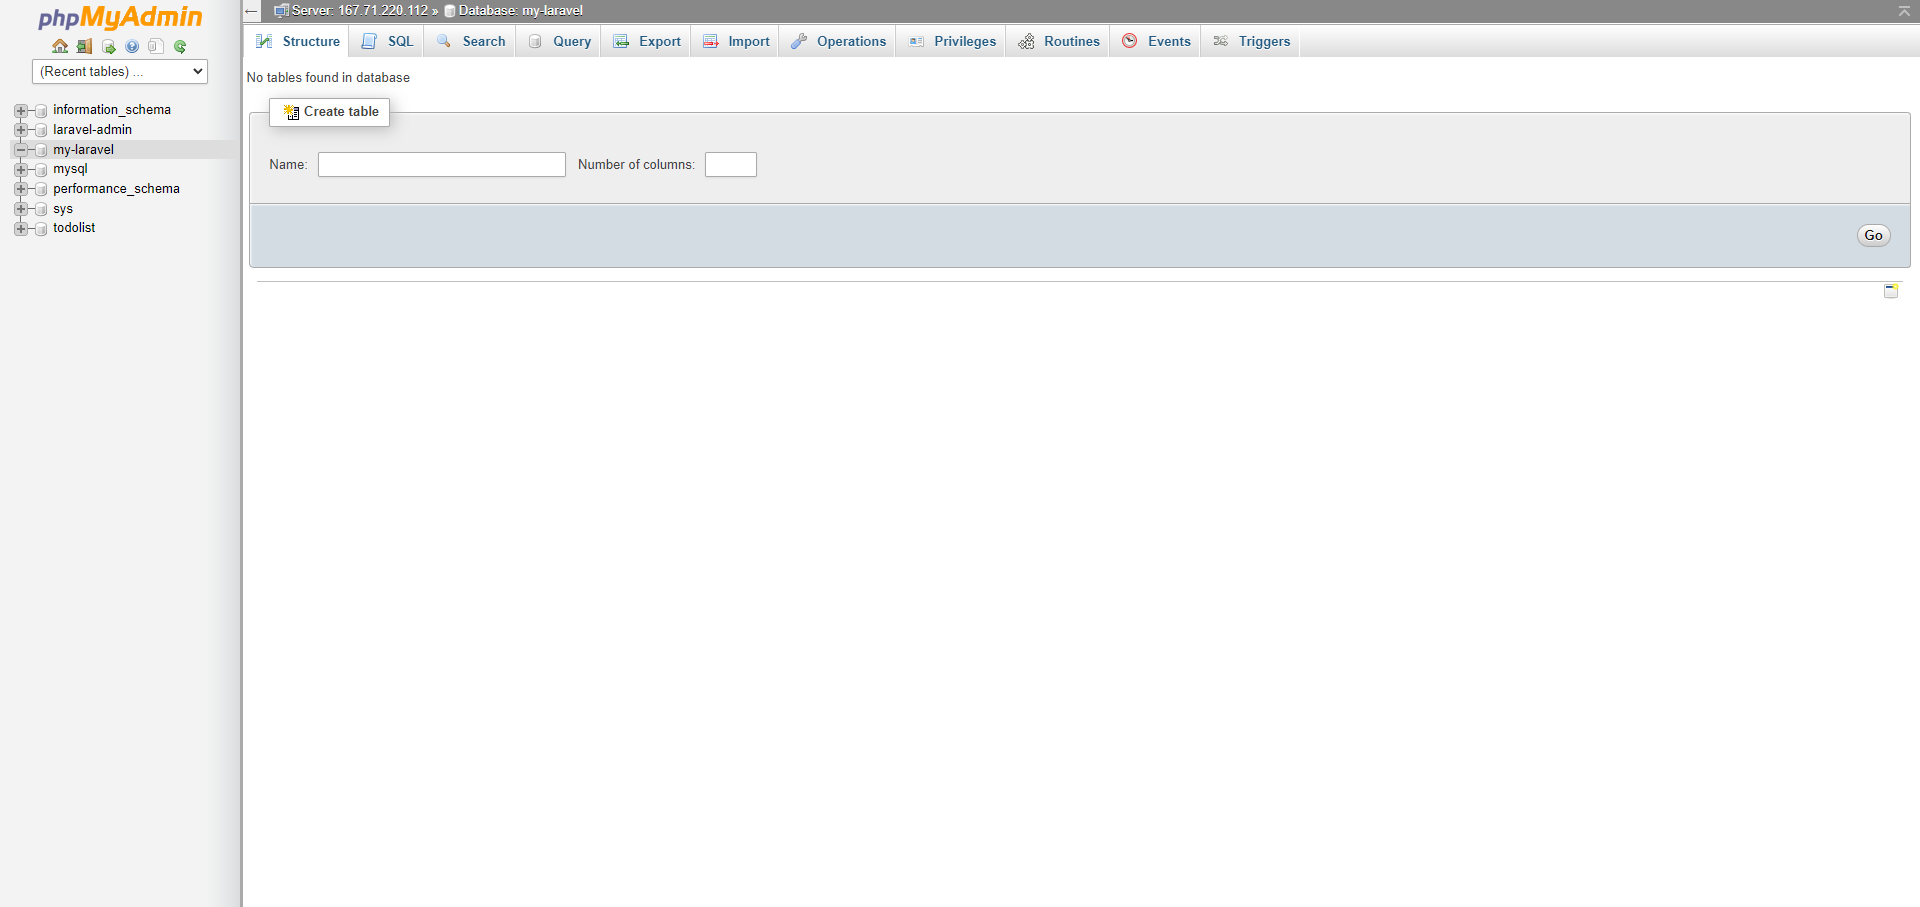
While waiting for the upload process, you can proceed to import SQL first. First open phpMyAdmin, and then click the database according to the existing laravel web project (example here is my-laravel).
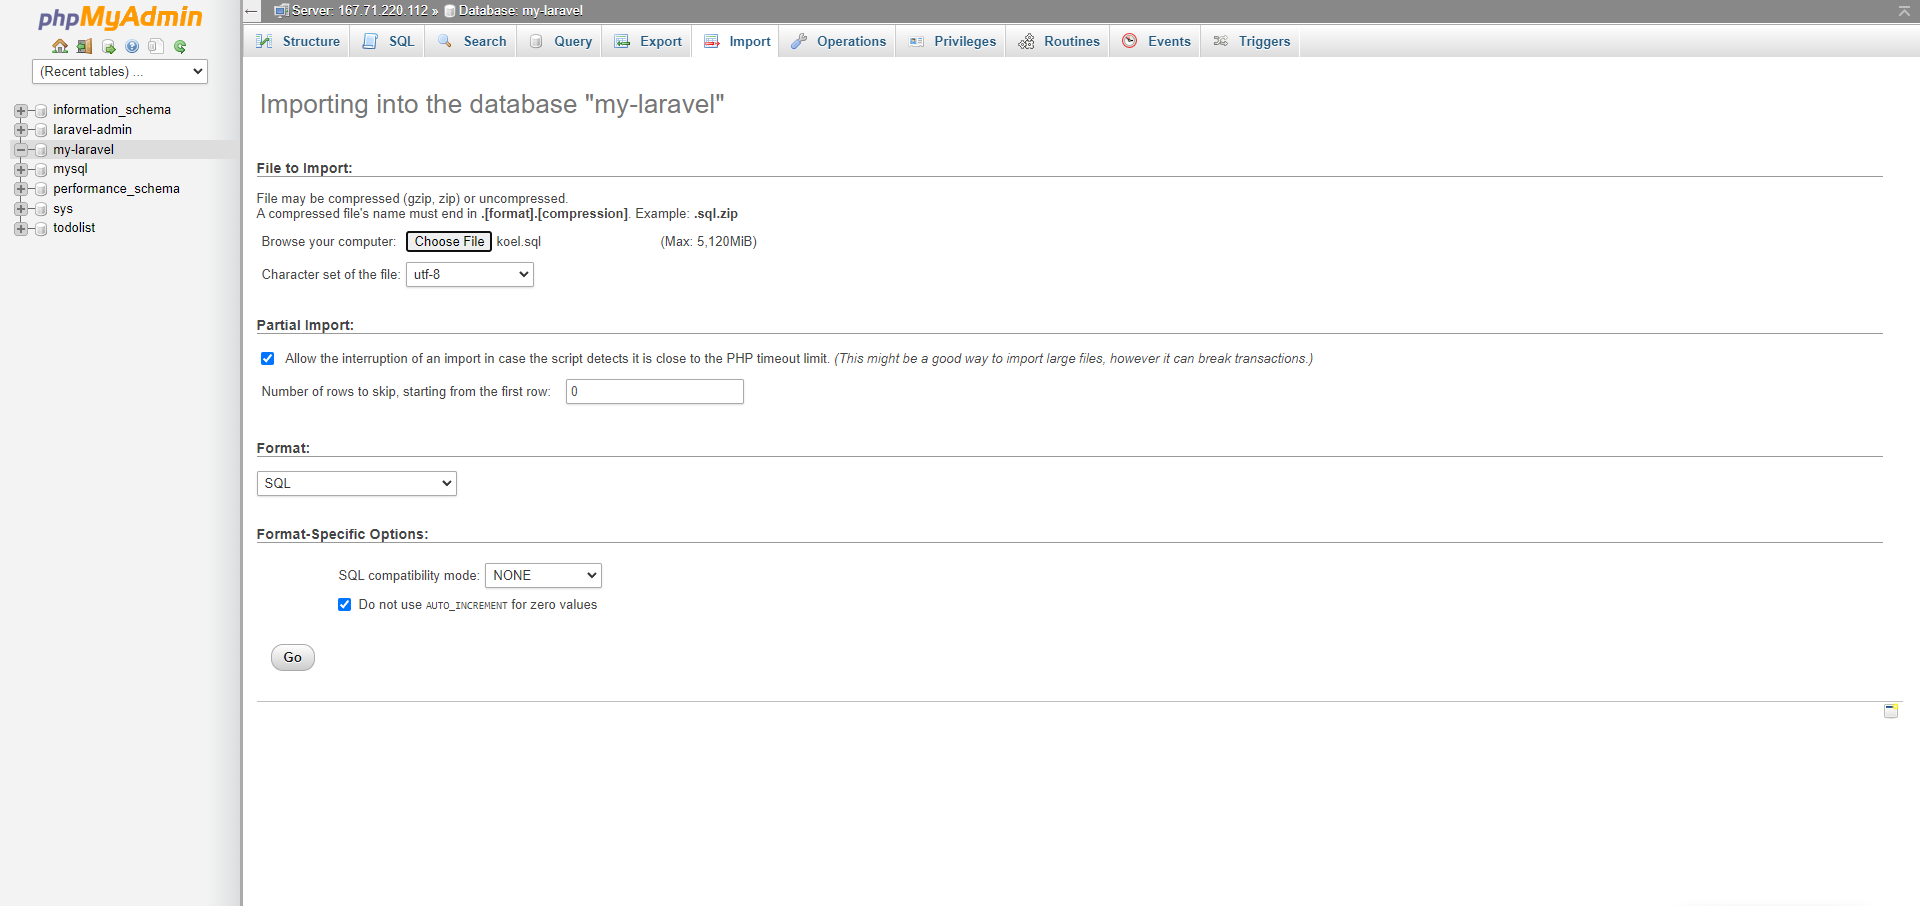
Click import, then select the SQL file that you want to import from your local computer. Click import, then select the SQL file that you want to import from your local computer. Then you click the Go button.
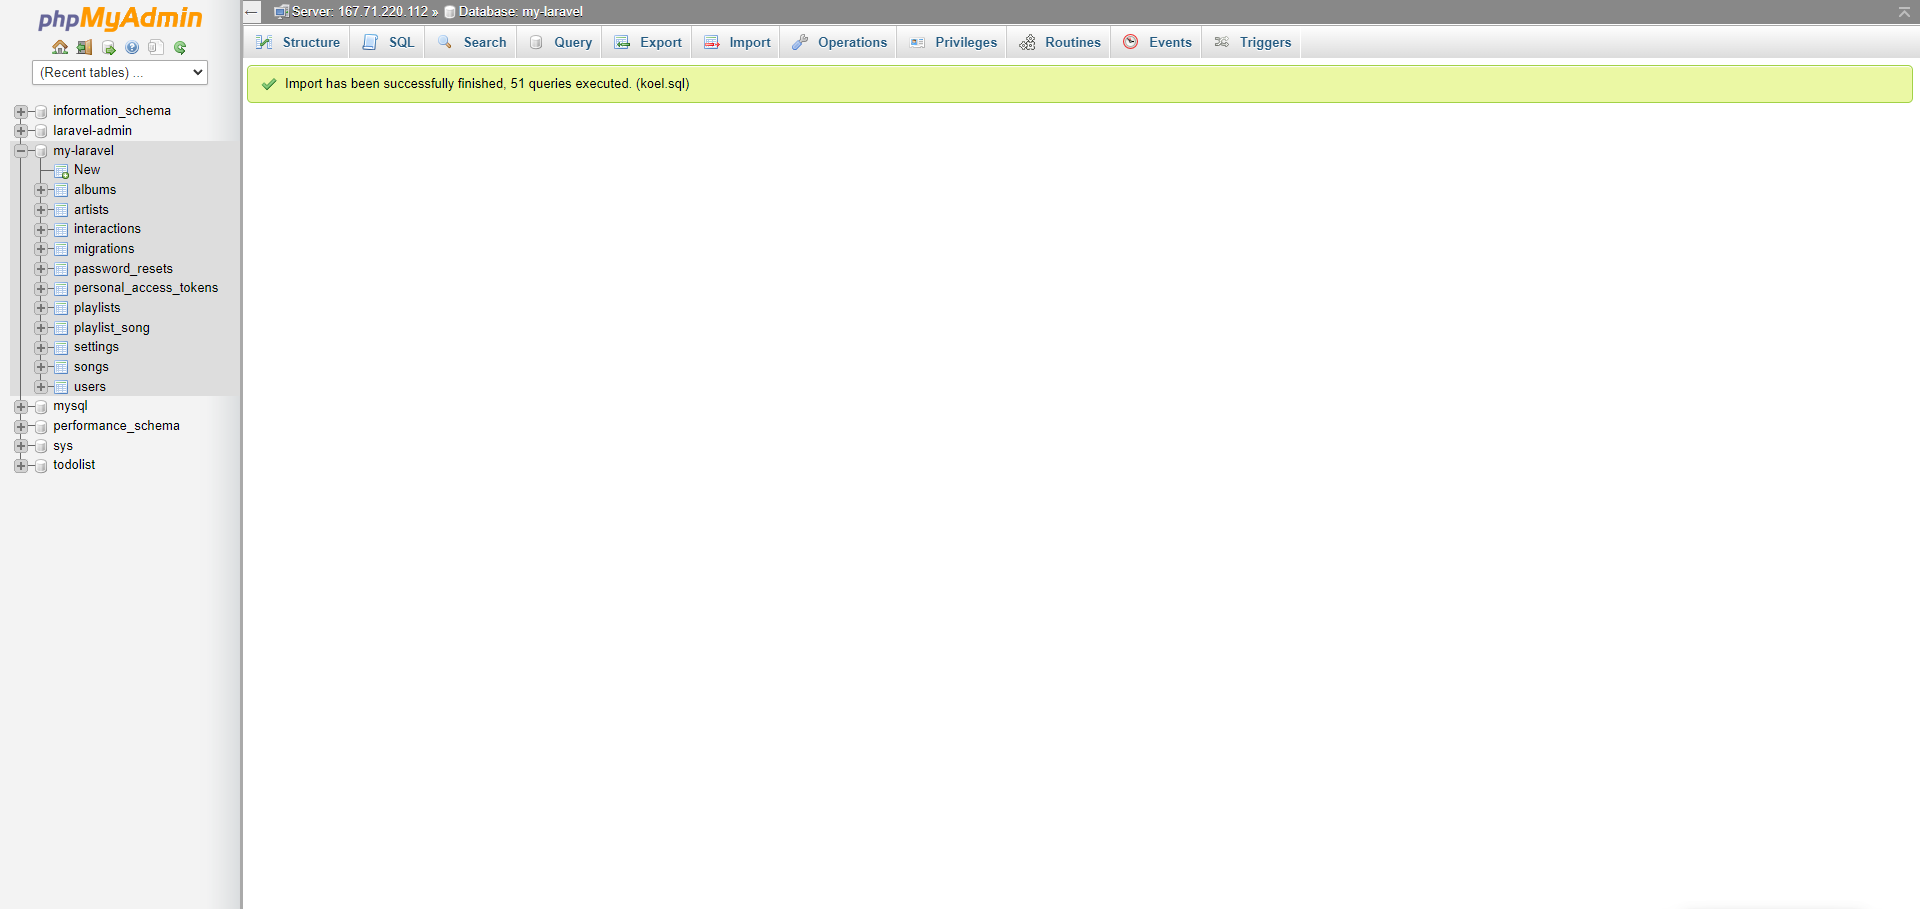
If the import process is successful, it will appear as shown above. Then the imported table will also appear in the database you have selected on the left.
After successfully uploading, you should return to the previous page. Then next you edit the .env file to match the database configuration on the server.
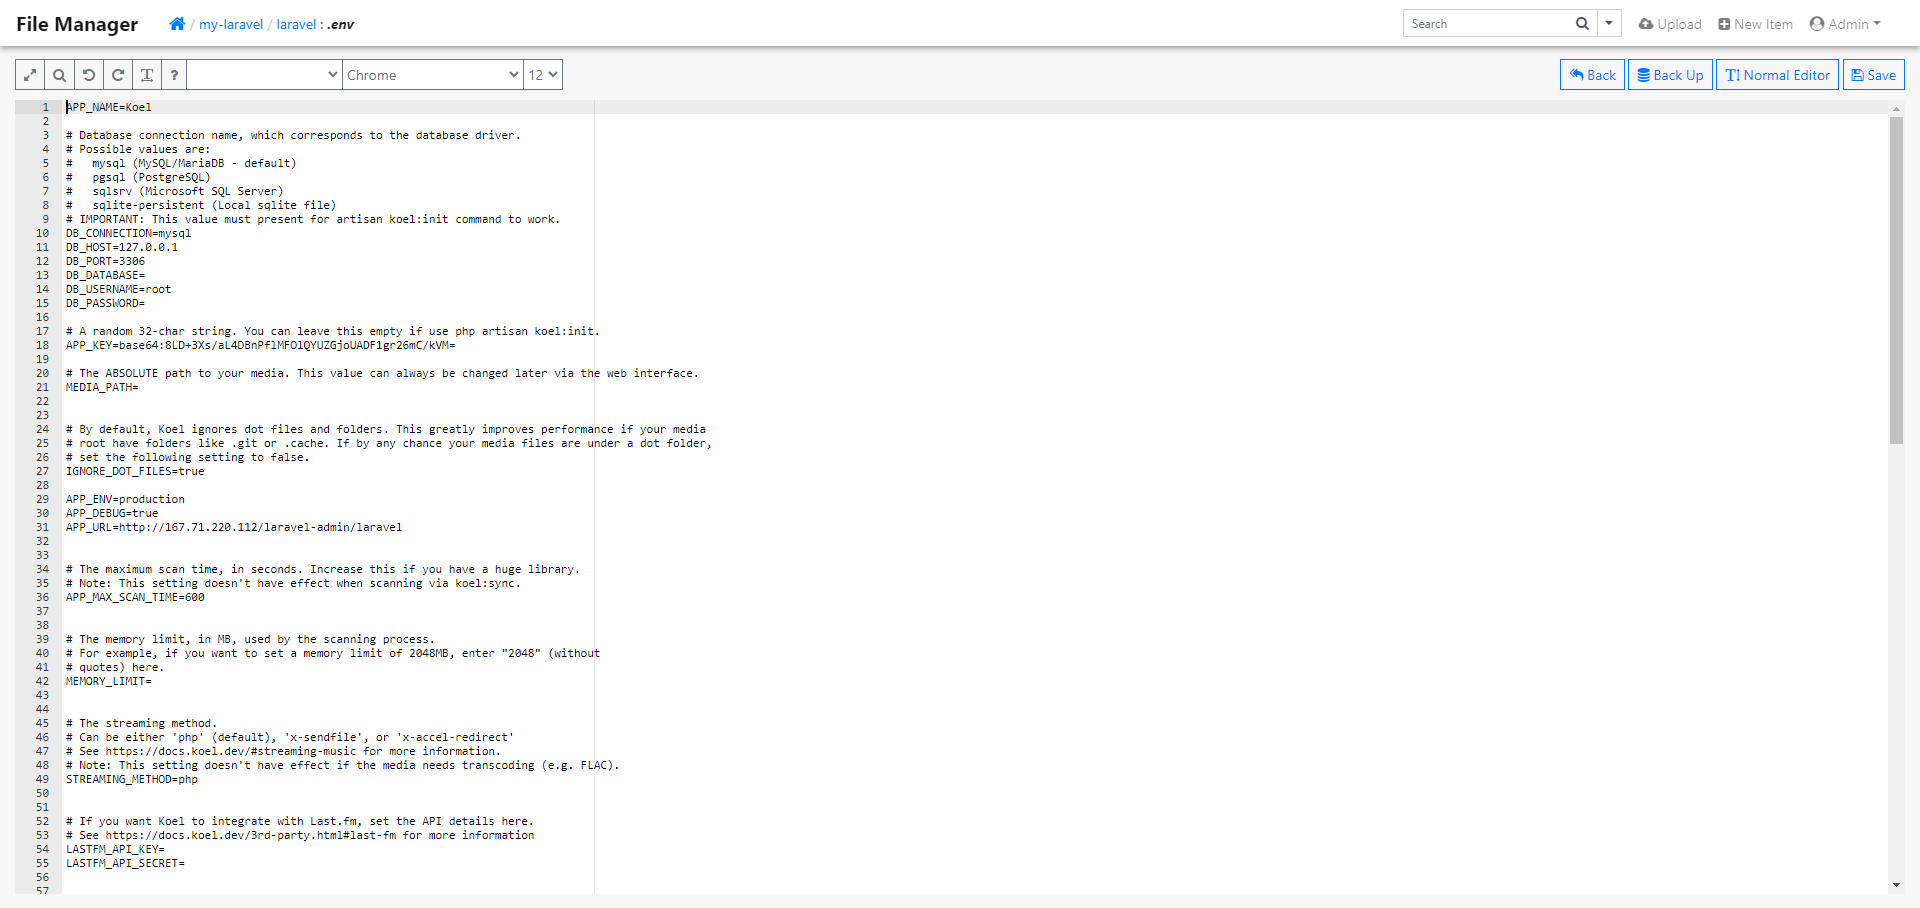
The DB_HOST, DB_USERNAME, and DB_PASSWORD value should match the database credentials provided on the Paas.id server database page. And also the DB_DATABASE value should match the database name that you previously selected and imported.

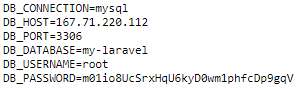
Don't forget to save the file.
Now visit your application and the page should be like the image above. Congratulations, your Laravel web application project has been successfully deployed and it's working!
Furthermore, you can follow the guide below if you want to add a domain to your application.
