How to Manage Server's Firewall Security on Paas.id

Introduction
It's necessary to manage your server's firewall security. You might be dealing with someone attacking your server. You want to block the attacker from your server, so they cannot attack your server anymore. At this point, your server's firewall can handle this by defining security rules to block specific IP addresses.
Your application might be running on unusual ports. By default, all ports are blocked from external network connections. Hence, you need to open the ports to make your application accessible from the external network. At this point, your server's firewall can handle this by defining security rules to allow specific ports.
In this guide, we will learn about managing server's firewall security on Paas.id.
Prerequisites
- Have installed a web server on Paas.id
Step 1 - Login to your Paas.id Account
Login to your Paas.id account via https://dash.paas.id/auth/login.
Step 2 - Navigate to Server Security Page
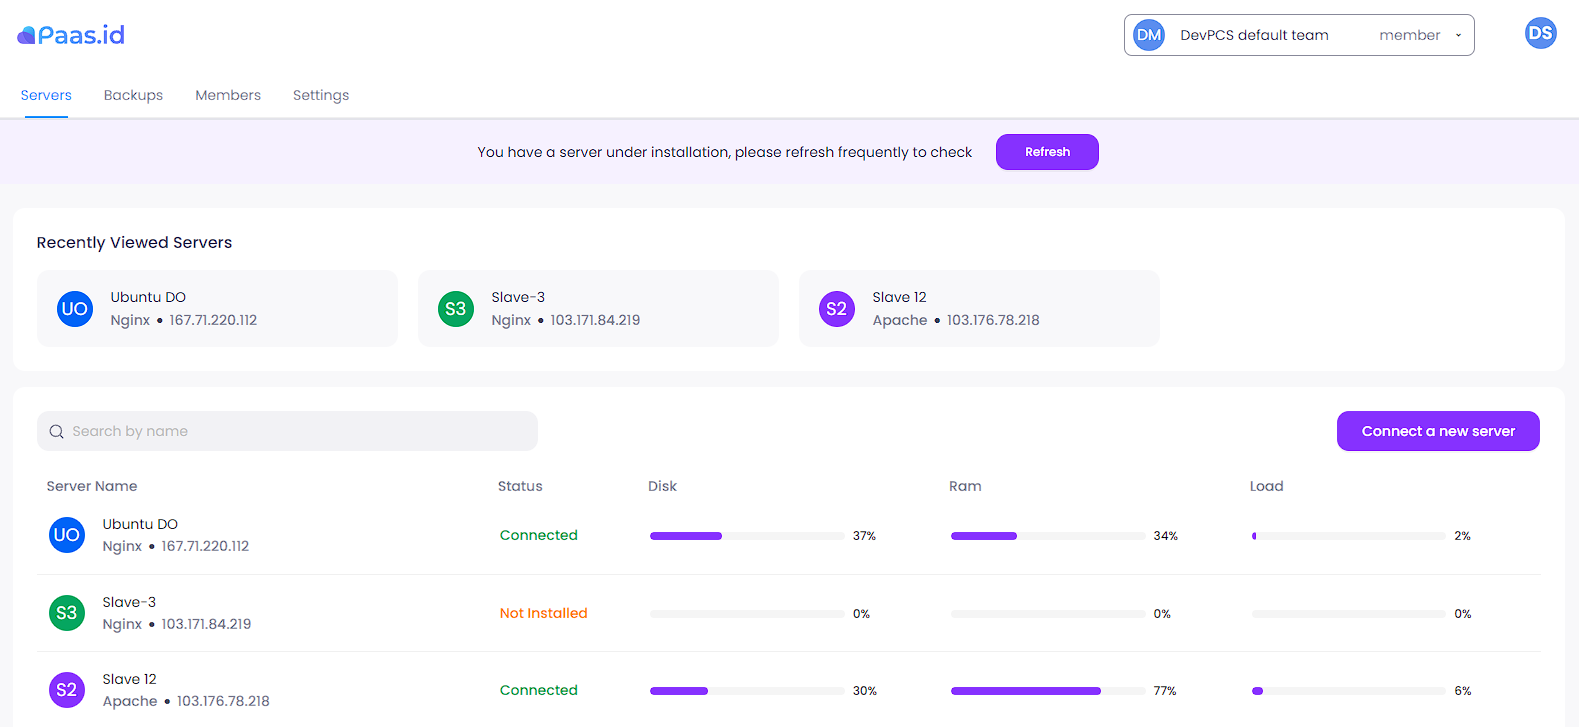
From the servers page, you need to open the server details page by clicking on the server name.
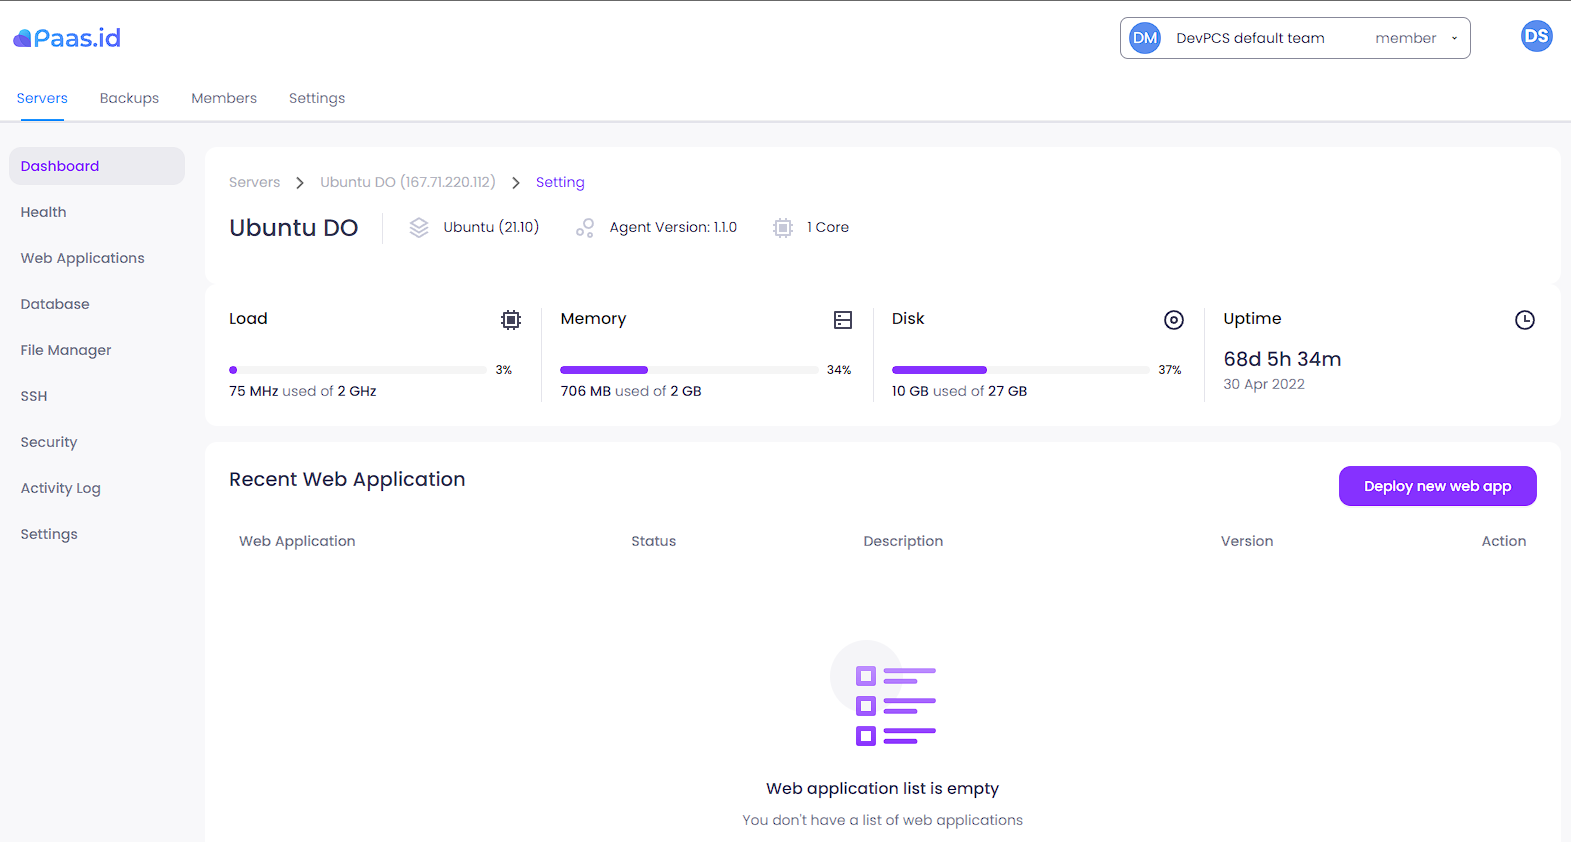
On the server detail page, you need to open the server security page by clicking "Security" menu on the left sidebar.
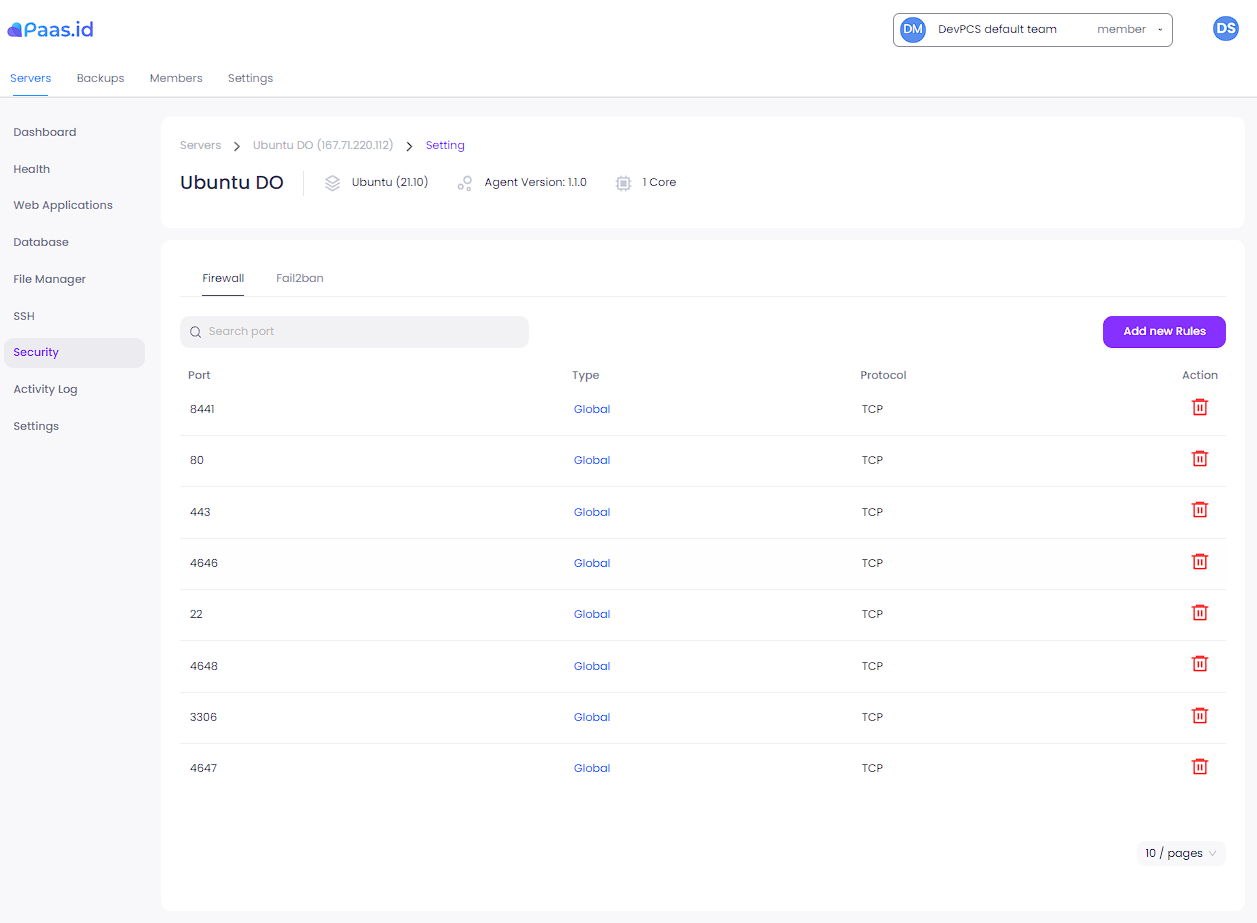
As you can see, there are two menus namely "Firewall" and "Fail2ban". The "Firewall" menu is used to allow ports, so that all incoming network connections to the specified port will be accepted by the server's firewall. On the other hand, the "Fail2ban" menu is used to block IPs, so that all incoming network connections from the specified IP will be rejected. Hence, the specified IP cannot communicate with the server.
Allow Ports
To allow a port, navigate to server firewall page by clicking the "Firewall" menu. Click the "Add new Rules" button and you will directed to create firewall rule page.
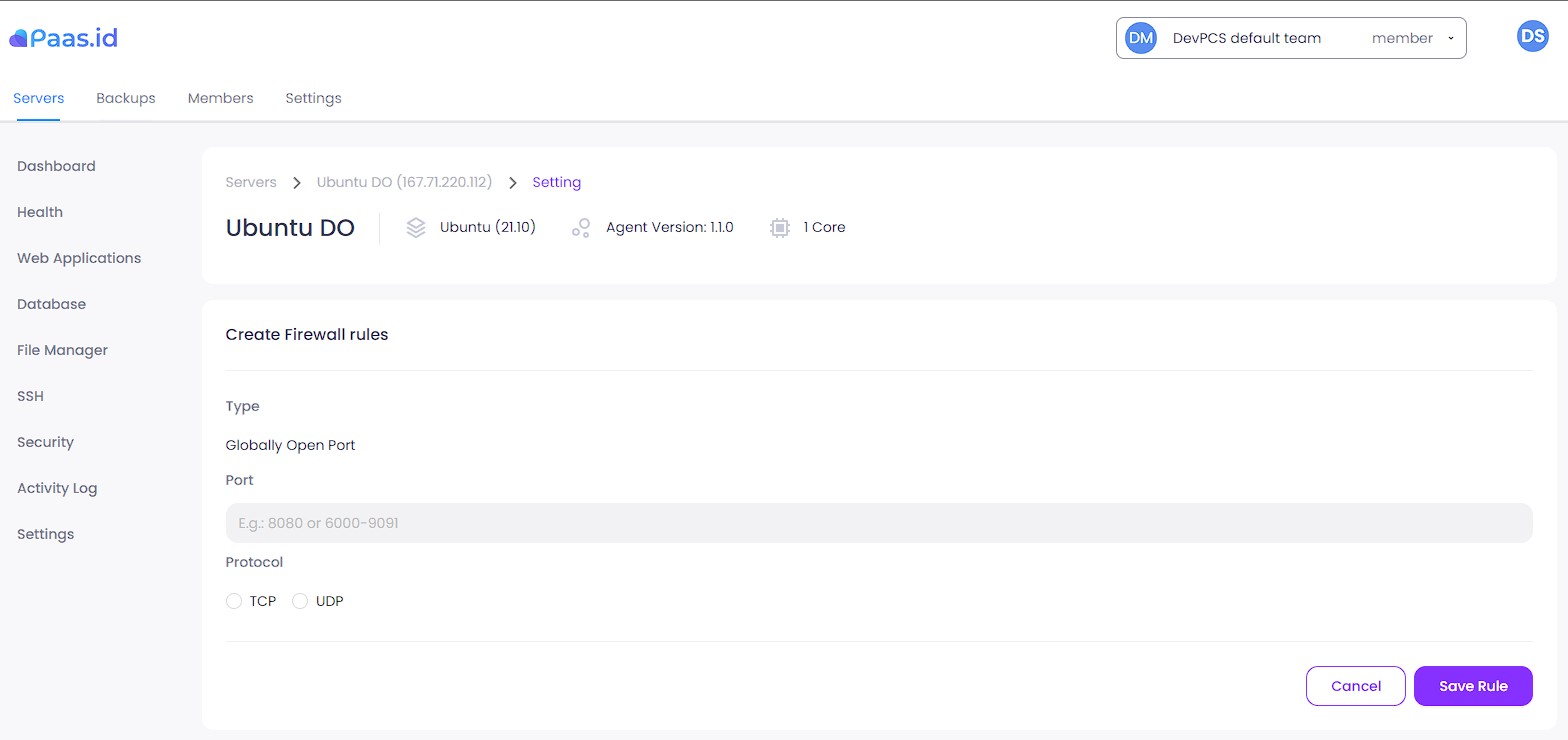
Fill the port and protocol field. You can allow multiple ports within range with this format,Starting Port:Ending Port. For example, to allow ports from 9000 to 9500 the input value should be like this 9000:9500.
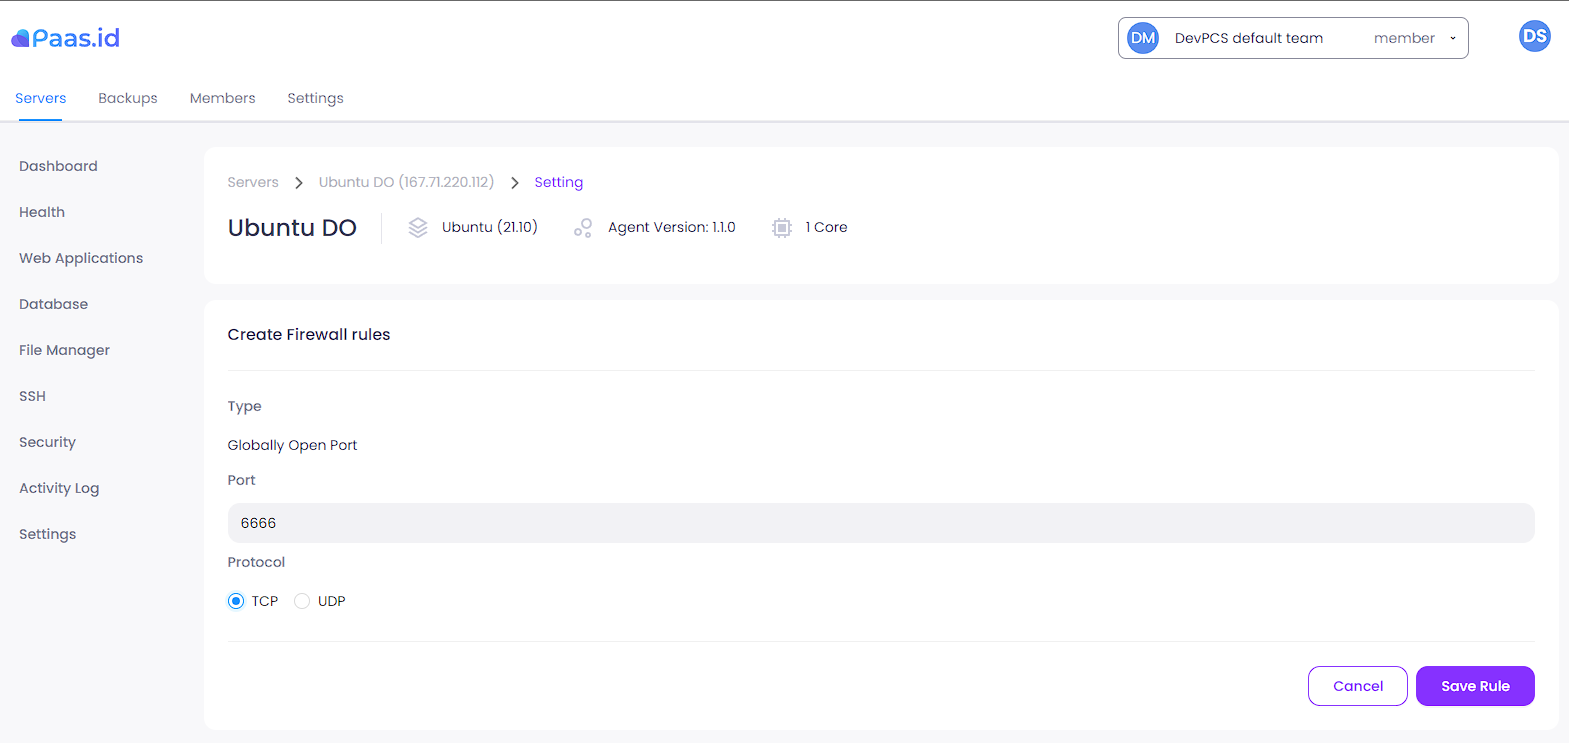
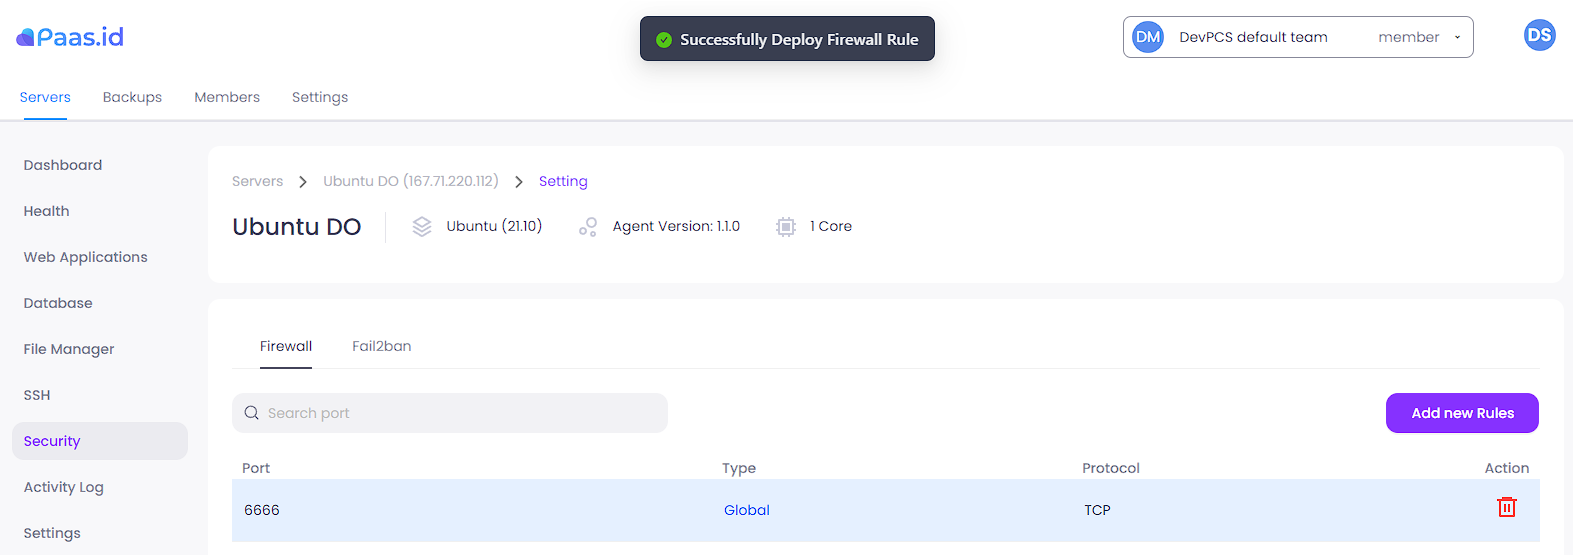
Next, click the "Save Rule" button. A confirmation message will appear, read the warning message carefully.
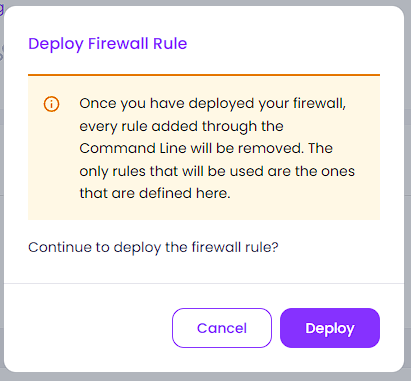
Click the "Deploy" button, if there is no error you will be directed to server security page.
Banned IPs
To block an IP, navigate to server fail2ban page by clicking the "Fail2ban" menu.

Click the "Ban IP" button, a dialog box will appear.
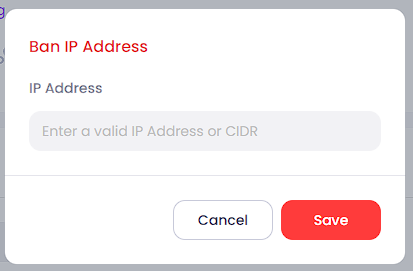
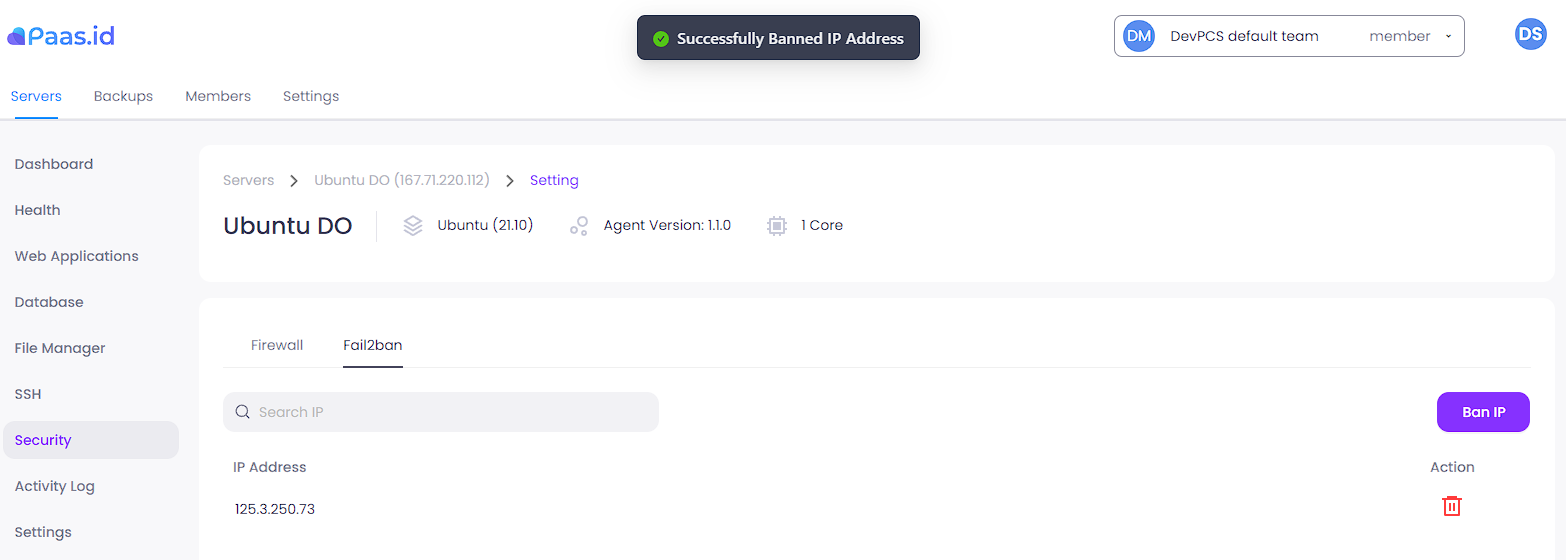
Fill the IP field and click the "Save" button. If there is no error you will be directed to server security page.
Validate the Security Rules
Firstly, you need to login to your server. Using SSH, you can login by executing the command below (provide the password if asked).
ssh {USERNAME}@{SERVER_PUBLIC_IP}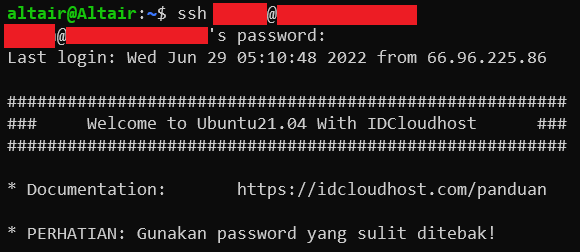
After logged in successfully to the server, we need to see the server's firewall security rules by executing the command below.
sudo ufw status verbose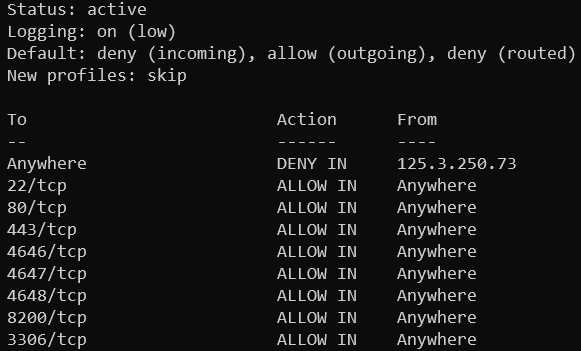

As you can see, there is a rule stating that all network connections to port 6666/tcp are allowed. Also, there is a rule stating that any network connection from IP 125.3.250.73 to the server will be rejected.