How to Install Laravel Web Application on Paas.id

Introduction
Laravel is a free and open-source web application framework written in PHP. In Paas.id, Laravel are paired with a MySQL database.
In this guide, we will learn about installing a Laravel web application on Paas.id.
Prerequisites
- Have installed a web server on Paas.id
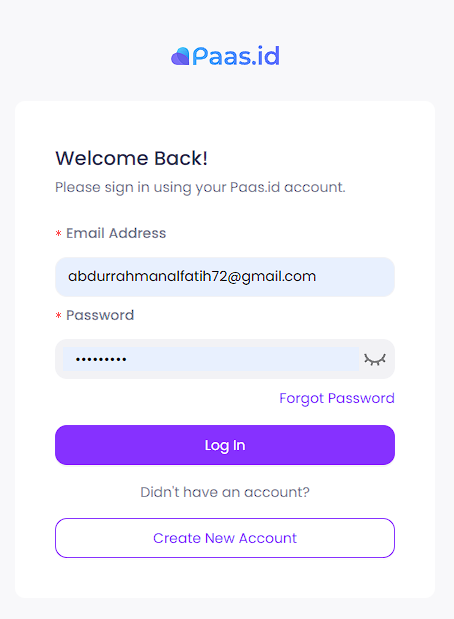
Step 1 - Login to your Paas.id Account
Login to your Paas.id account via https://dash.paas.id/auth/login.
Step 2 - Navigate to Web Applications Page
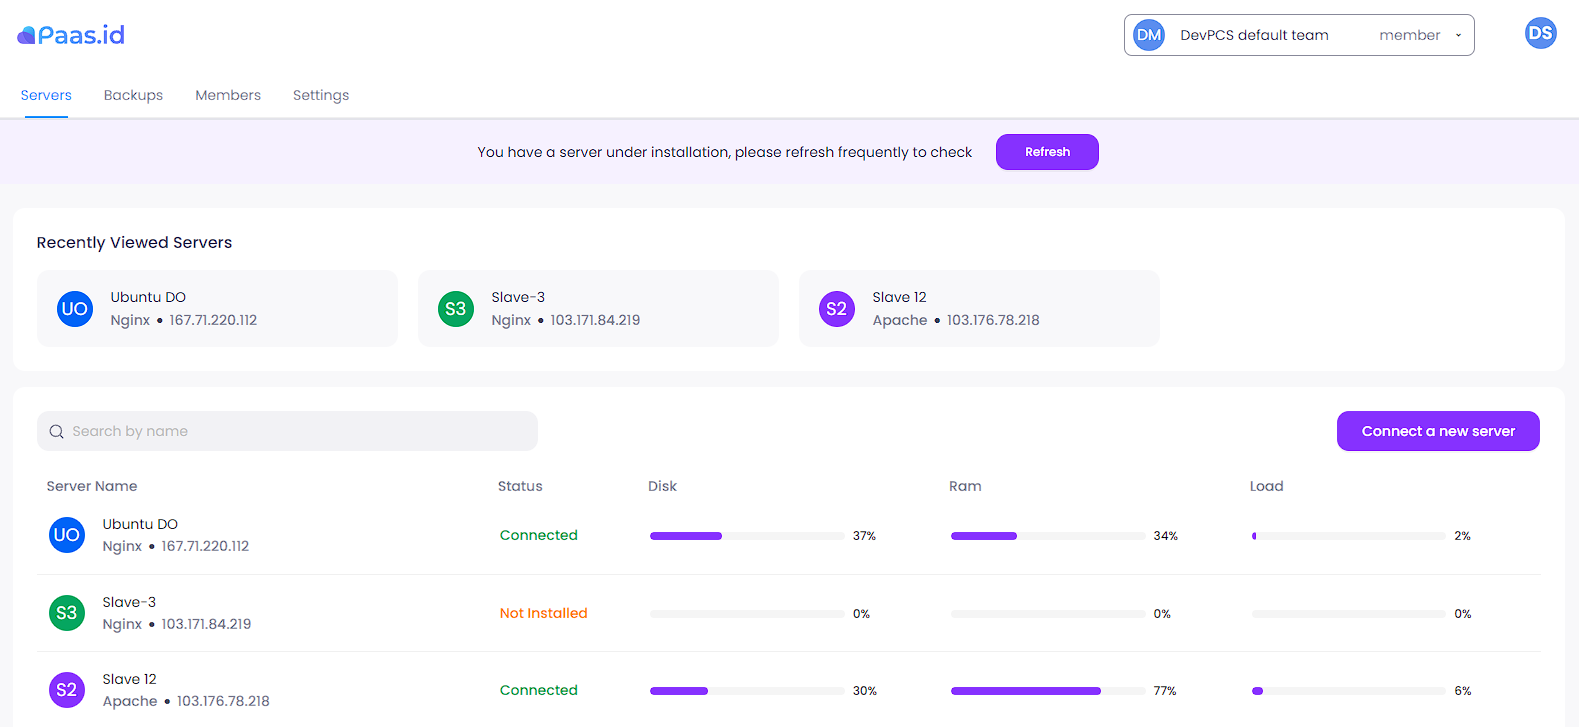
From the servers page, you need to open the server details page by clicking on the server where your application is located.
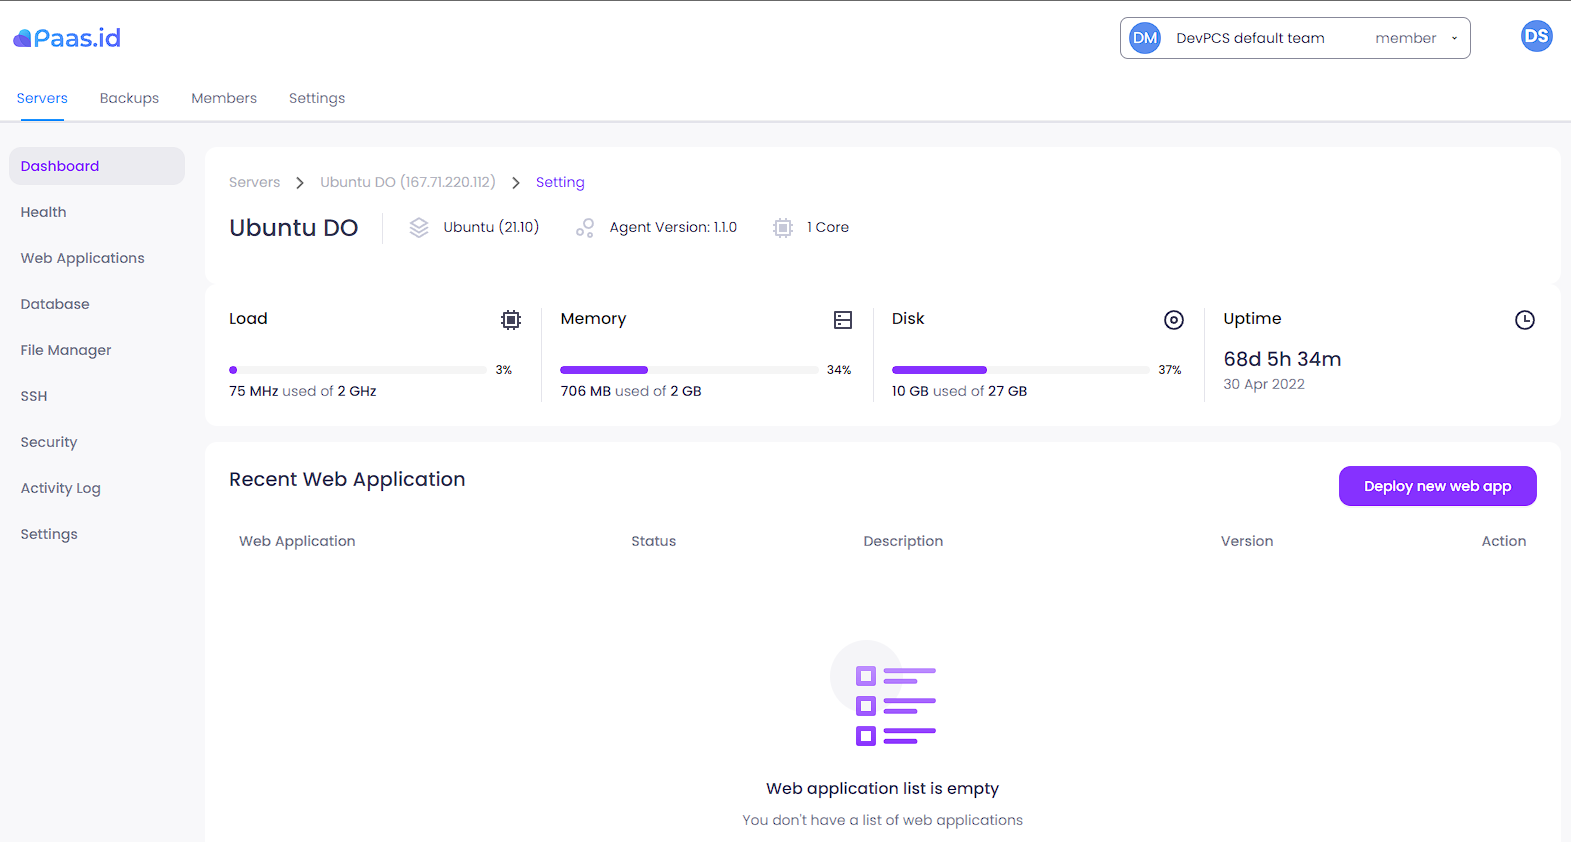
On the server detail page, you need to open the web applications page by clicking "Web Applications" menu on the left sidebar.
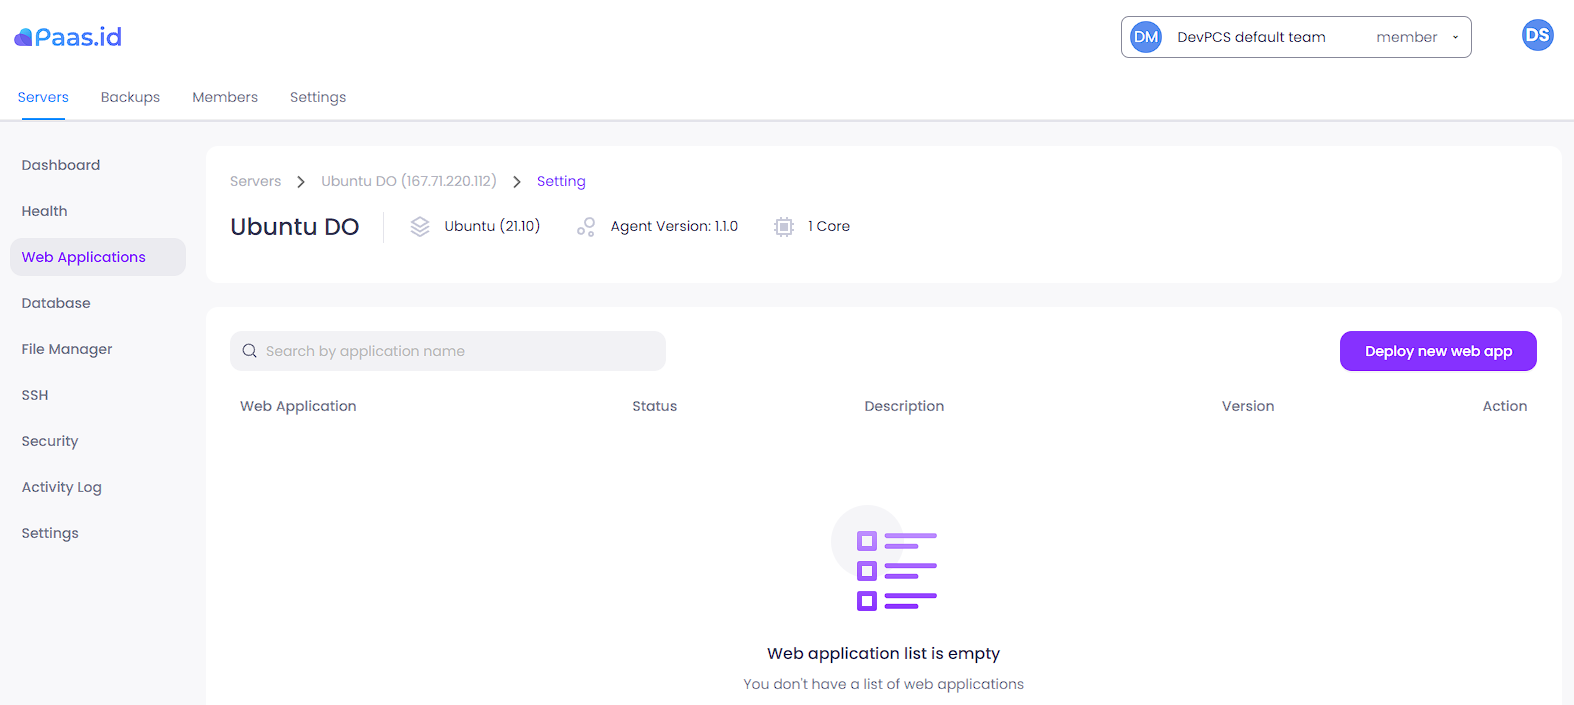
Step 3 - Navigate to Deploy New Web App Page
On the web applications page, you need to open the deploy web app page by clicking "Deploy new web app" button on the right side.
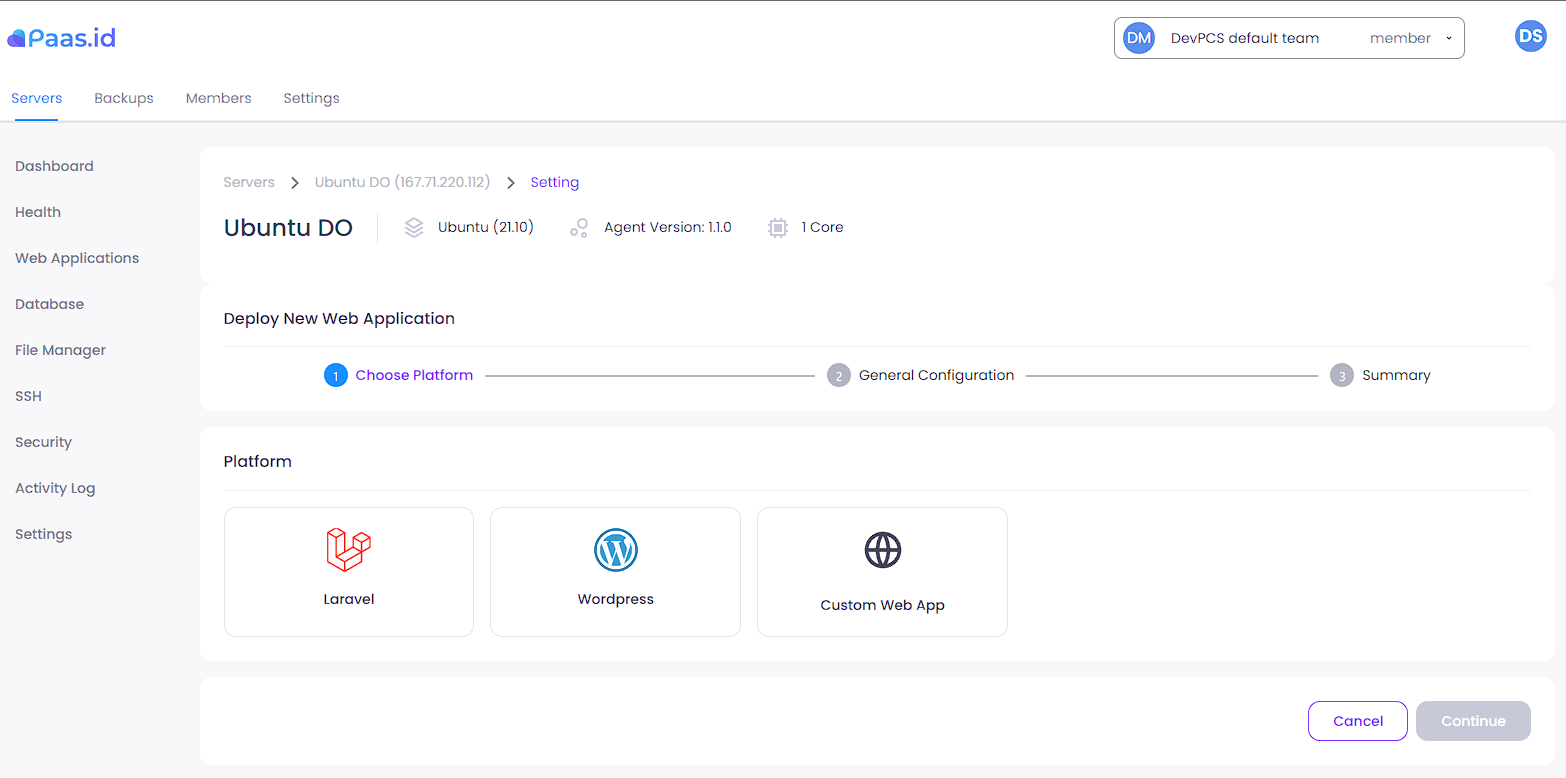
Step 4 - Configure New Laravel Web Application
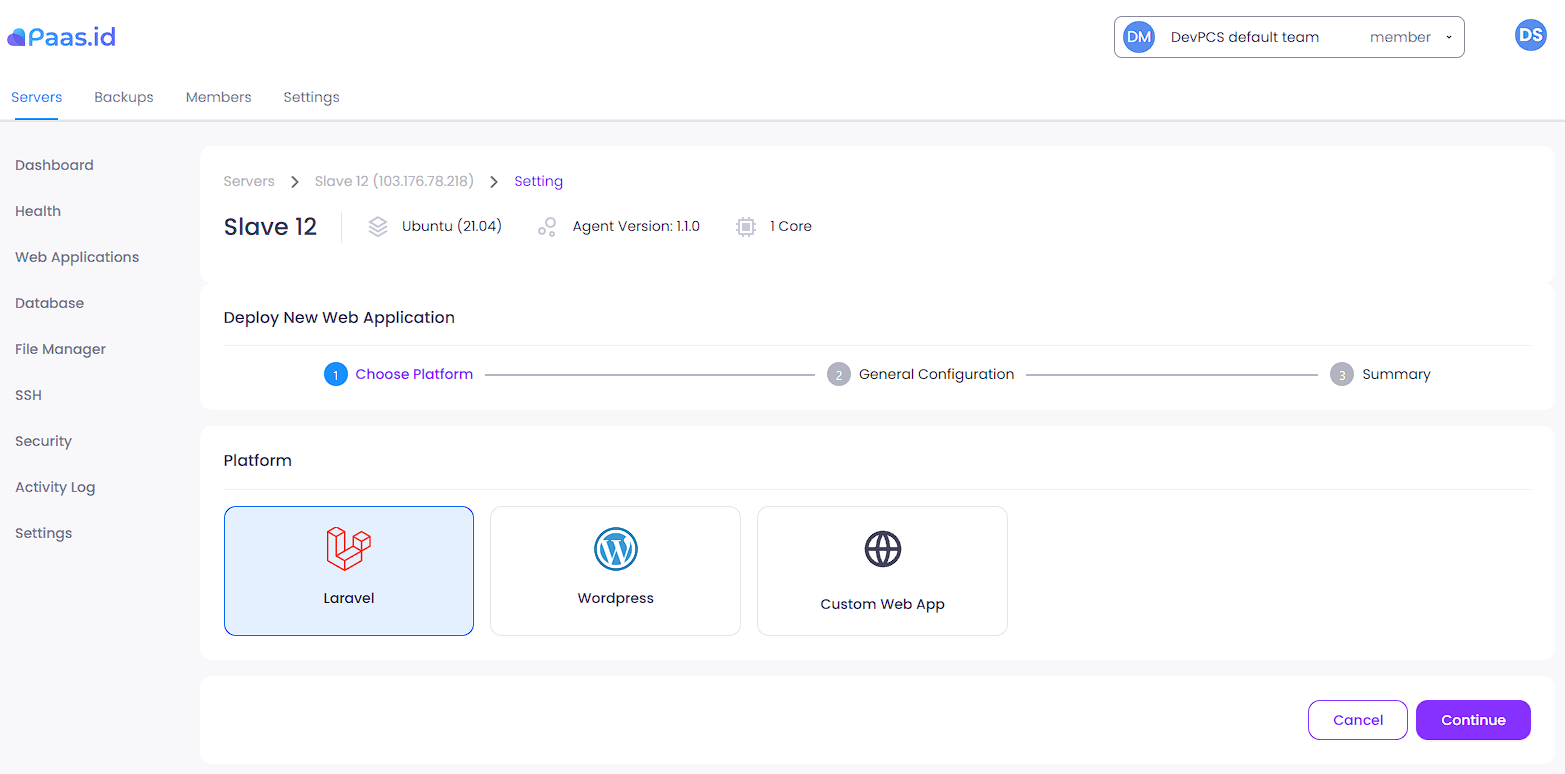
On the Choose Platform section, choose Laravel and click the continue button.
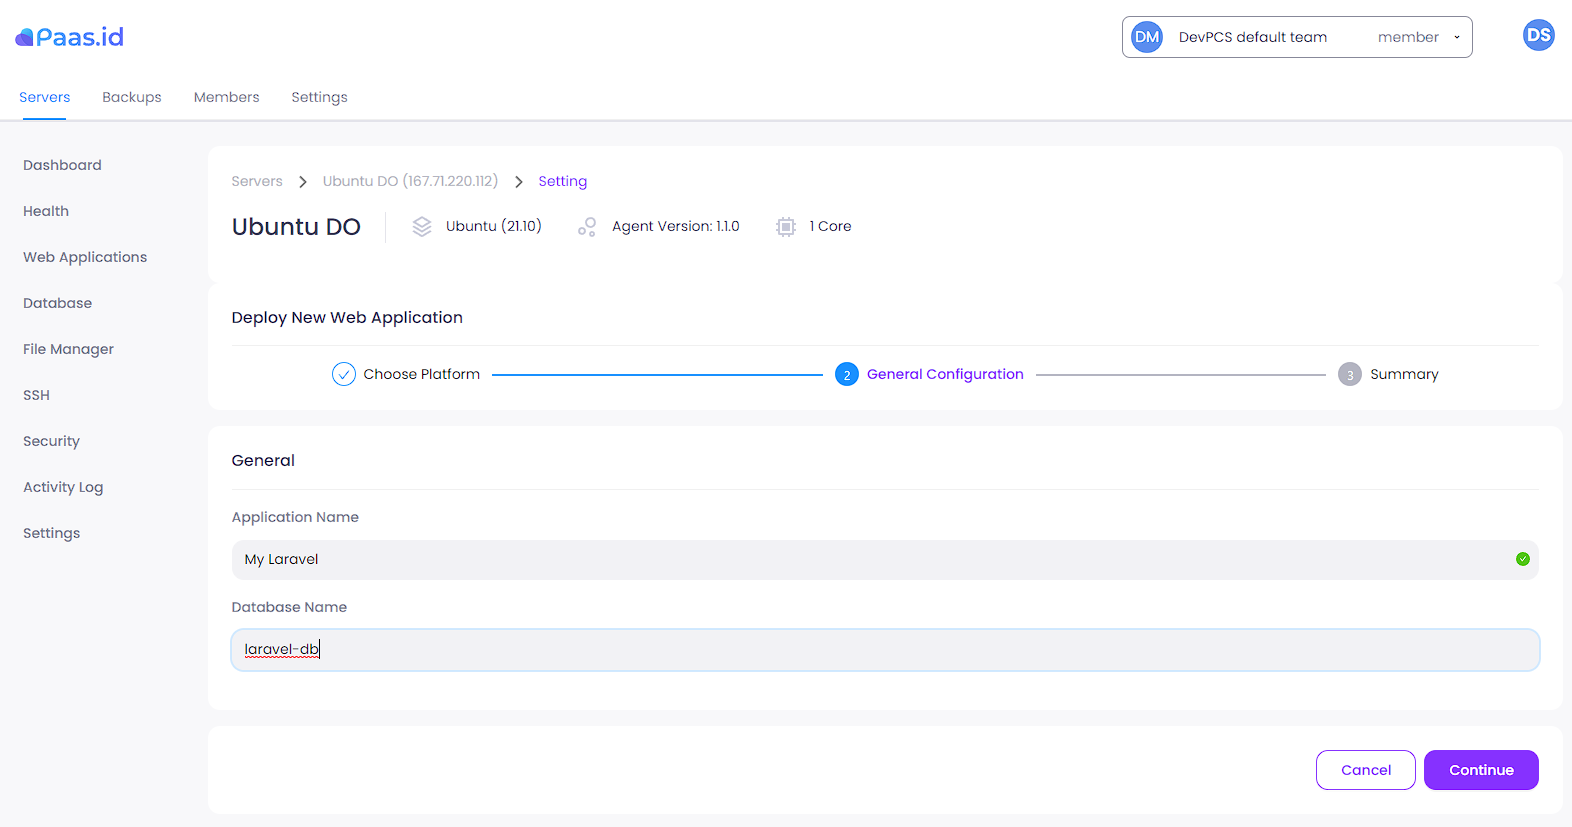
On the General Configuration section, fill the application name and database name field. Application name must contain at least one alphanumeric character and can only contain underscores, periods, spaces, or dashes. For database name, it suggested to follow the naming convention described in this page Naming Conventions for MySQL. After that, click the continue button.
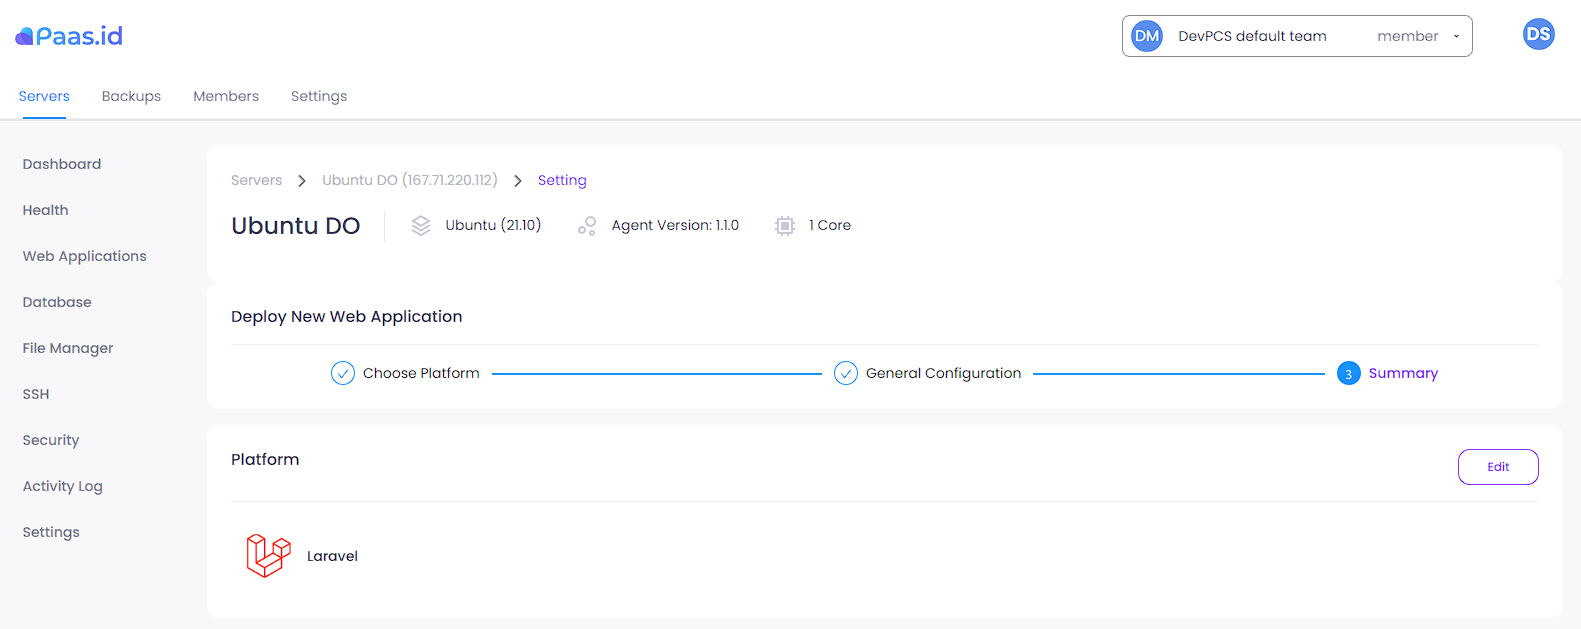

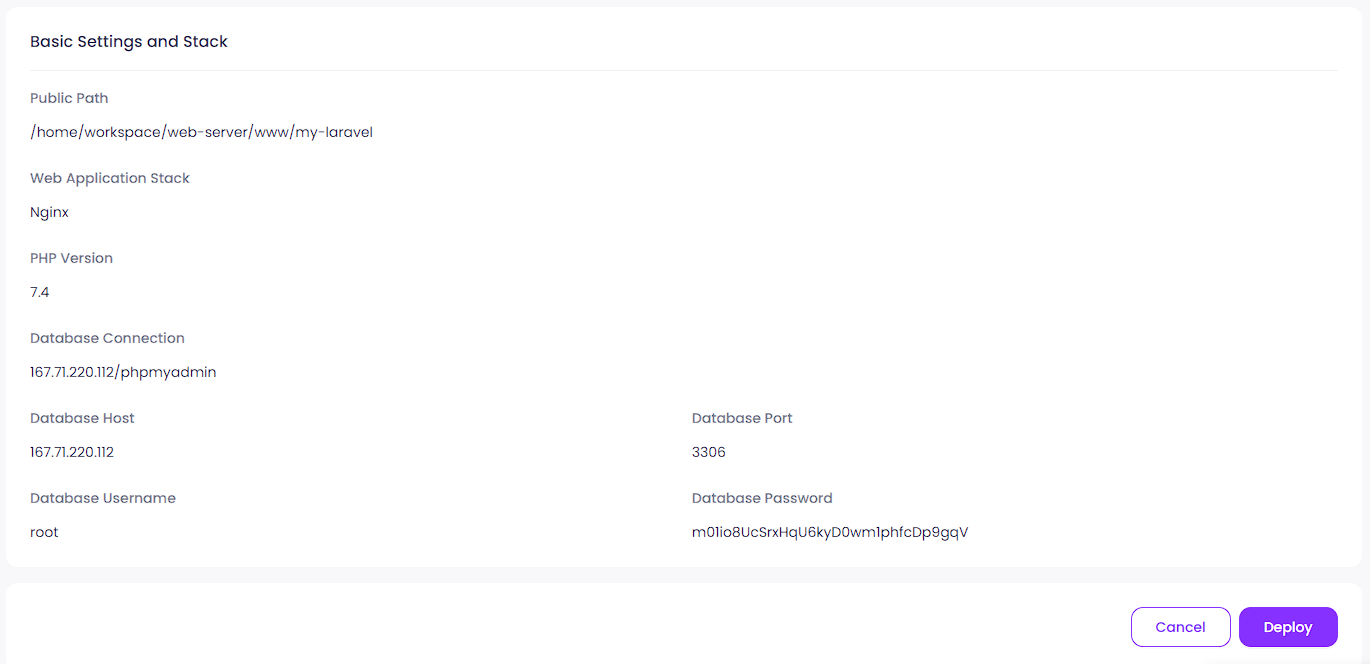
In this Summary section, you are provided with information about the platform, general configuration, and basic settings & stack of the application.
Step 4 - Deploy the New Laravel Web Application
On the deploy web app page, click the "Deploy" button on the right side.
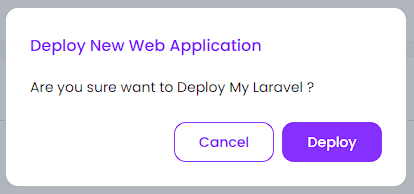
A confirmation message will appear, click the "Deploy" button again and the deployment will start. If there is no error, you will be directed to web applications page.
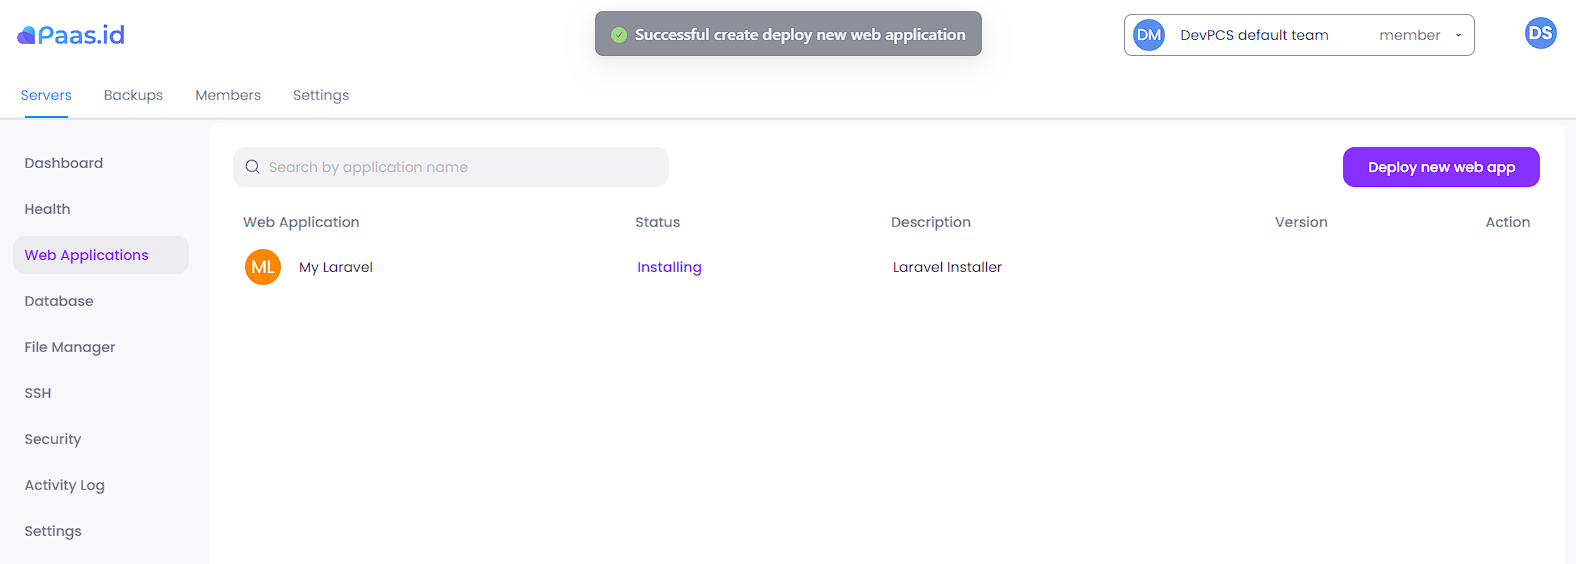
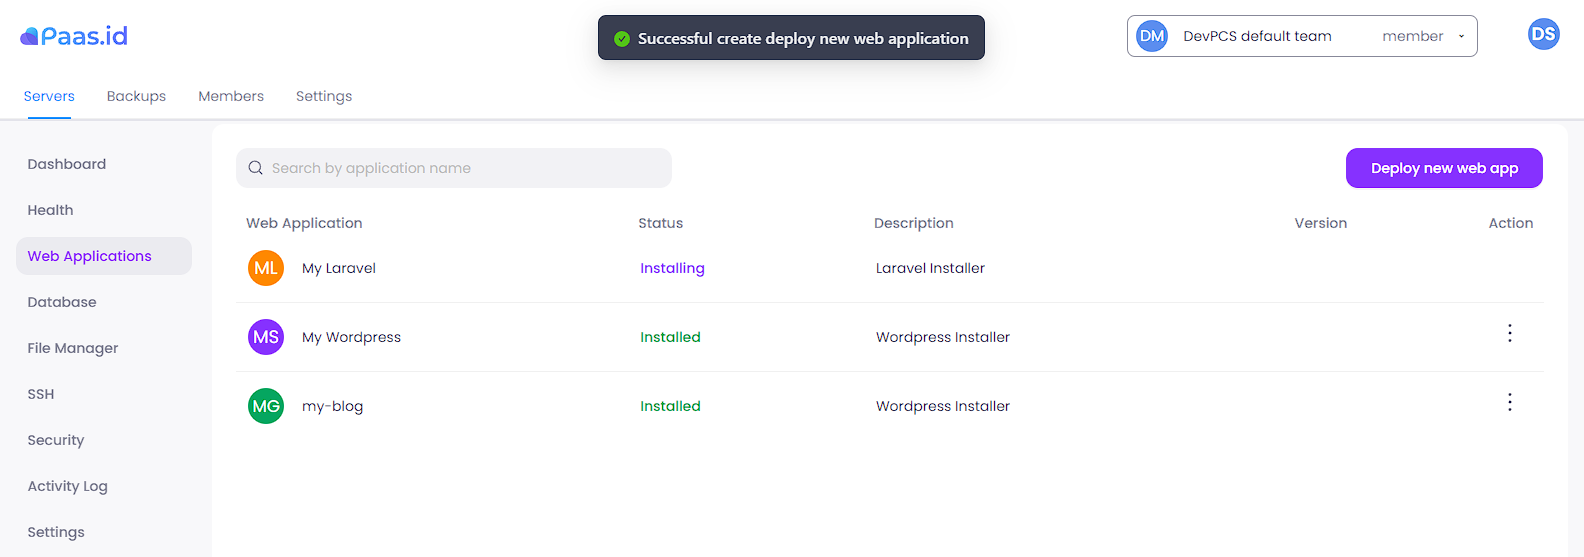
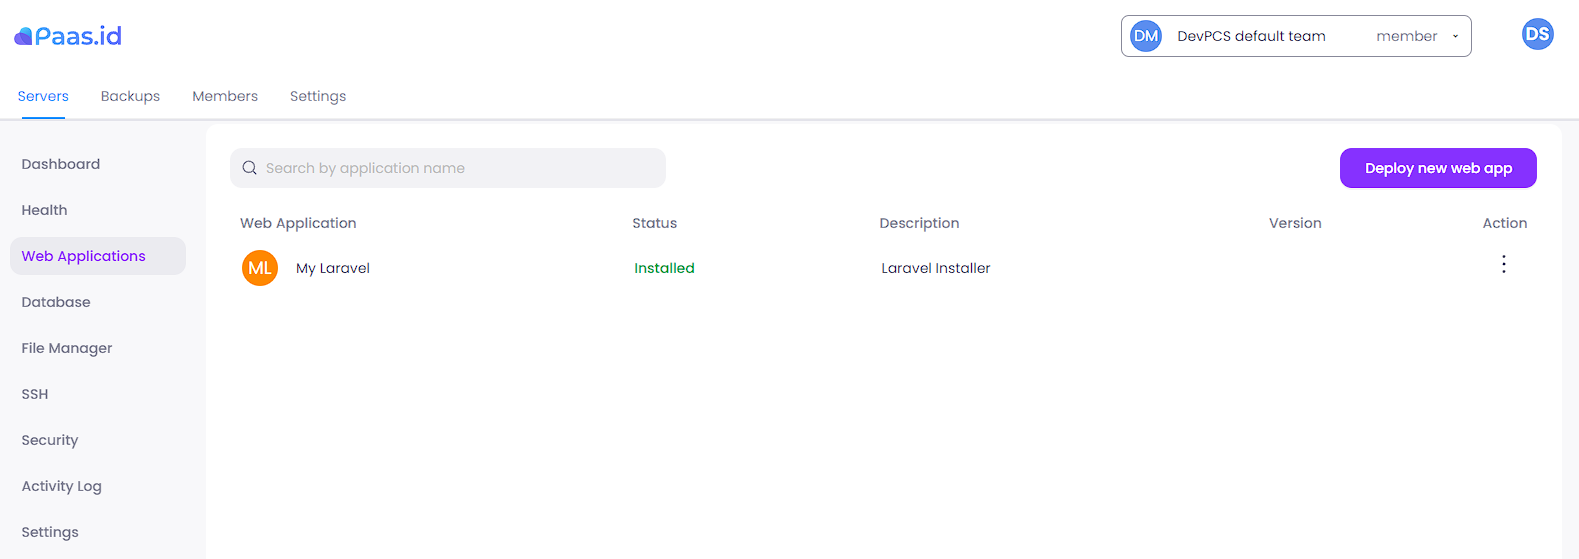
You will see that your new application is listed with the status "Installing". Please wait until the status changes to "Installed" or "Failed" if an error occurs during deployment.
Step 4 - Check the New Laravel Application
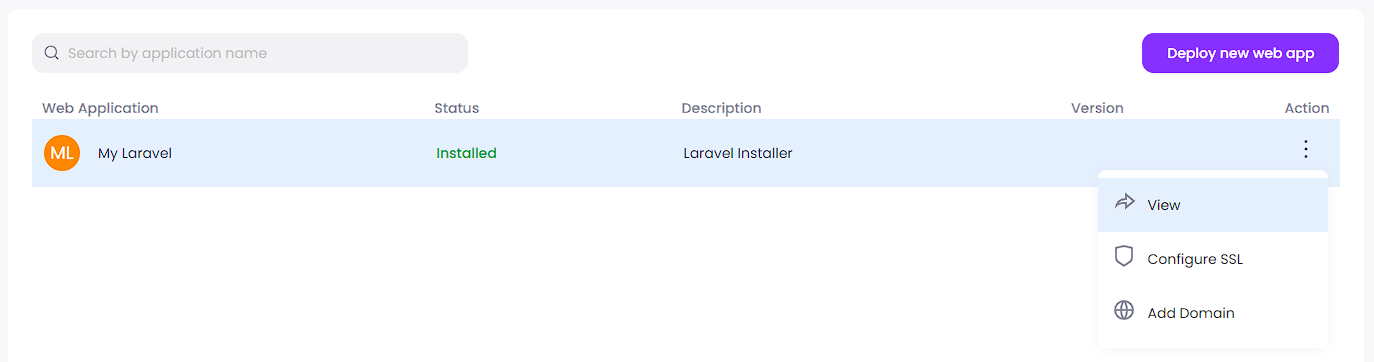
On the web applications page, you need to open the web application detail page by clicking the three dots action on the new Laravel application and choose "View" menu.
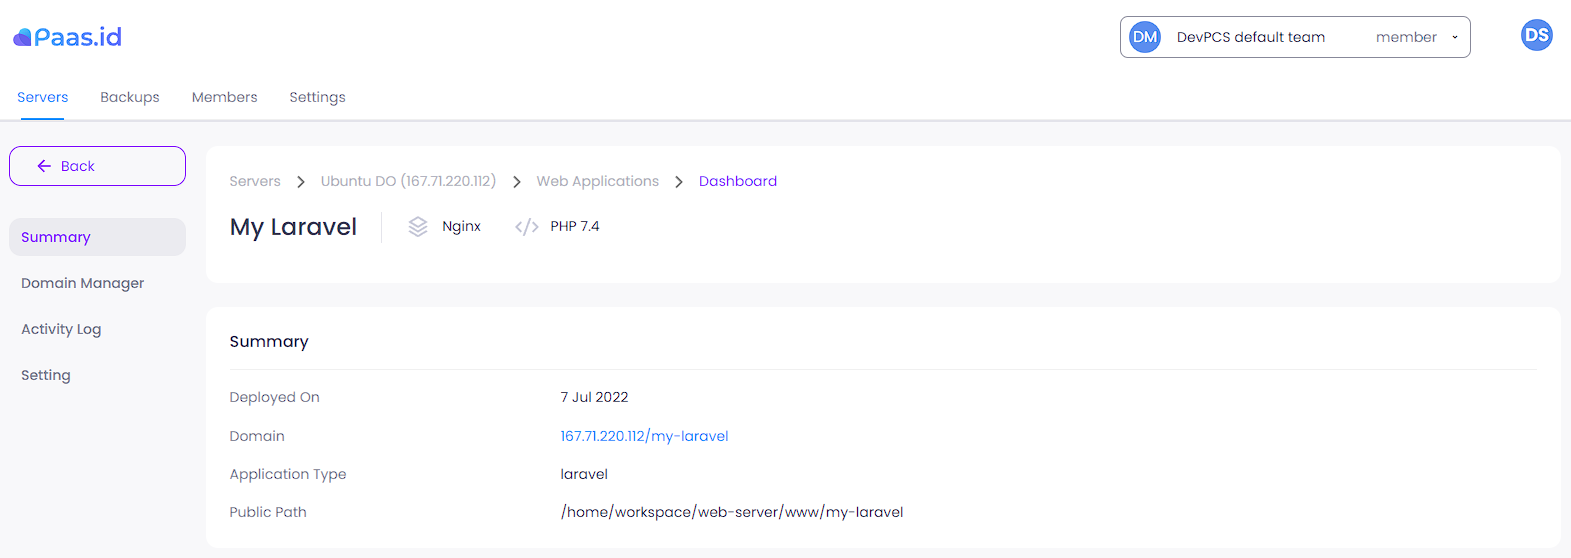
Open the application URL from the domain field.
Voila, the Laravel is installed and it's works!
Moreover, you can also edit the web application files by directly modifying the files from your server. The application directory is written in the public path field of the web application details page.
Also you can edit the web application files using the file manager that we provided. You can read more about it on the link below.
