Look Around the Menu and Features on the Server


Introduction
Server is the main component in order to be able to use every feature in Paas.id. Besides you have to know how to connect the server, you also have to know what the components and features are on the server page on Paas.id.
This guide will explain what the components and features are on the Server Pages.
Prerequisites
If you want to see more advanced menus and server features, make sure at least 1 server is connected to Paas.id. If you don't have a server connected yet, you can follow our guide on How to Connect a Server in PAAS.
Server Main Page
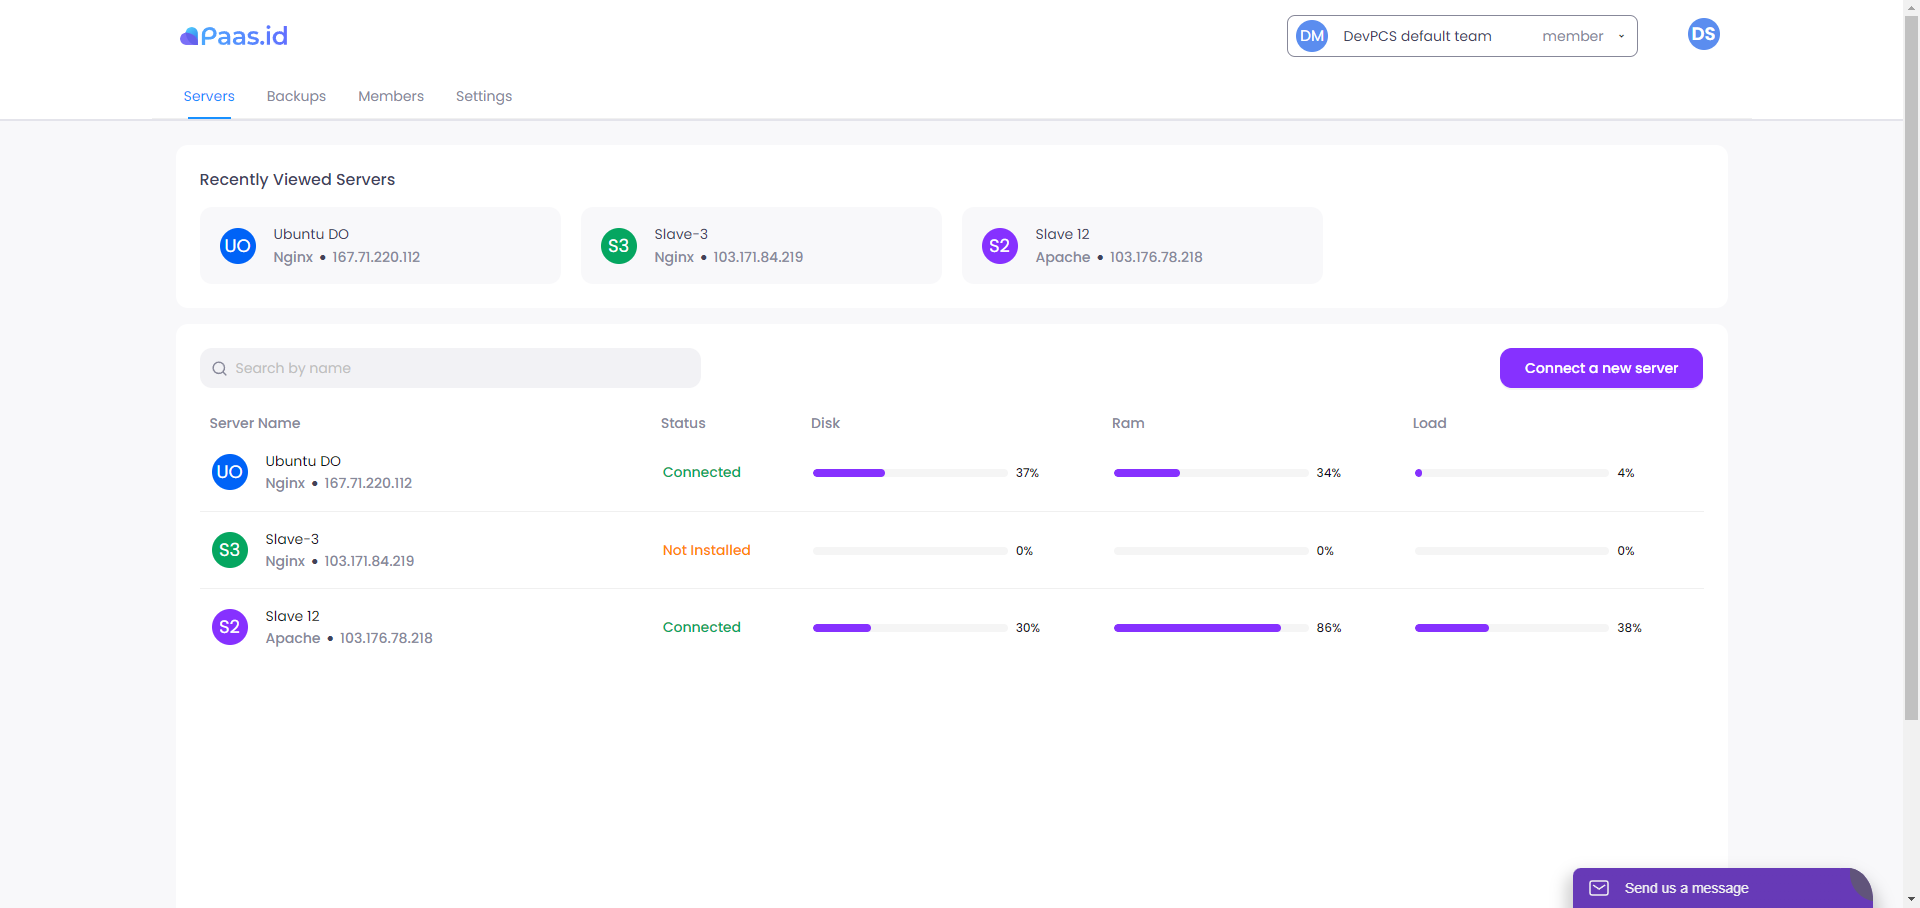
Recently Viewed Servers
Recently Viewed Servers is a component that displays the most recently viewed servers.
Search Bar
This Search Bar is used to search for existing servers. How to use it by entering the server name.
Connect a New Server
The Connect a New Server button is used to connect a new server to Paas.id. For a more complete guide on how to connect it, you can follow our guide on How to Connect a Server in PAAS.
Field of List Servers
Basically, this component will display a list of servers that have been made, both connected and not connected. But you need to know, that in this list there are fields that have quite important information.
- Server Name
This field displays the name of the server that was created. - Status
This field displays the status of each server. If the server is connected, then the status is Connected. However, if the server is not connected, then the status is Not Installed. - Disk
This field displays how much disk is being used on the server. - Ram
This field displays how much RAM is being used on the server. - Load
This field displays how much CPU usage on the server.
Server Advanced Page
In order to access this page, you must click on one of the servers in the server list field.
1- Dashboard
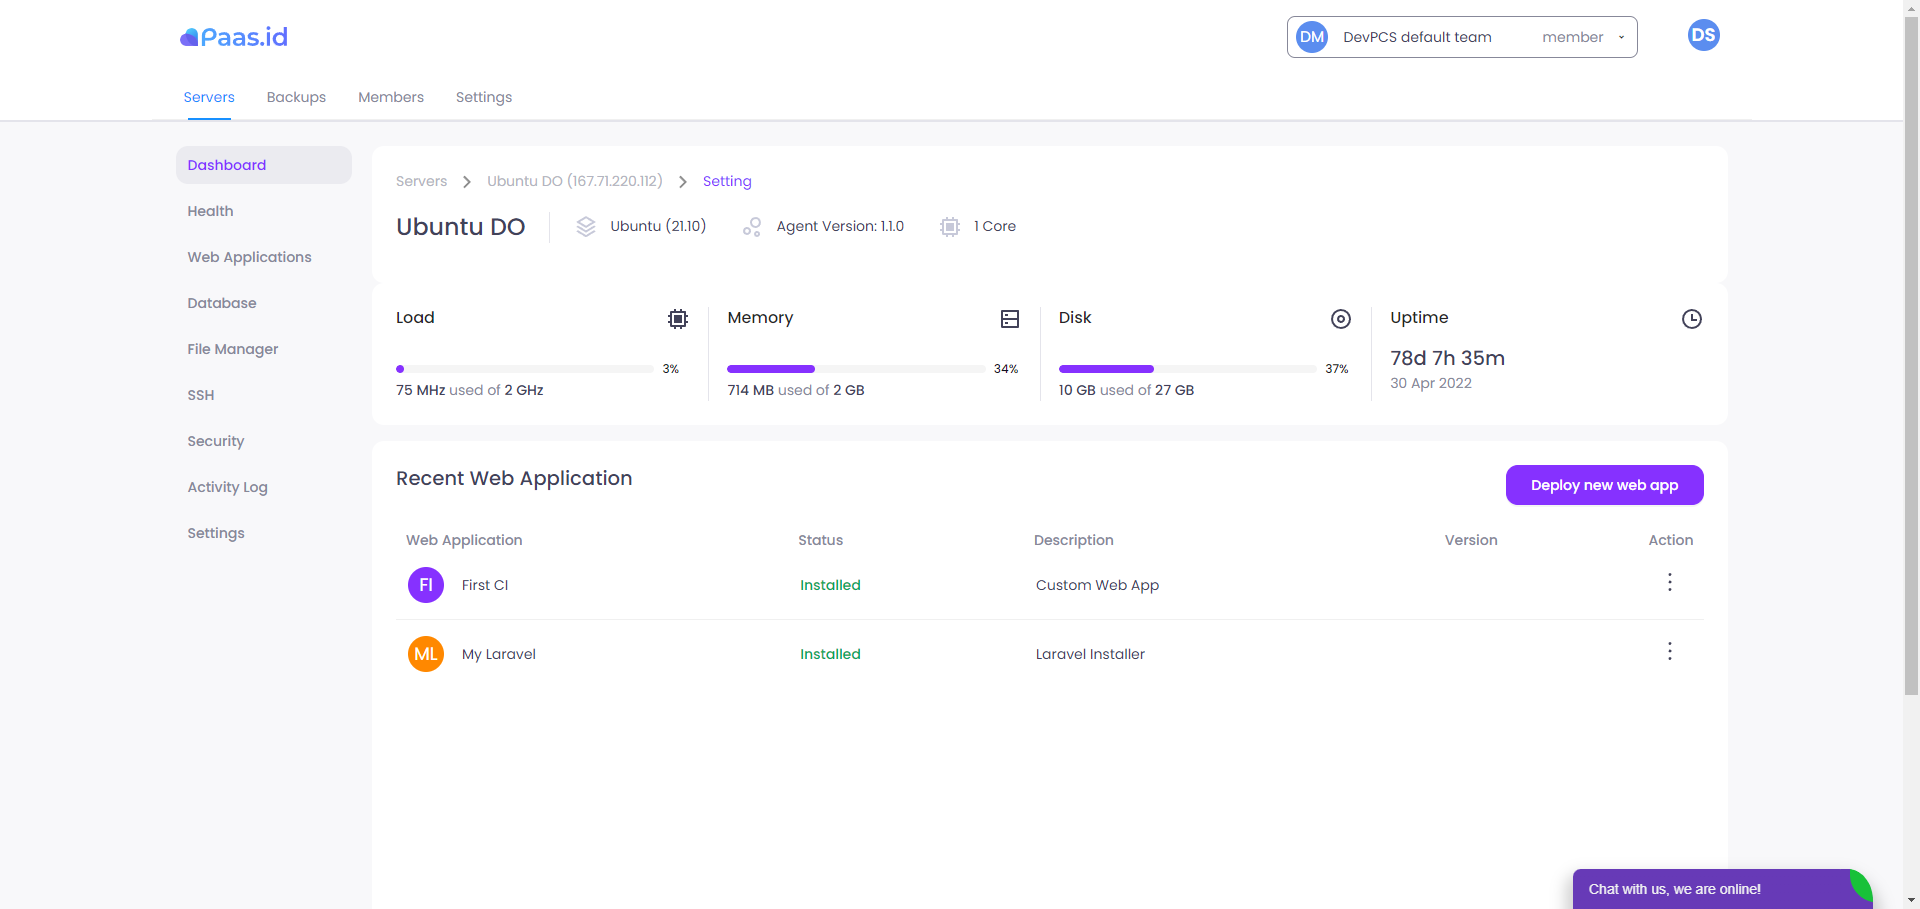
The dashboard page displays general server information. Such as CPU usage, RAM usage, storage, uptime, and recent web applications.
Load
This component displays information about CPU usage on the associated server.
Memory
This component displays information about RAM usage on the associated server.
Disk
This component displays information about storage usage on the associated server.
Uptime
This component displays information about how long the server has been running.
Deploy new Web App
The Deploy new Web App button is used to deploy a new web application. For a more complete guide on how to deploy new web applications, you can follow our related guides:
- How to Install Laravel Web Application on Paas.id
- How to Install Wordpress Web Application on Paas.id
- How to Install Custom Web Application on Paas.id
Recent Web Application
Basically, this component will display a list of recent web application, both installed and not installed. But you need to know, that in this list there are fields that have quite important information.
- Web Application
This field displays the name of the web application. - Status
This field displays the status of each web application. If the application is installed, then the status is Installed. However, if the application is not installed, then the status is Not Installed. - Description
This field displays the description of the web application. - Version
This field displays the version of the web application. - Action
This field contains a button in the form of three dots. If the button is clicked, there will be an option to View, Configure SSL, or Add Domain the web application.

2- Health
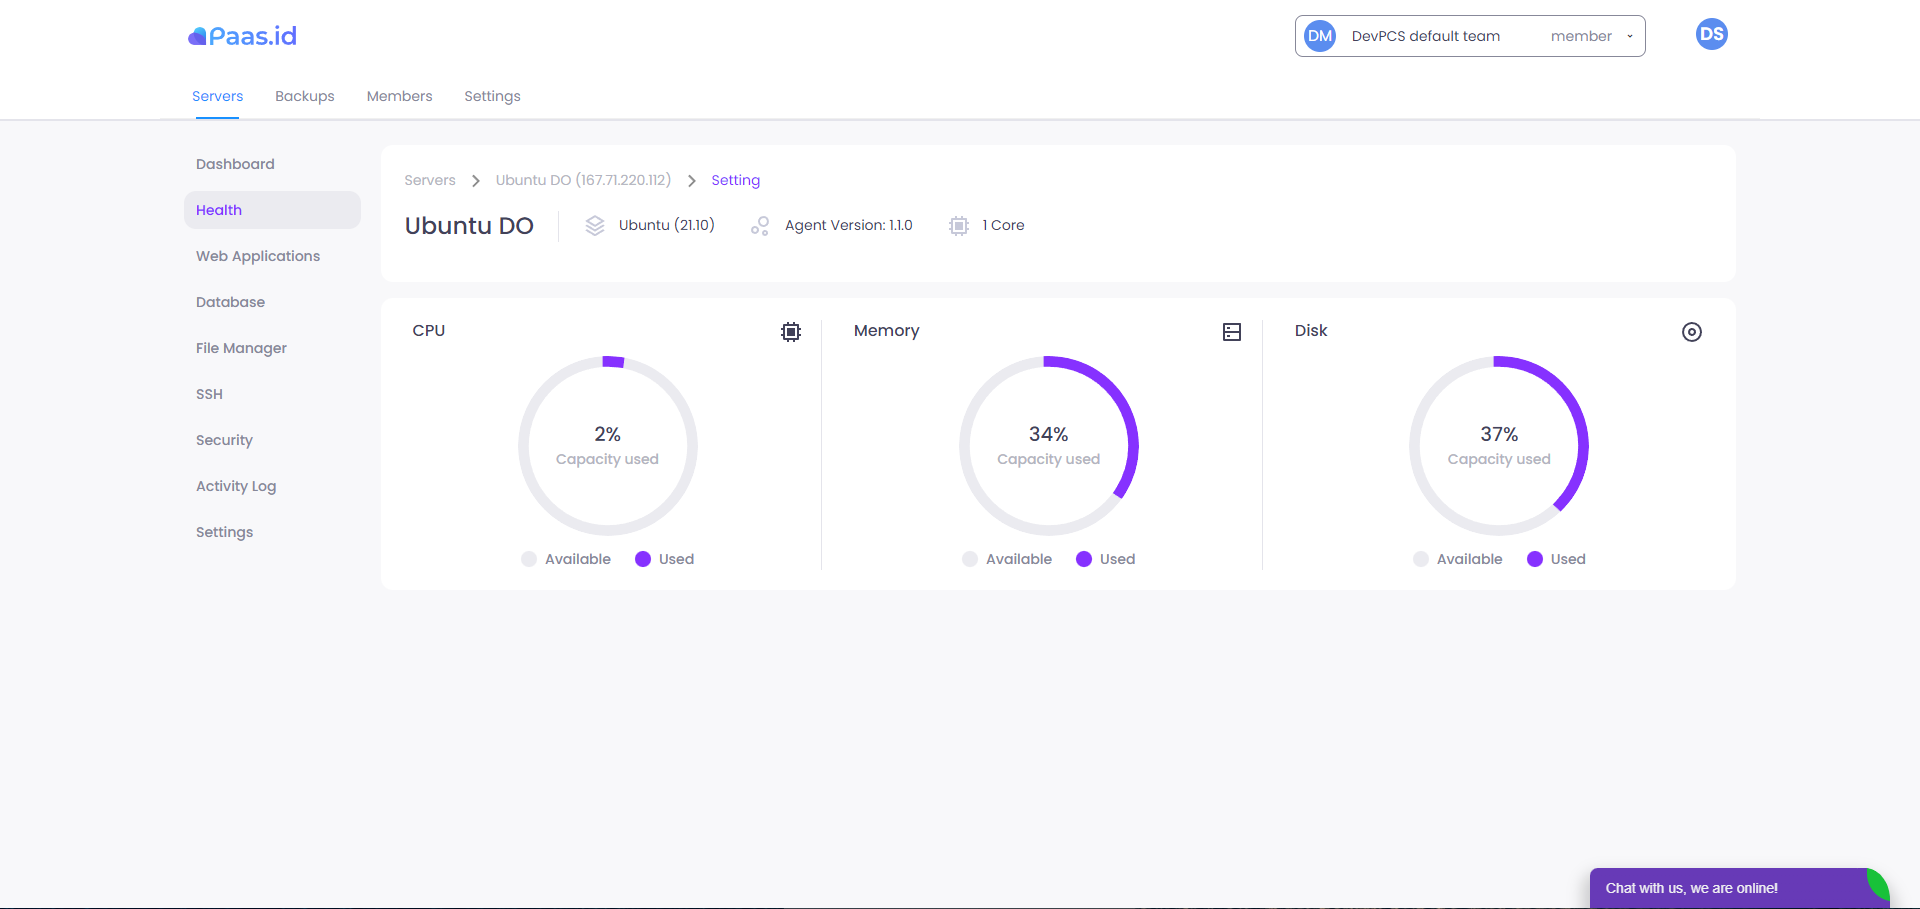
Health page displays information about current server usage. Such as CPU usage, RAM usage, and Disk usage.
CPU
This component displays information about CPU usage on the associated server.
Memory
This component displays information about RAM usage on the associated server.
Disk
This component displays information about storage usage on the associated server.
3- Web Application
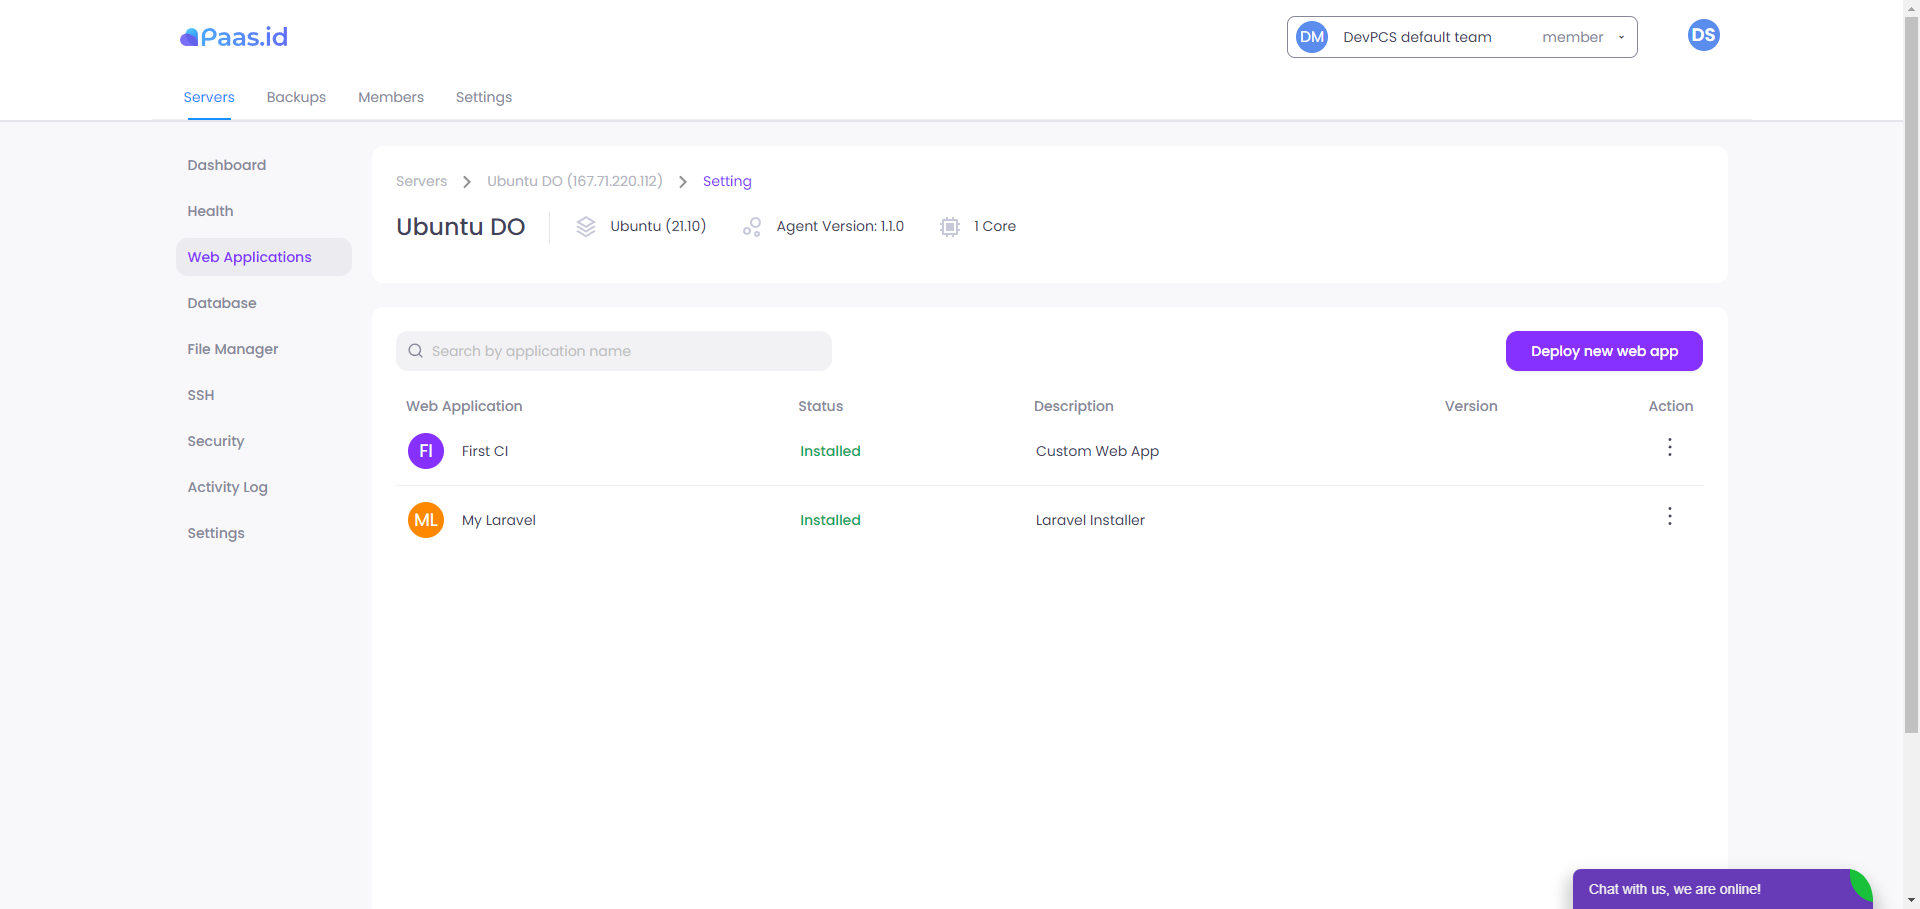
The web application page displays information about the web application installed on the current server.
Deploy New Web App
The Deploy new Web App button is used to deploy a new web application. For a more complete guide on how to deploy new web applications, you can follow our related guides:
- How to Install Laravel Web Application on Paas.id
- How to Install Wordpress Web Application on Paas.id
- How to Install Custom Web Application on Paas.id
Search Bar
This Search Bar is used to search for existing web application. How to use it by entering the web application name.
Field of List Web Application
Basically, this component will display a list of web application that have been made, both installed and not installed. But you need to know, that in this list there are fields that have quite important information.
- Web Application
This field displays the name of the web application. - Status
This field displays the status of each web application. If the application is installed, then the status is Installed. However, if the application is not installed, then the status is Not Installed. - Description
This field displays the description of the web application. - Version
This field displays the version of the web application. - Action
This field contains a button in the form of three dots. If the button is clicked, there will be an option to View, Configure SSL, or Add Domain the web application.

4- Database
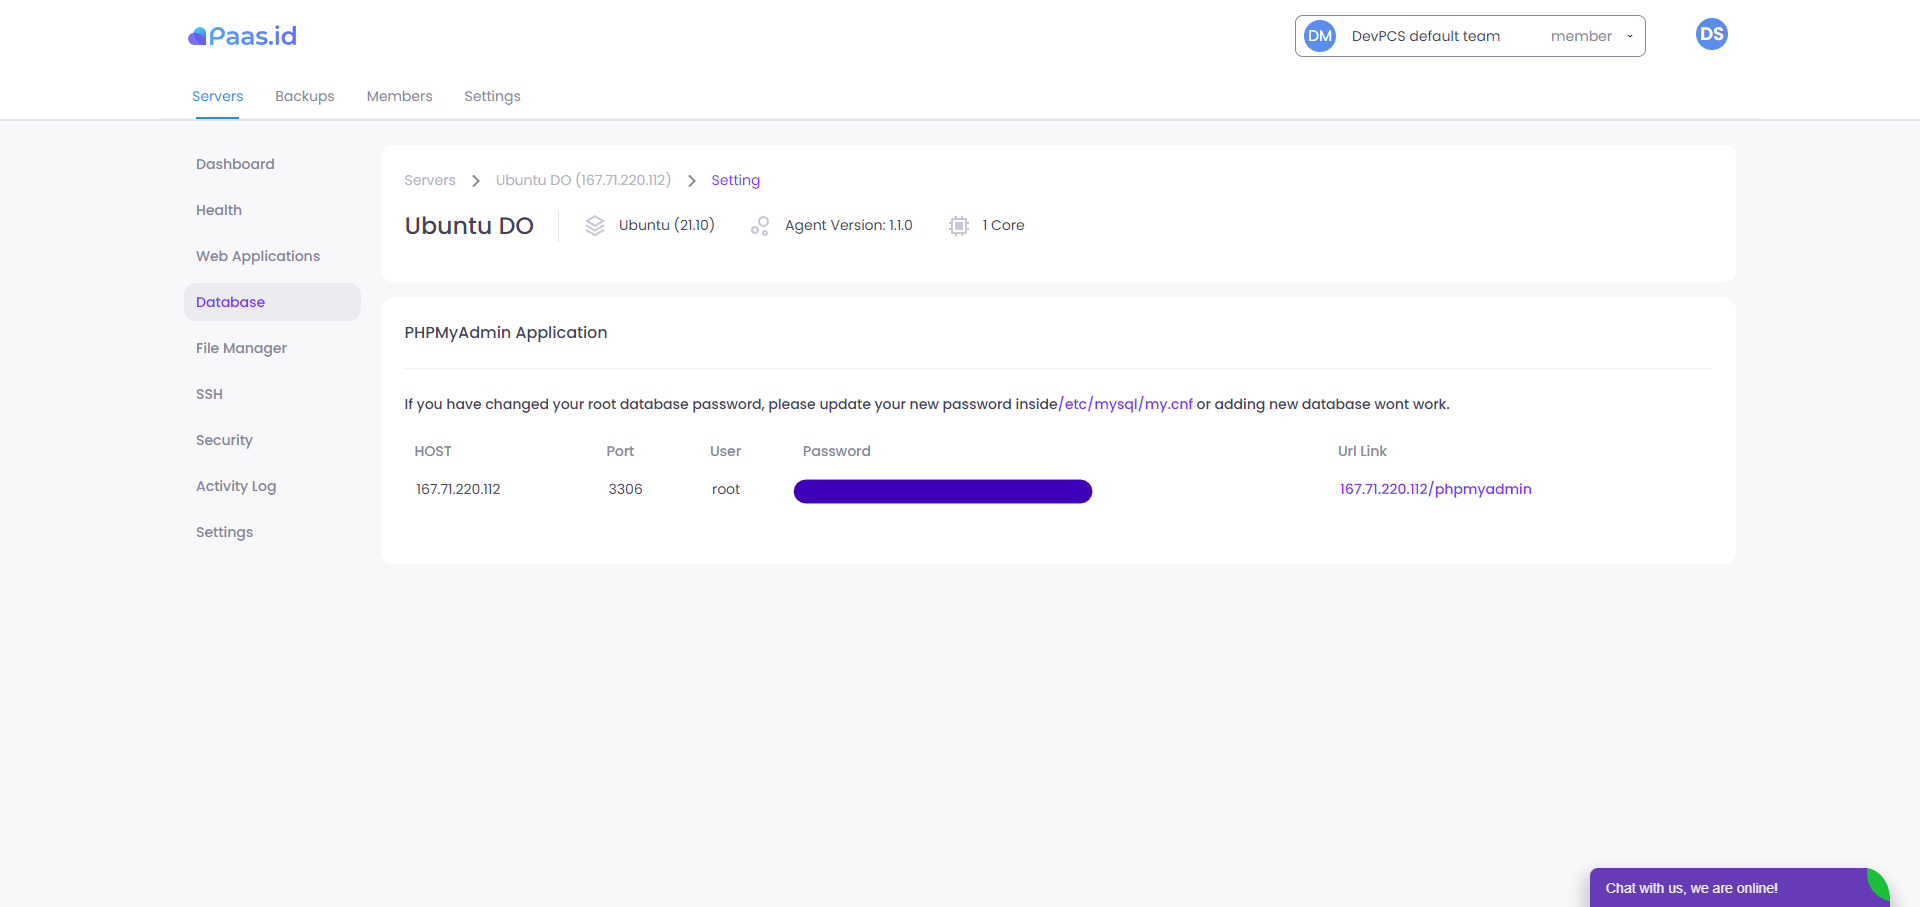
The database page displays information about the database configuration used in the current server.
Host
This field displays the host used to store the database.
Port
This field displays the port used to access the database.
User
This field displays the user used to login into the database.
Password
This field displays the password used to login into the database.
URL Link
This field displays the url link used to access the database. If you click this url link, then you will open the phpmyadmin page to access the database.
5- File Manager
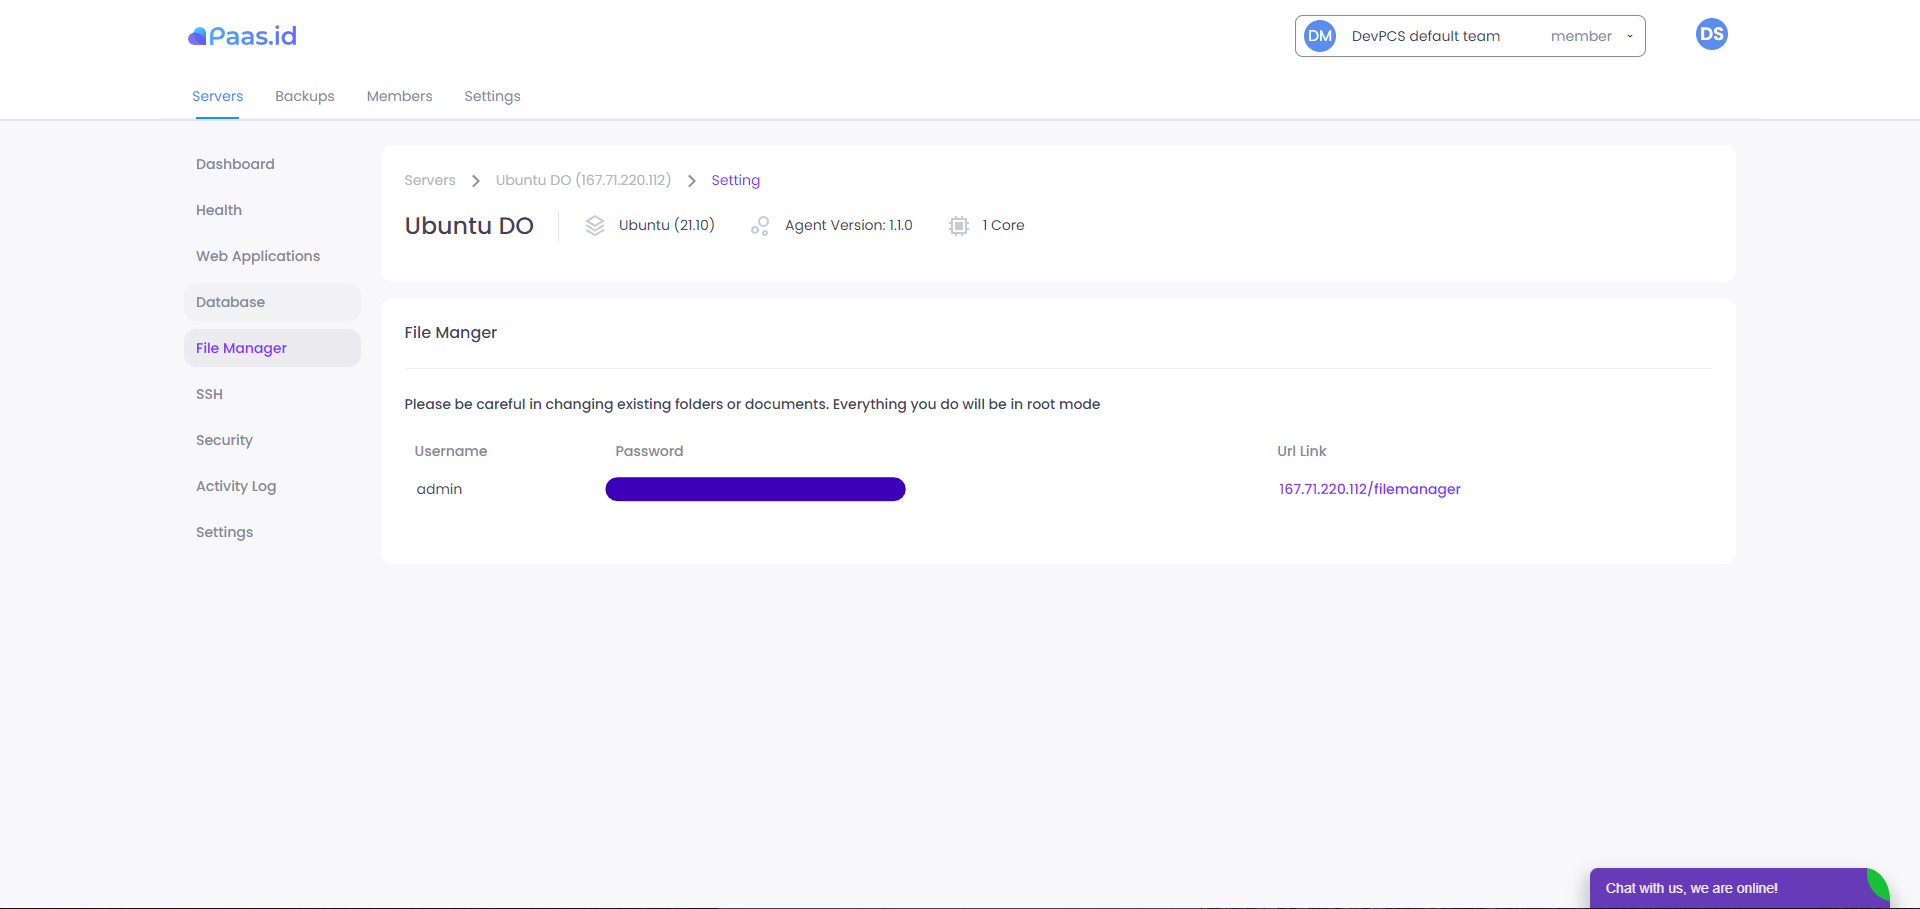
The file manager page displays information about the credentials for accessing the file manager on the current server.
Username
This field displays the username used to login into the file manager.
Password
This field displays the password used to login into the file manager.
URL Link
This field displays the url link used to access the file manager. If you click this url link, then you will open the file manager page.
6- SSH

The SSH page displays a list of information about SSH registered on the current server.
Add new SSH Key
The Add new SSH Key button is used to add a new SSH key to the current server. For a more complete guide, you can follow our guide on How to Manage SSH Key using PAAS.
Search Bar
This Search Bar is used to search for existing SSH on current server. How to use it by entering the SSH name or SSH user.
List of SSH Key
Basically, this component will display a list of SSH that have been registered. But you need to know, that in this list there are fields that have quite important information.
- SSH Name
This field displays the registered SSH name. - User
This field displays the registered SSH user. - Key
This field displays the registered SSH public key. - Action
This field contains the button to delete the SSH key.
7- Security
The security page has 2 sections. Namely Firewall and Fail2ban.
7.1- Firewall
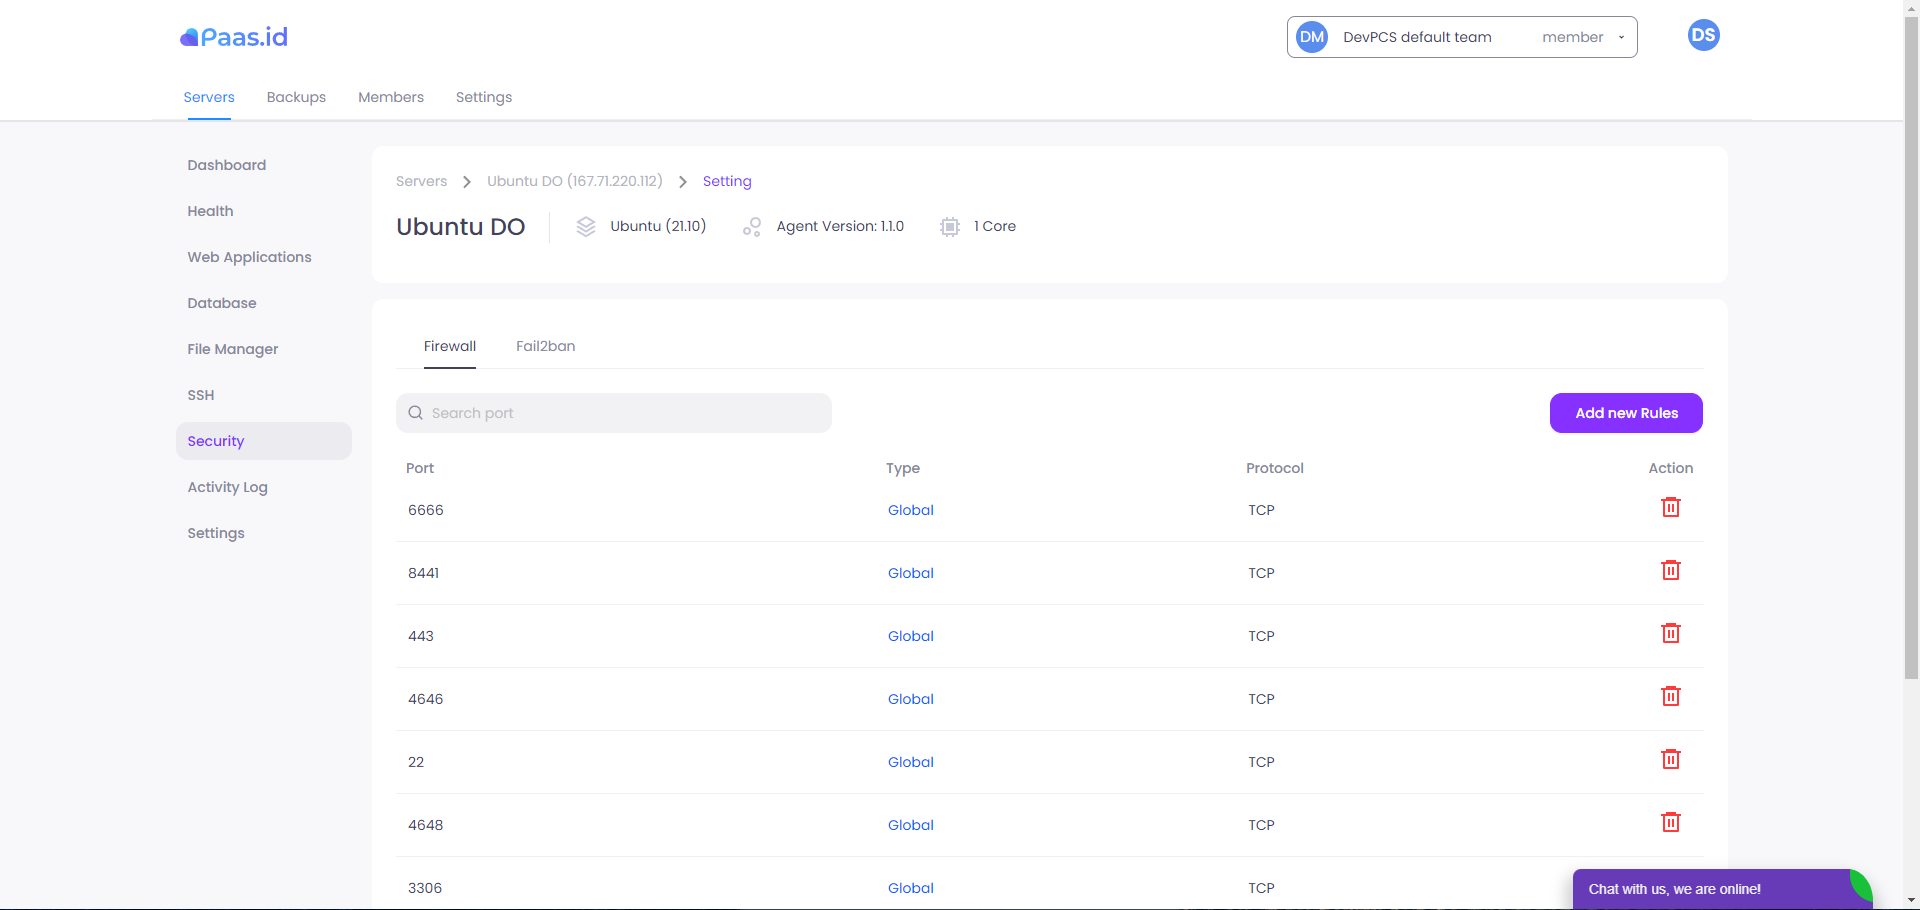
In the Firewall section, you can add or remove Firewall rules that are registered on the current server.
Add new Rules
The Add new Rules button is used to add new firewall rules to the current server. For a more complete guide, you can follow our guide on How to Manage Firewall Security on Server using Paas.id.
Search Bar
This Search Bar is used to search for existing Firewall Rules on current server. How to use it by entering the port.
List of Firewall
Basically, this component will display a list of Firewall Rules that have been registered. But you need to know, that in this list there are fields that have quite important information.
- Port
This field displays the registered ports for firewall rules in the current server. - Type
This field displays the registered rule types for firewall rules in the current server. - Protocol
This field displays the protocol rules registered for the firewall rules in the current server. The protocols provided are TCP and UDP. - Action
This field contains the button to delete the port.
Fail2Ban
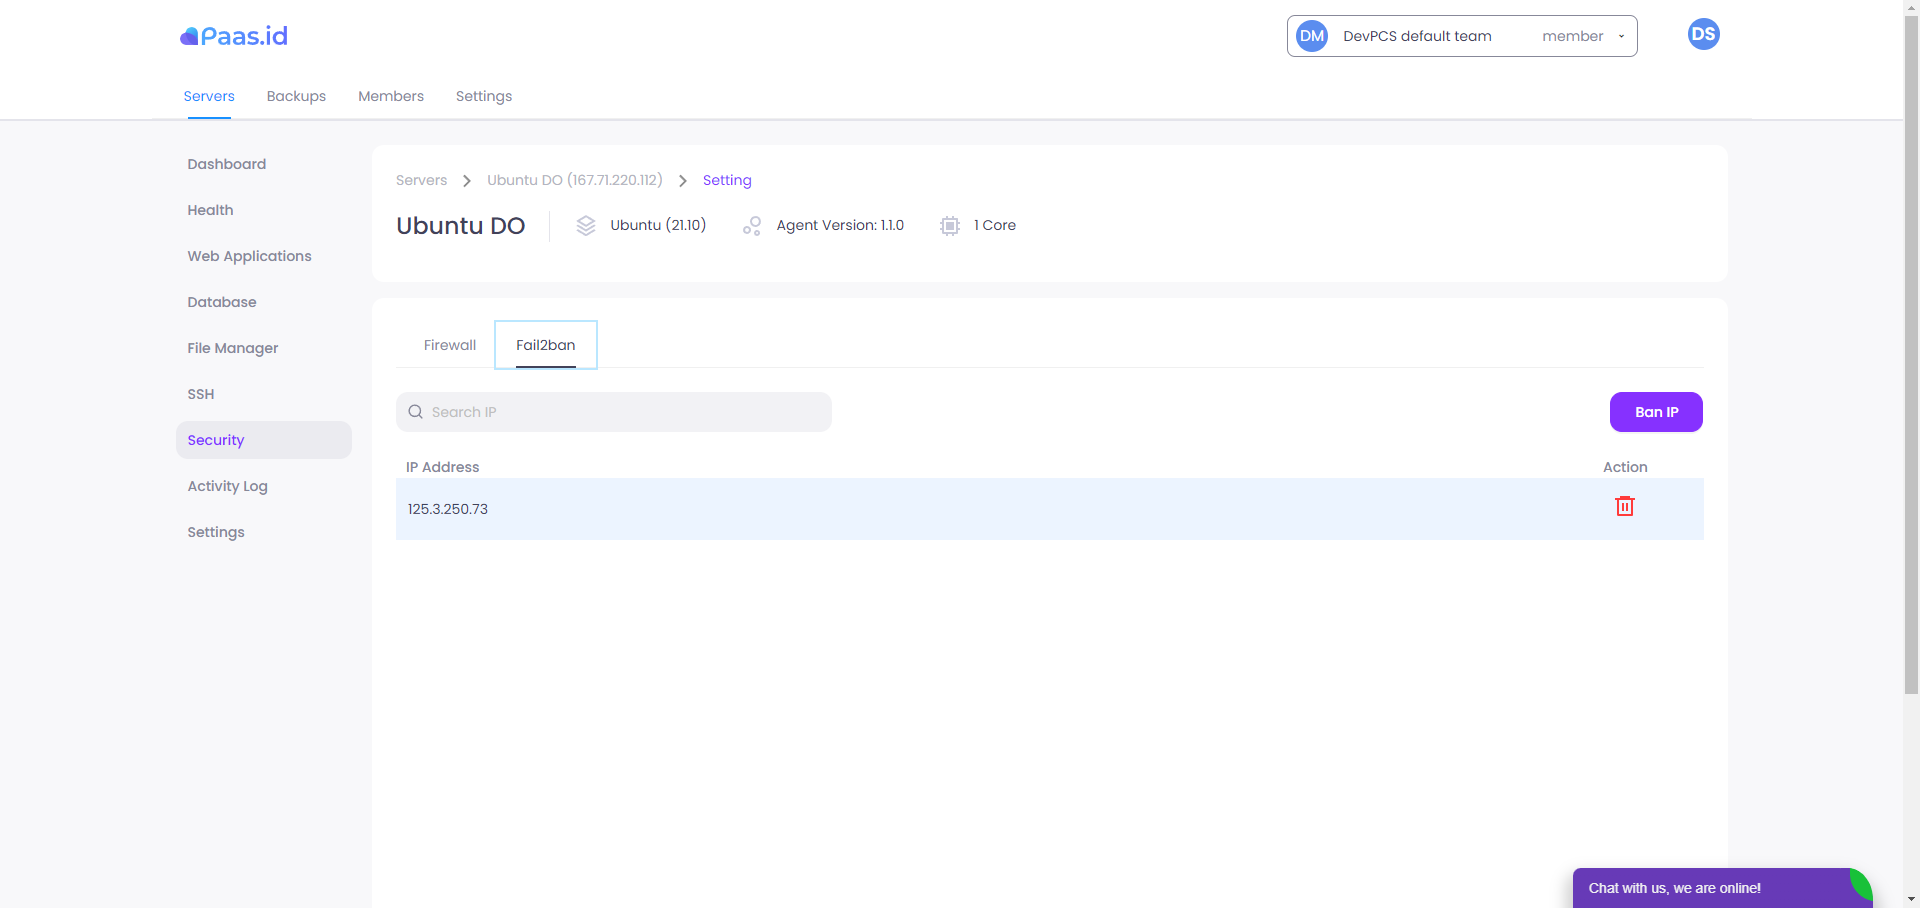
In the Fail2ban section, you can add or remove IP addresses to be banned from the current server.
Ban IP
The Ban IP button is used to add the IP address to be banned from the current server.
Search Bar
This Search Bar is used to search for existing IP Addresses to be banned on current server. How to use it by entering the IP Address.
List of IP Address
- IP Address
This field displays the IP Address that has been banned on the current server. - Action
This field contains the button to delete the IP Address.
8- Activity Log

The Activity log page displays information about each PAAS feature related activity on the current server.
Status
This field displays the activity status at that time. The status given is about Info and error.
Description
This field displays a description of the logs provided by the system.
9- Setting
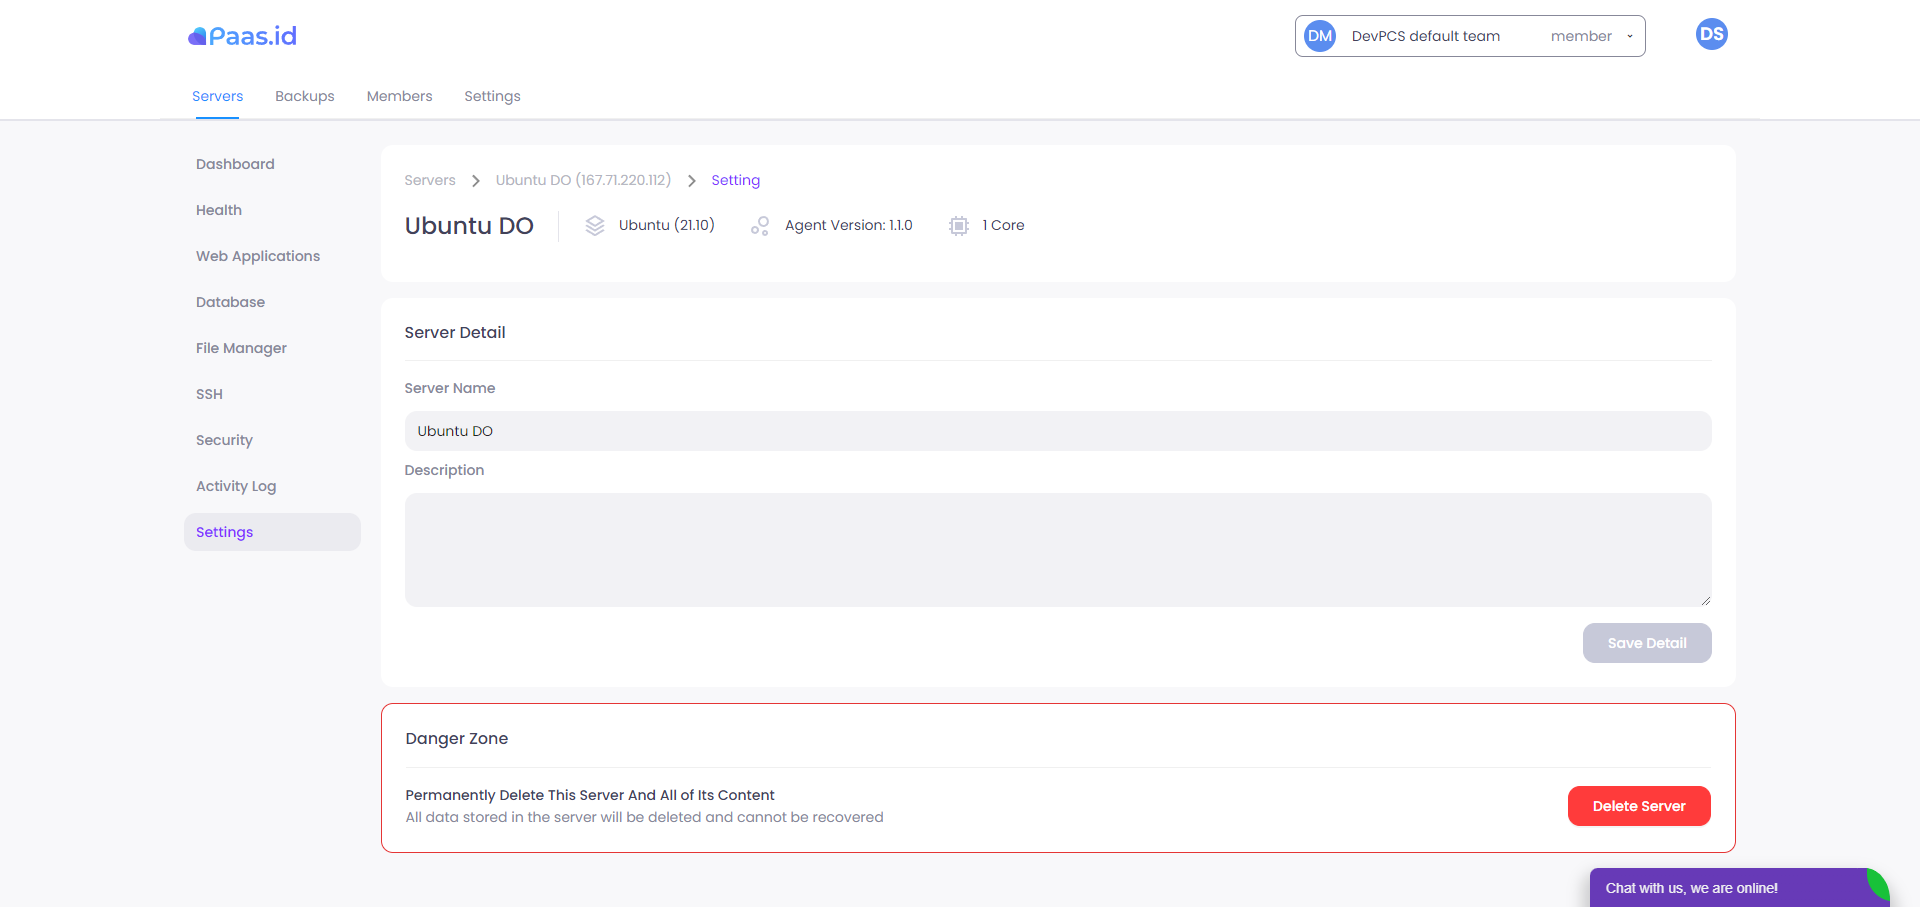
This settings page is used to make changes to the server name and description. In addition, this page is also used to delete the current server.