How to Create Backup Database or Application on PAAS

Introduction
Backup is a process for backing up data such as databases or files so that they can be reused when there is a problem someday.
This guide explains how to backup databases or application files that will run periodically on PAAS.
Prerequisites
Prerequisites for following this guide, you must have a server already connected to PAAS. If you don't have a server connected to PAAS yet, you can follow our guide on How to Connect a Server in PAAS.
Then a database or application already created and connected to PAAS. If you don't have one, you can follow one of our guides on:
- How to Install Laravel Web Application on Paas.id
- How to Install Wordpress Web Application on Paas.id
- How to Install Custom Web Application on Paas.id
Creating a New Backup
On the main page, enter the backup menu.
Make sure that you have purchased a license and still have enough backup storage space. If you don't have a license or your backup storage is not enough, you can follow one of our guides on How to Purchase a PAAS License.
The next step you have to click on the Create Backup button.

After that you will see the Create Backup page. You can choose whether you want to backup the database or the web application.
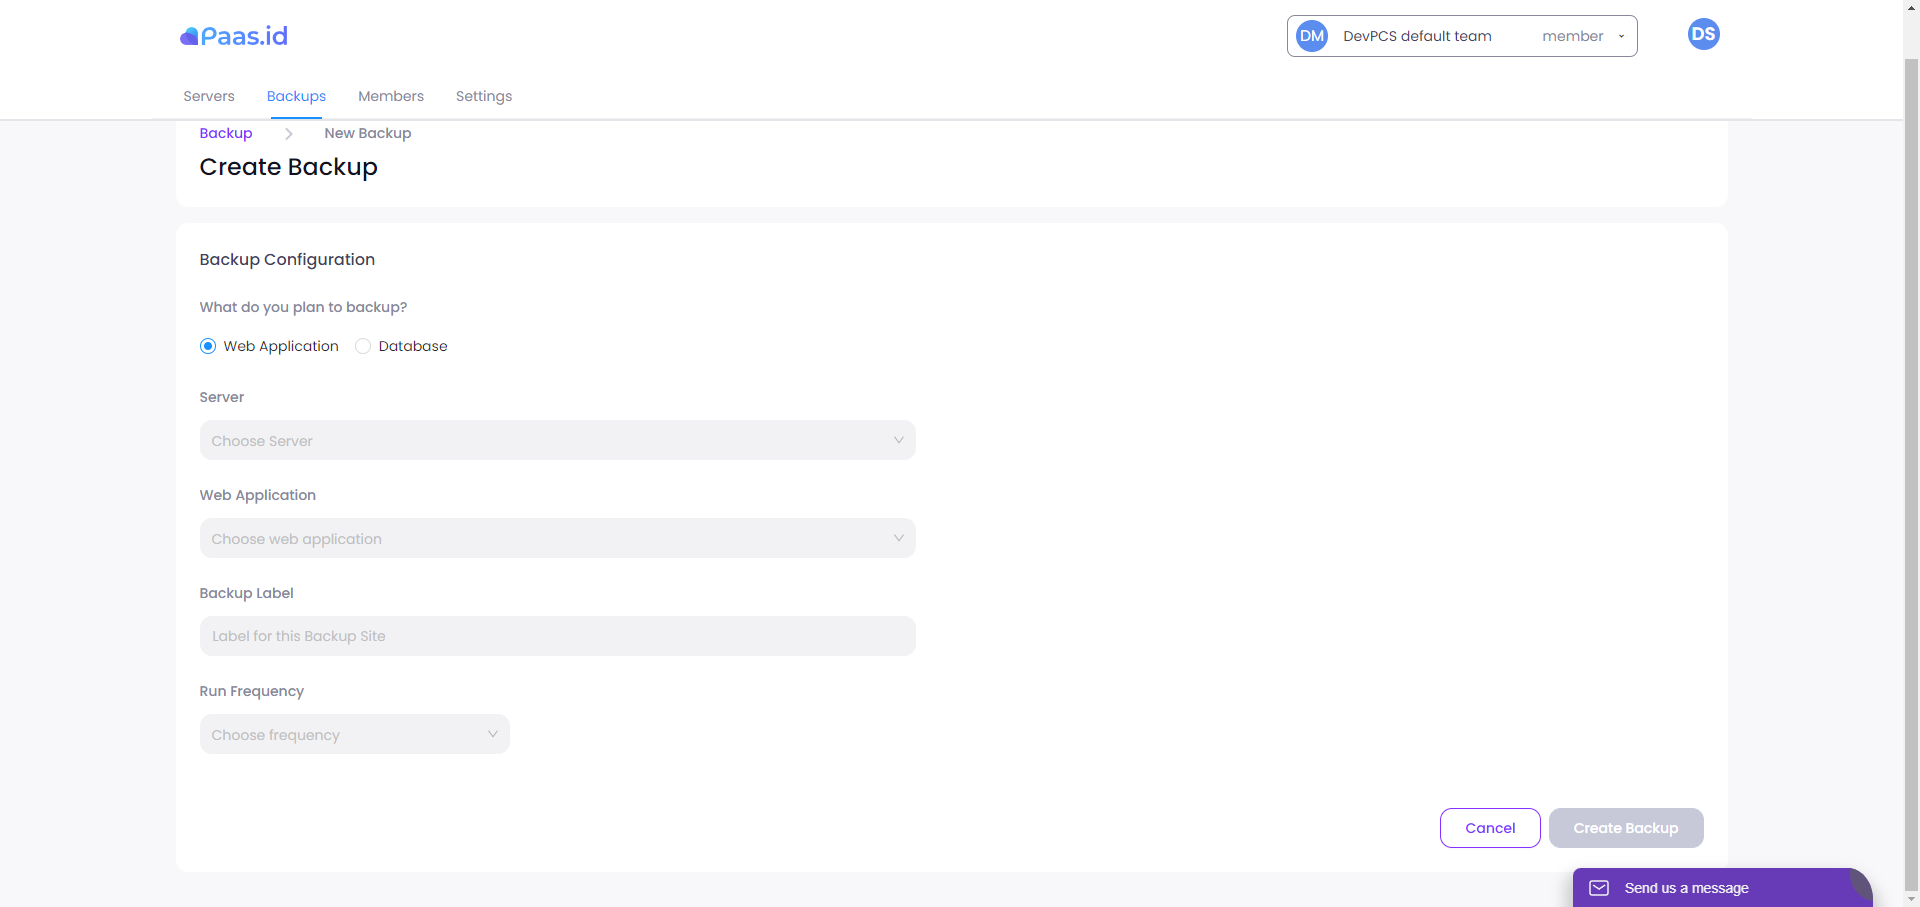
After choosing between them, you have to choose which server you will backup the database or web application on. For example, here is a server with the name Slave 12.

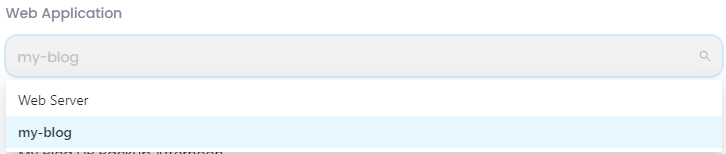
After selecting the server, then you choose which database or web application you will back up.

In the Backup Label field, you are free to enter a label to remind the backup that you will make but this is mandatory.

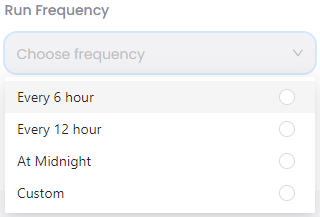
Next, in the Run Frequency option, you must select a backup frequency so that it can run backups automatically according to the frequency. There are several default options. That is every 6 hours, every 12 hours, and every midnight. Apart from that, you can also use custom frequencies.
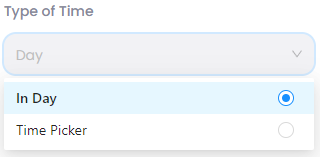
If you choose custom, then you will be given the choice of In Day or Time Picker
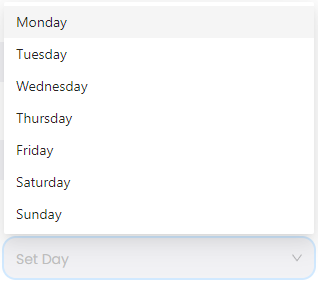
If you select the In Day type of time, then you must specify what day the backup is run. This will run weekly.
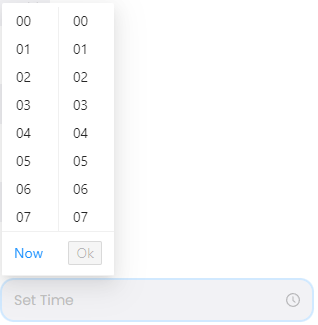
If you choose the Time Picker type of time, then you must specify the time to run the backup based on specific hours and minutes. And this will run daily. If you press the now button, the Time Picker will automatically be filled with the current time.
The final step is to click on the Create Backup button.

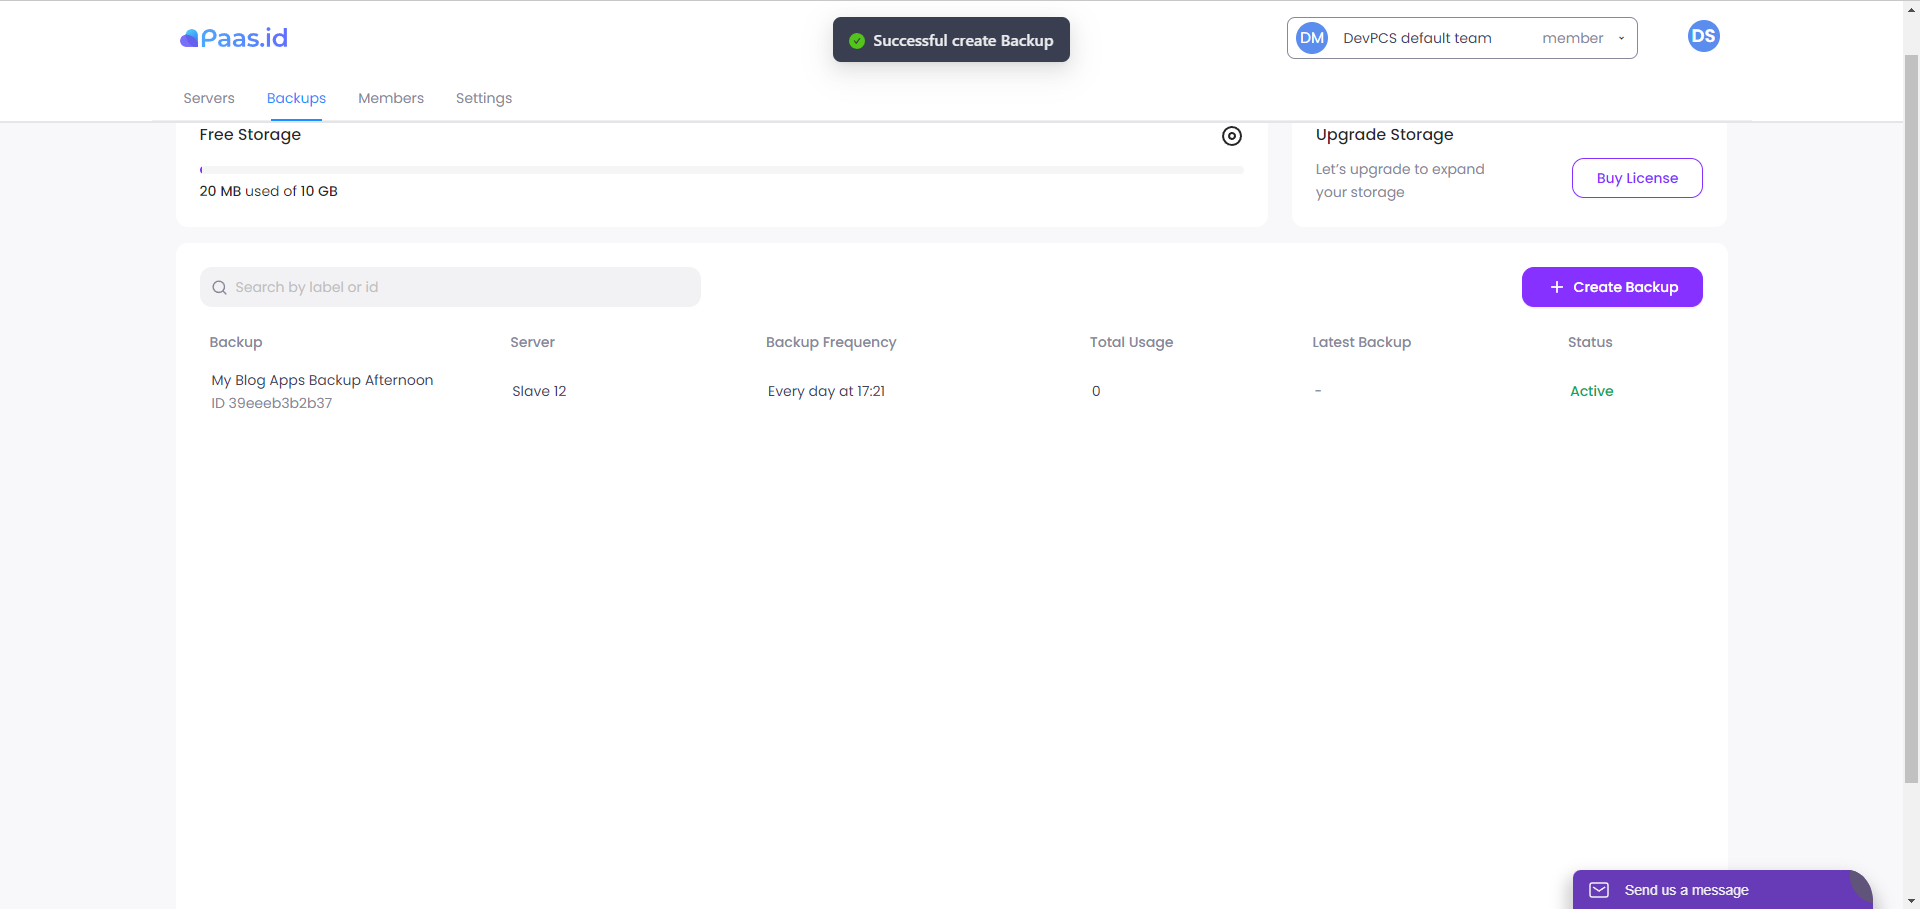
If the backup was created successfully, the page will be redirected to the main backup menu, then there will be a pop up notification of Successful Create Backup, and the newly created backup will appear in the list with the status Active.
Components on the Backup Page
This section will explain what components are in this backup feature. This explanation will be divided into two parts, namely the main backup page and the backup content page.
Main Backup Page
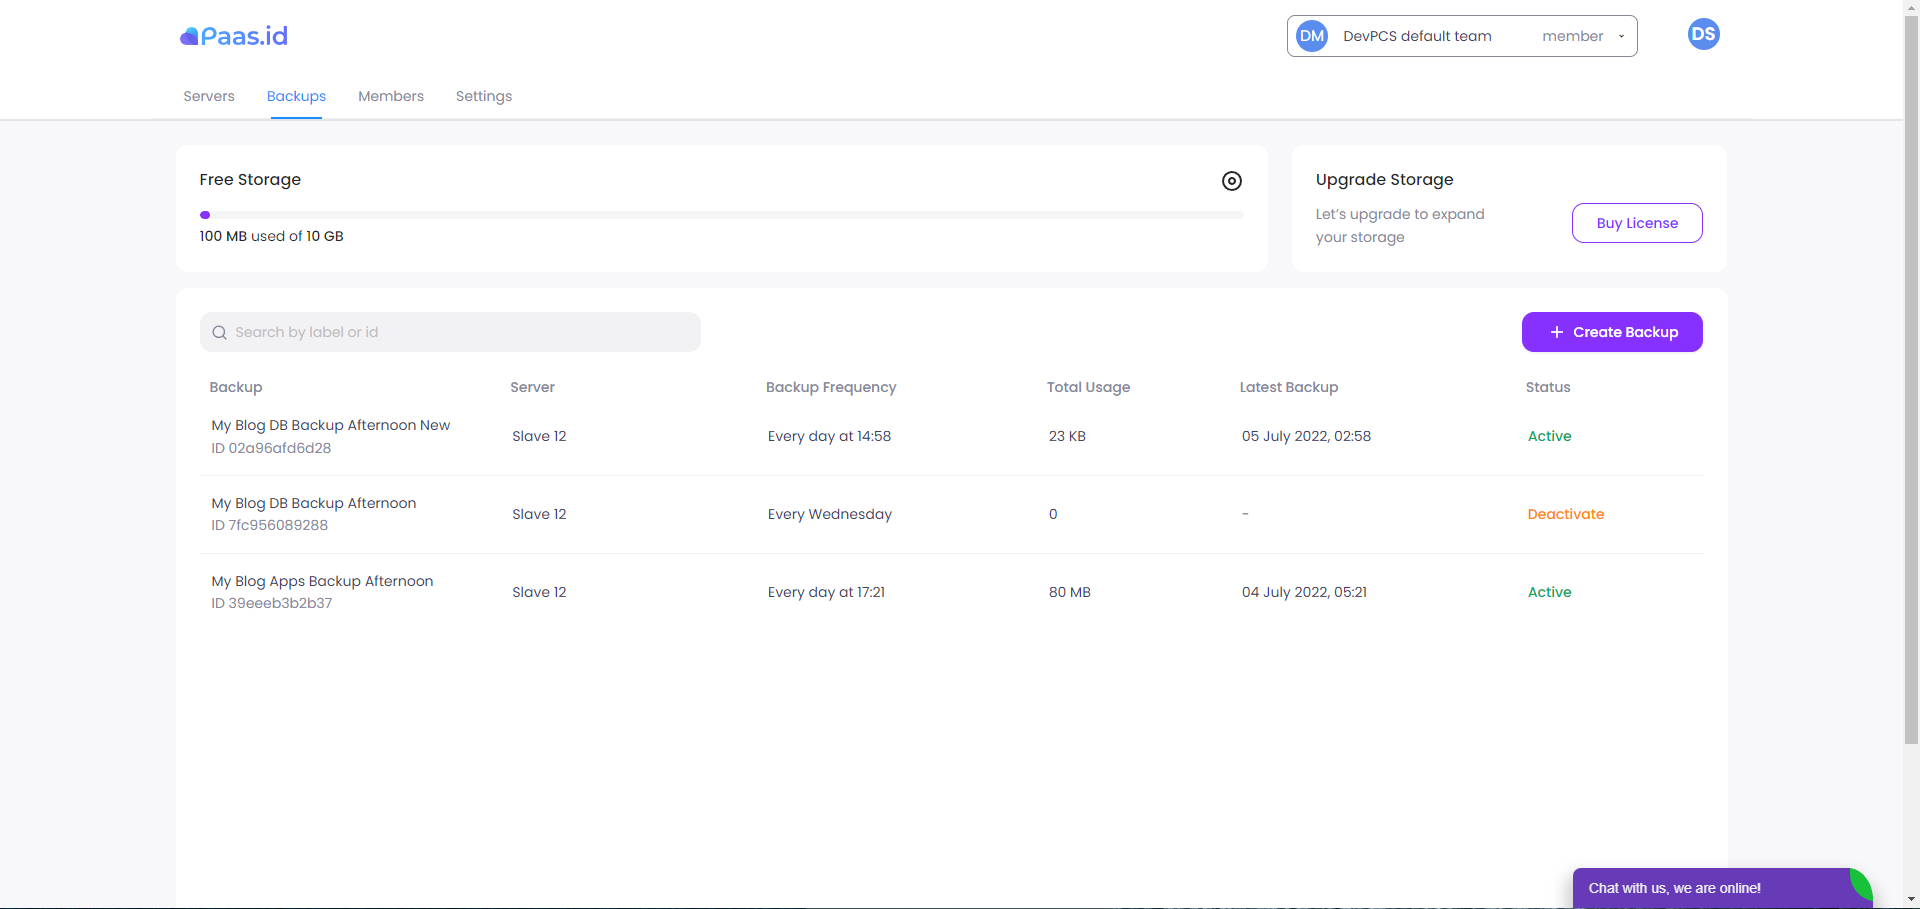
Free Storage
Free Storage is a component that shows how much backup storage has been used and how much storage is owned by the user.
Upgrade Storage
Upgrade Storage is the component that will redirect the user to the license purchase page. This is in order to make it easier for users who want to buy new licenses.
Search Bar
This Search Bar is used to search for existing backups. How to use it by entering the label or ID of the backup you want to find.
Create Backup
The Create Backup button is used when the user is going to create a new backup like the guide above.
Field of List Backup
Basically, this component will display a list of backups that have been made, both active and inactive. But you need to know, that in this list there are fields that have quite important information.
Backup
This field displays the label and ID of the backup that was created.
- Server
This field displays the name of the server used for backup. - Backup Frequency
This field displays the frequency of scheduled backups. - Total Usage
This field displays the total file size of each backup. - Latest Backup
This field displays the last time a scheduled backup was performed. - Status
This field displays the status of each backup. If the scheduled backup is active, then the status is Active. However, if the scheduled backup is paused or inactive, then the status is Deactive.
Backup Content Page
In order to access this page, you only need to click on one of the backups that you will see its contents. If you click on one of the backups from the list, then you will enter the backup content page like this.
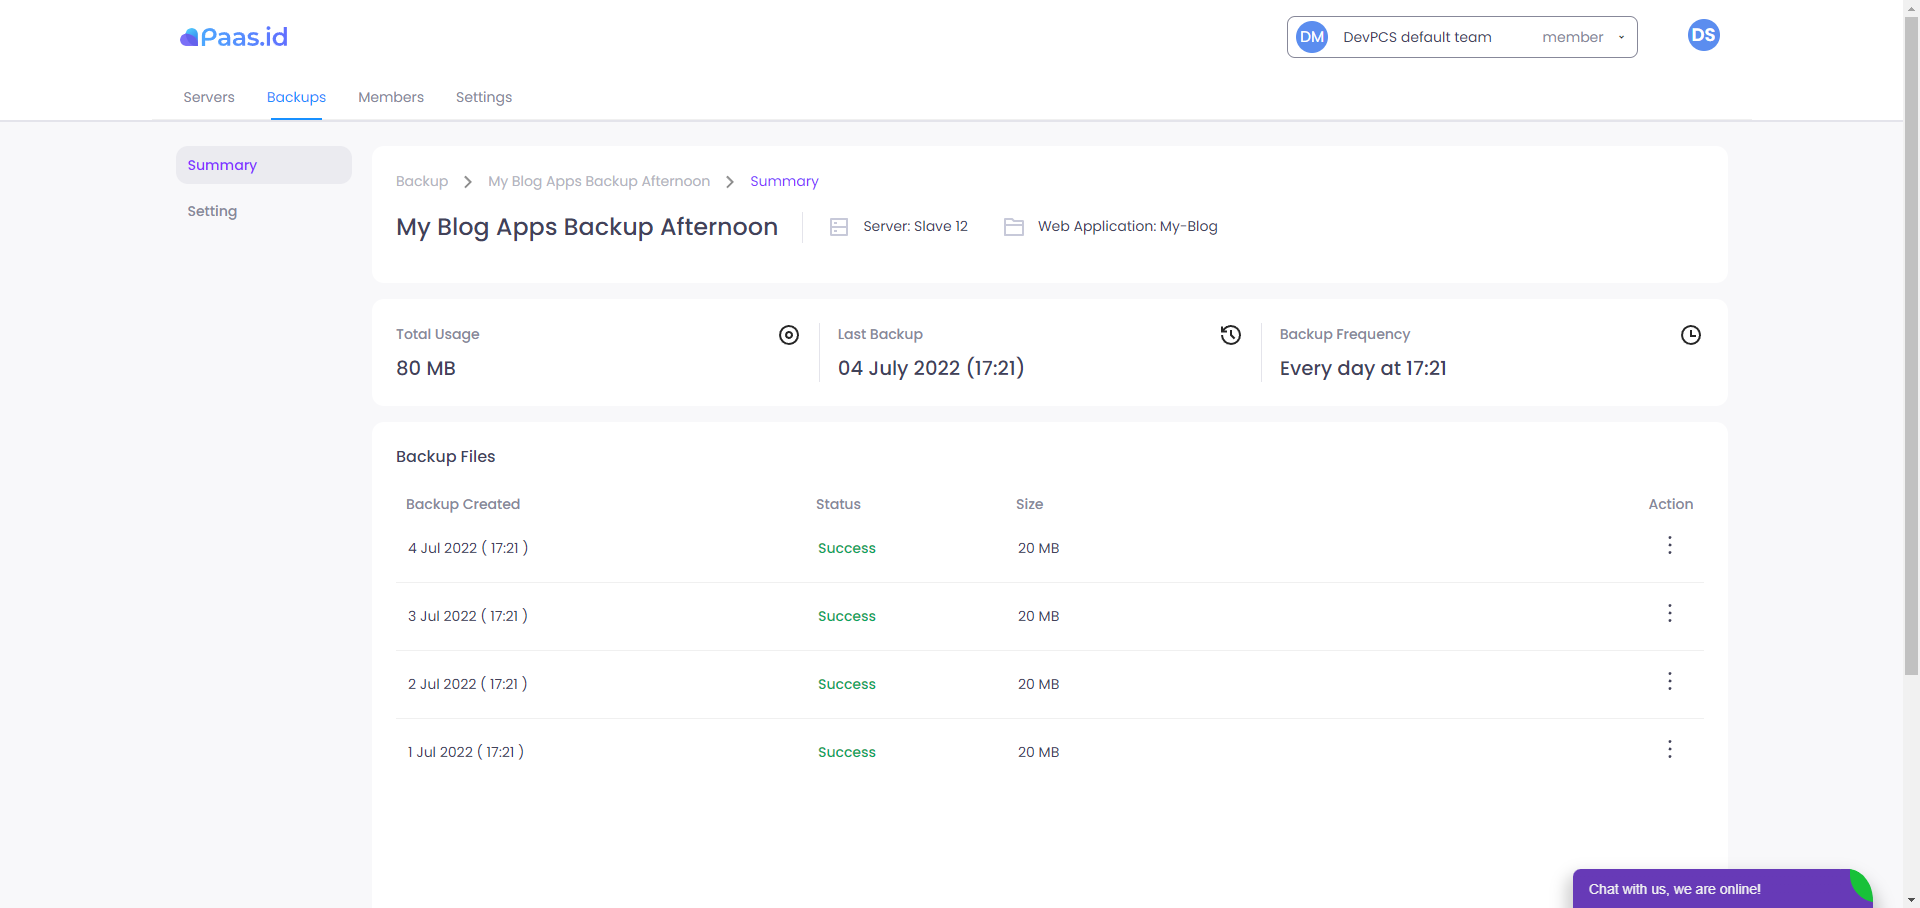
On the sidebar of this page there are two menus, namely Summary and Settings. What will be explained here is the Summary section. Settings will be explained in our guide on How to Change Settings and Delete Backup.
Header
Header is the component there is some information. The first is the backup label, an example here is My Blog Apps Backup Afternoon. Next is the name of the server used for backup. And the last is the name of the web application or database to be backed up.
Total Usage
Total Usage is a component that contains the total size of the files that have been backed up.
Last Backup
Last Backup is a component that displays the last time a scheduled backup was performed.
Backup Frequency
Backup Frequency is a component that displays the frequency of scheduled backups.
Backup Files
Basically, this component contains a list of files that have been backed up. But you need to know, that in this list there are fields that have quite important information.
- Backup Created
This field contains information regarding the date the backup file was created. - Status
This field contains information regarding the status of each backup file. If the backup is running, then the status is On Progress. If the backup was successful, then the status is Success. And if the backup fails, then the status is Failed. - Size
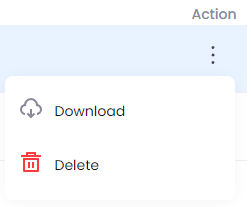
This field contains information regarding the size of each backup file. - Action
This field contains a button in the form of three dots. If the button is clicked, there will be an option to Download or Delete the backup file.